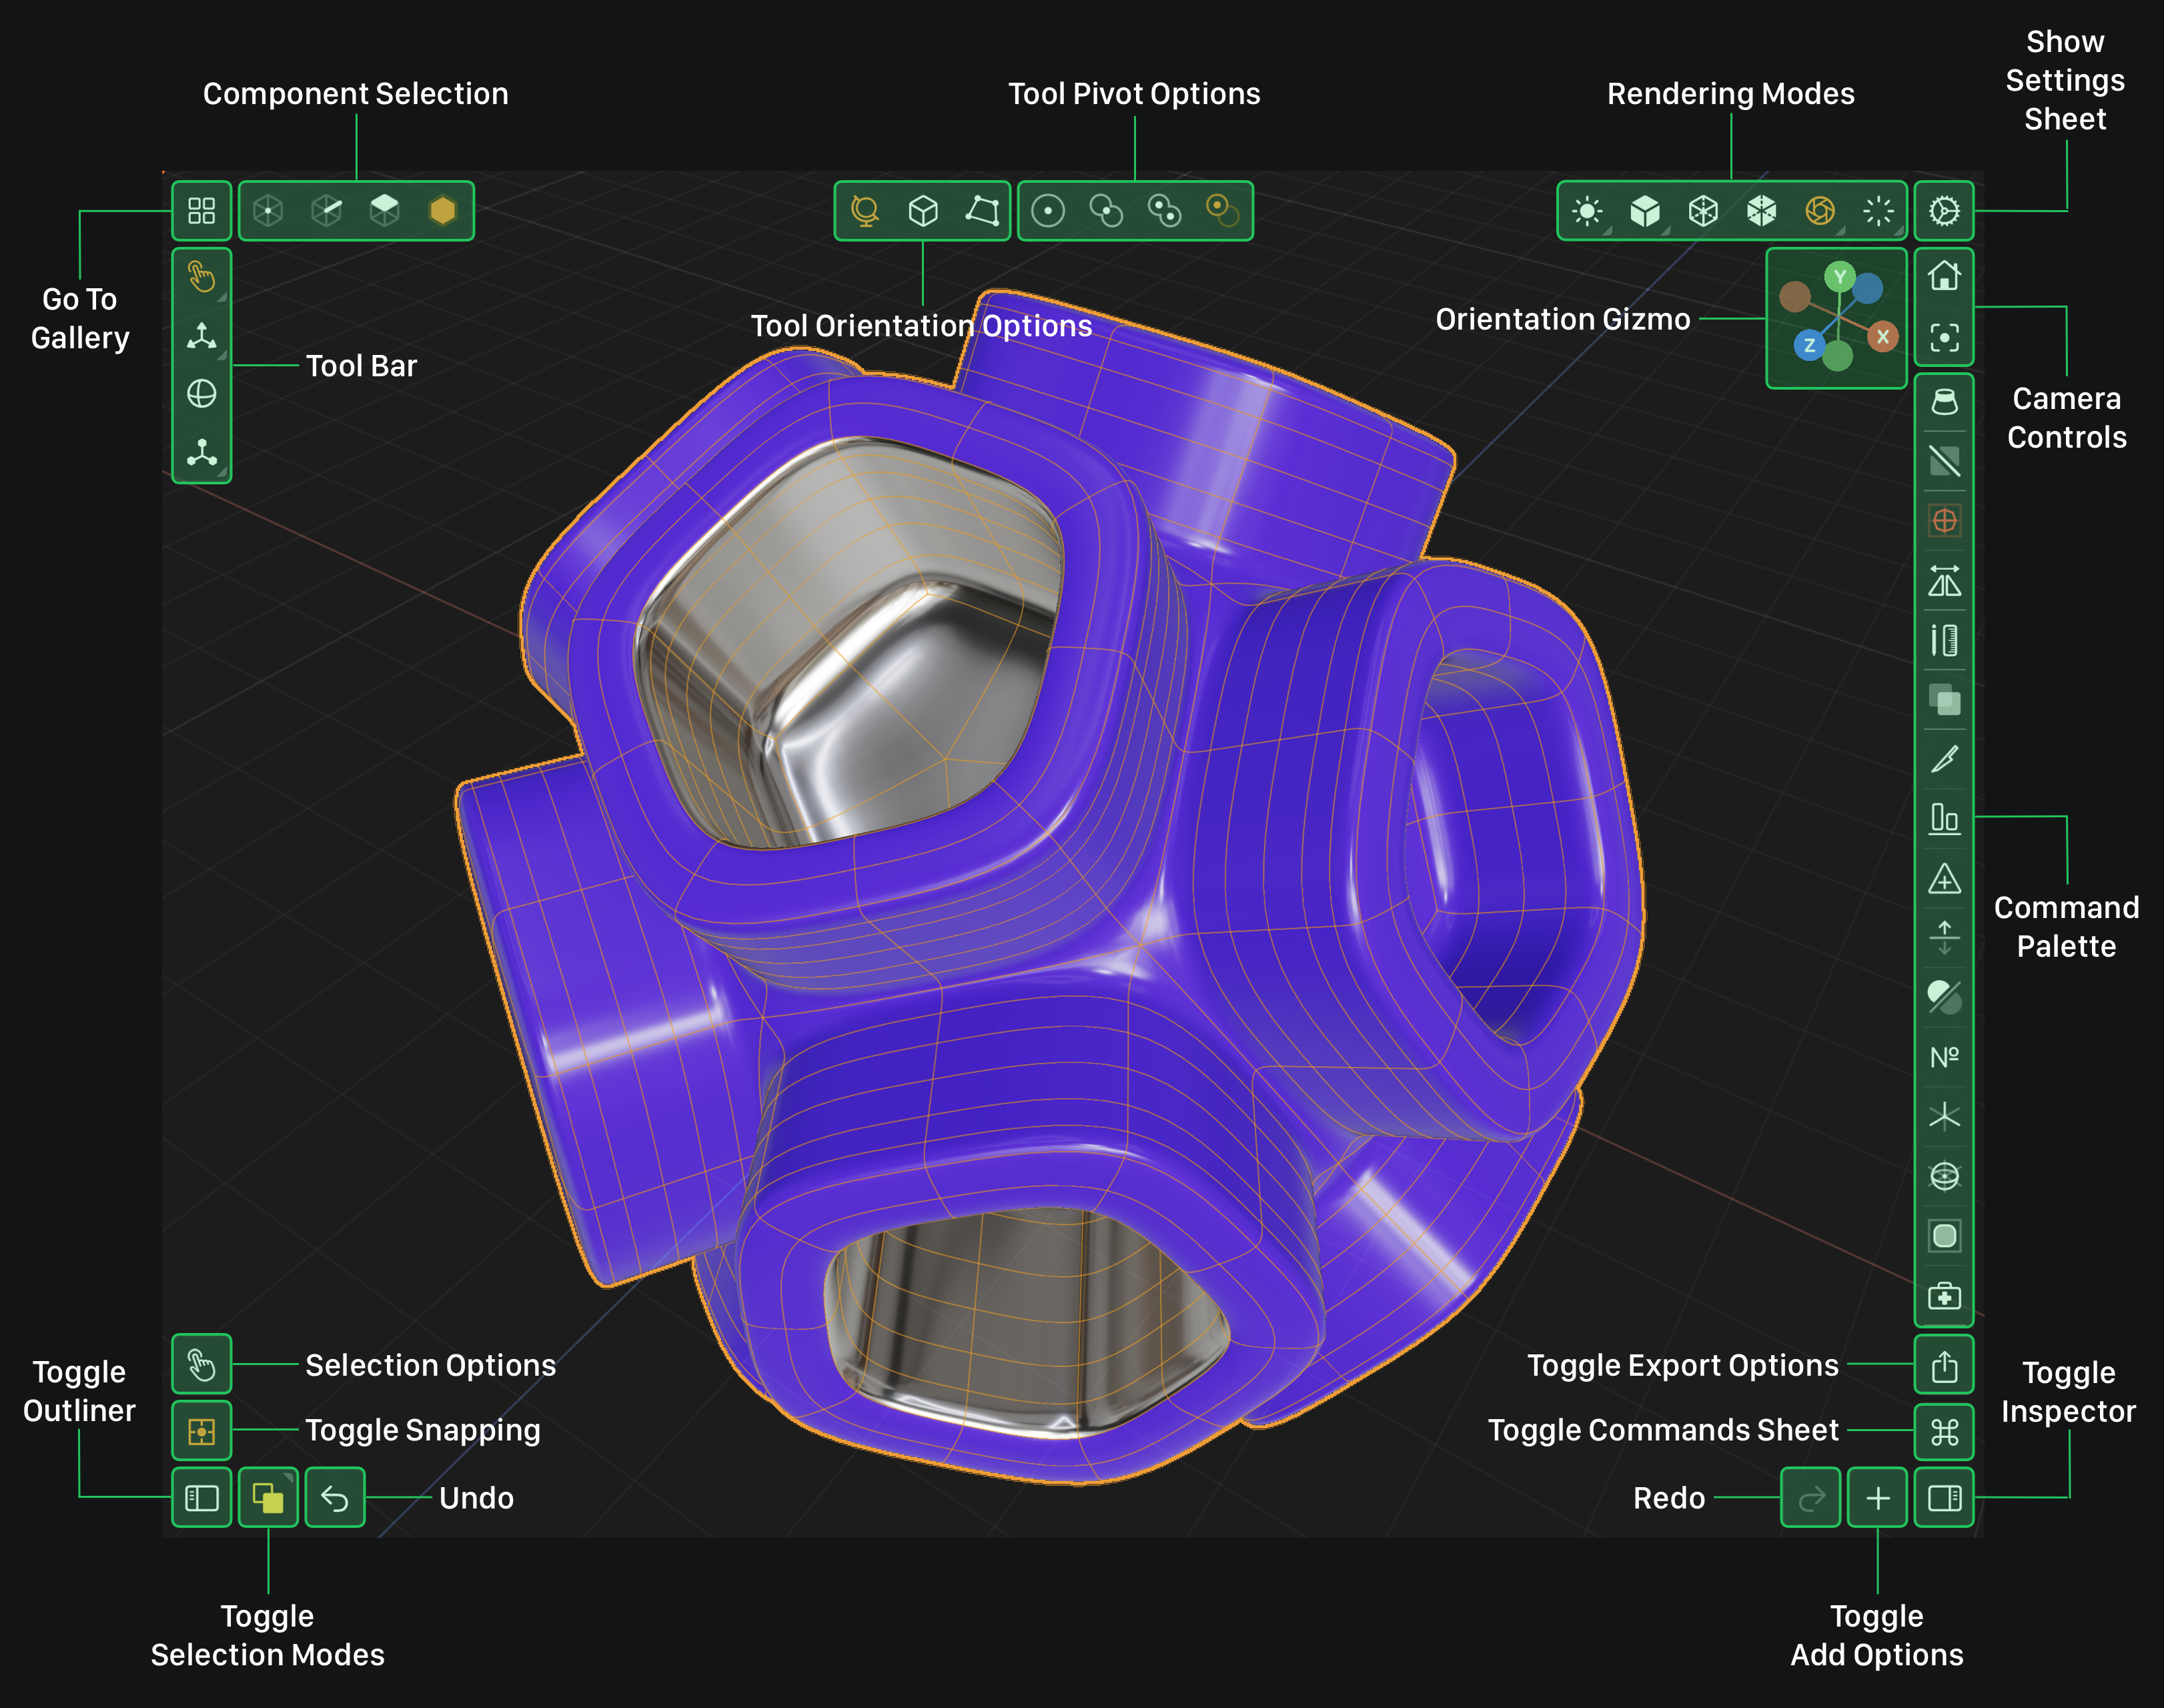
Edge Tools
3D models are composed of faces. Those faces are composed of edges. And those edges are composed of vertices. When you move, rotate, or scale an edge, you are actually moving its vertices. Manipulating and creating edges is essential when building complex 3D models.
The standard move, rotate and scale tools in the Tool Bar allow you to modify an edge's geometry (the position of its vertices). While specialized Edge Tools allow you to change a mesh's topology and geometry simultaneously. Simply put, changing a mesh's topology is a fancy way of saying adding, removing or changing connections in a mesh. The Edge Tools below allow you to create new faces and/or modify their geometry.
Edge Tools are contextual aware. So they will appear when the the active Component Selection is Edges. Edge Tools are located in the Tool Bar under the standard select, move, rotate and scale tools.
Modeler Interface
Extrude Tool
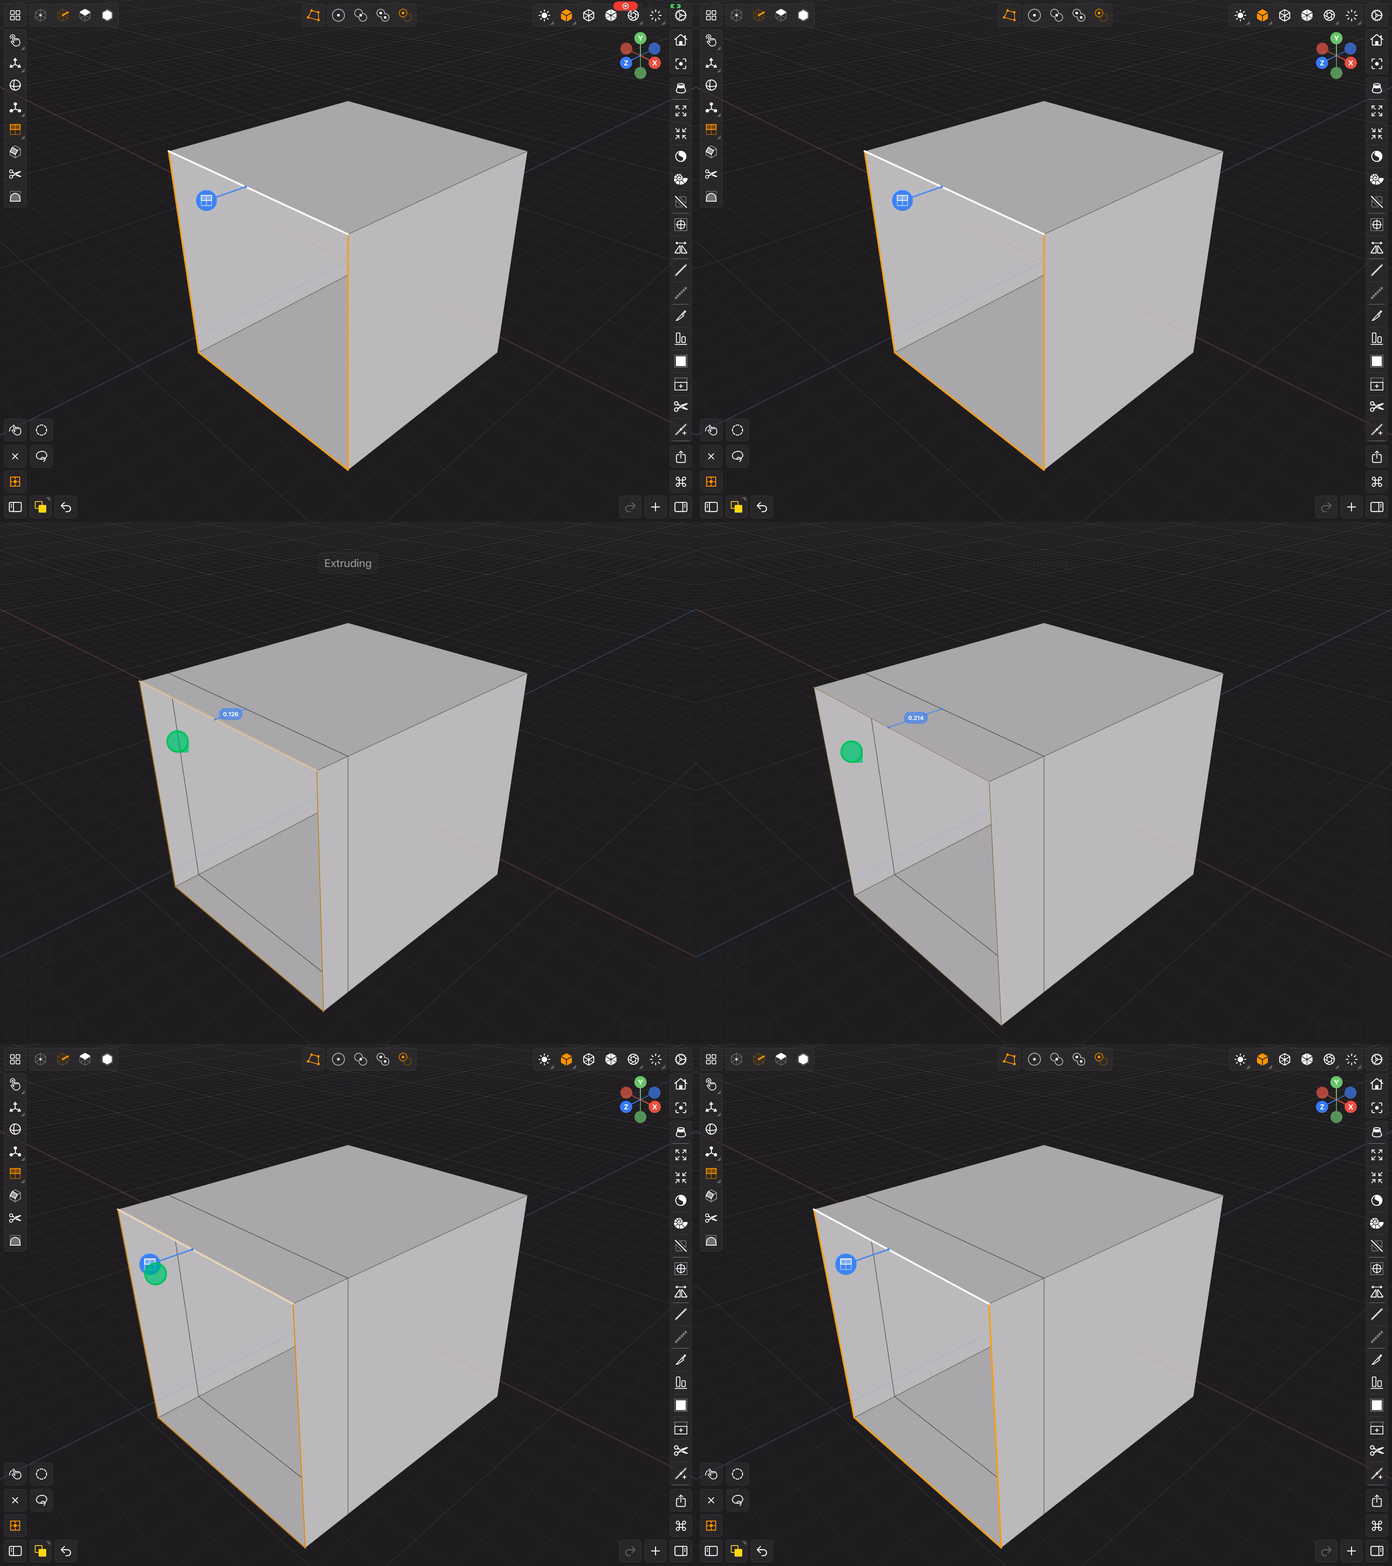
Extruding an edge creates a new face that emerges out of the edge. In other words, extruding an edge create a face in the orthogonal direction of the edge. To extrude an edge, touch down and drag the circular handle of the tool's gizmo. Touching down and dragging on the gizmo's line handle will pull the edge in the direction the tool's gizmo is oriented (see below).
The icon for this tool changes based on whether it keeps edges together or extrudes them individually. This option can by double tapping on the button for the tool twice.
Tap this button to activate the extrude edges separately tool.
Tap this button to activate the extrude edges together tool.
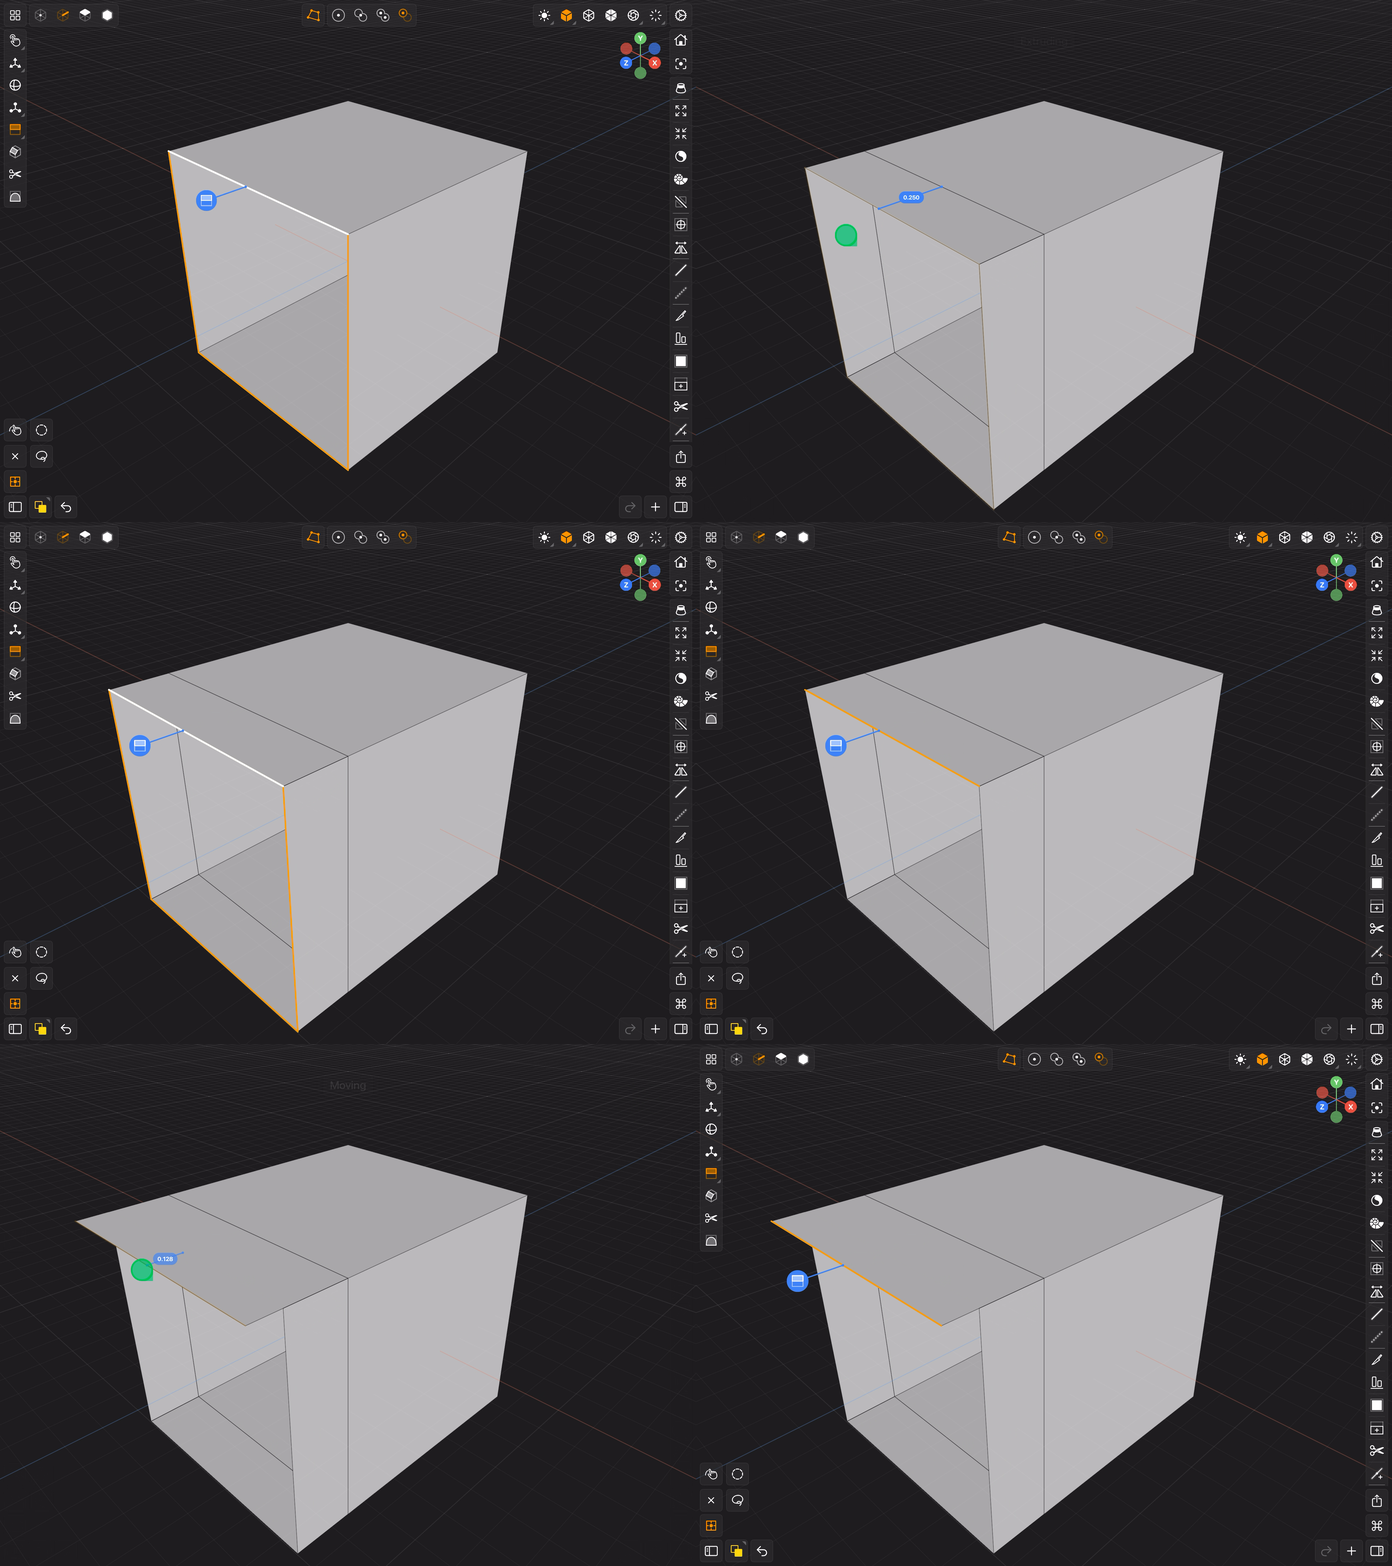
You can only extrude edges that are on the boundary of a mesh. An edge is on the boundary of a mesh if it is not connect to two faces.
The Extrude Tool has a Joined Faces option you can access by tapping its button again after it has become the active tool. When the Joined Faces option is on, if you extrude adjacent edges that are connected, the edges will be treated as one continuous edge and the new faces that created will be connected.
Bevel Tool
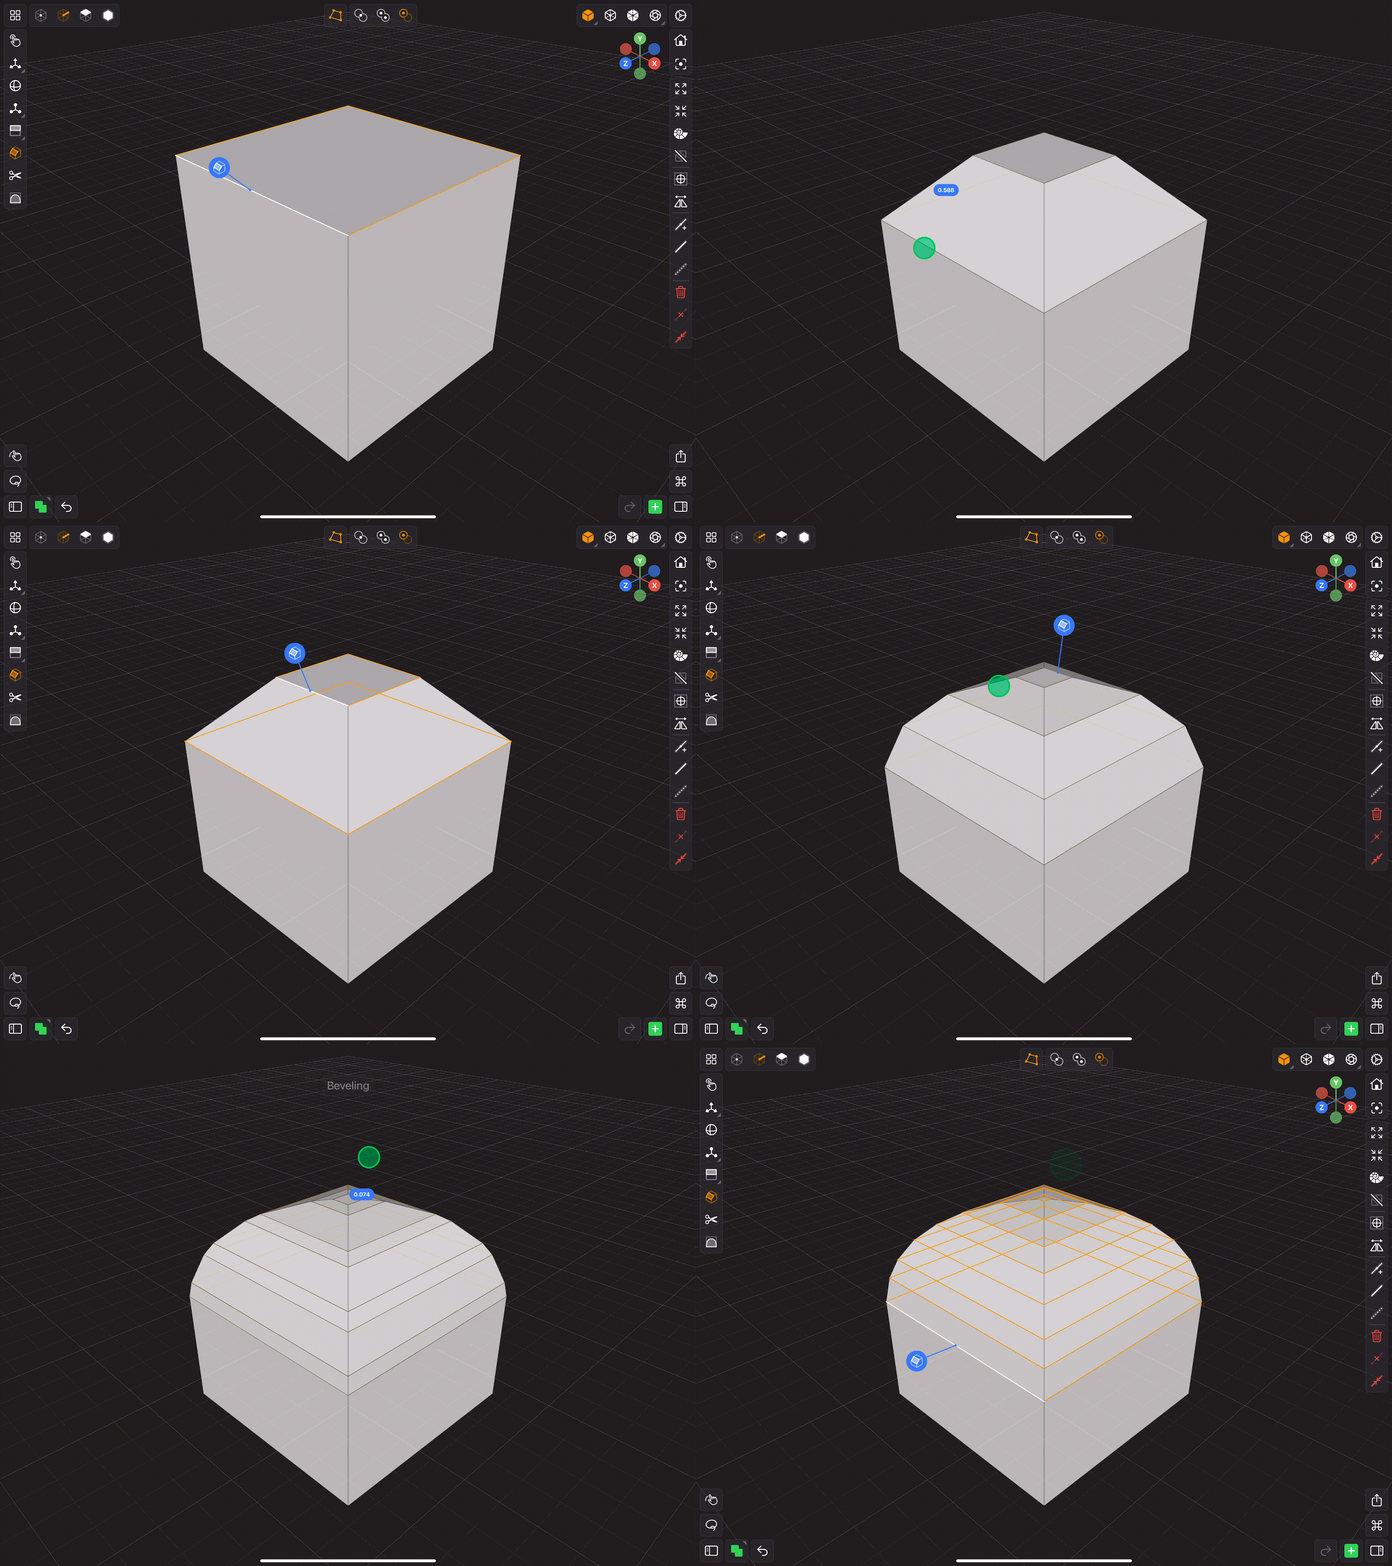
Beveling an edge converts the edge into a face. This tool allows your to bevel multiple edges to create a chamfer. To bevel an edge touch down and drag the circular handle of the tool's gizmo.
Tap this button to activate the bevel edge tool.
Loop Cut Tool
This tool allows you to quickly cut (insert an edge loop) in the middle of a continuous loop of faces. To apply the cut, tap on the circular handle coming out of the Loop Cut Tool's gizmo.
You can change the location of the cut by dragging the blue arrows of the Loop Cut Tool's gizmo. This will offset the cut, which is shown as a blue line over the faces that will be cut (see below).
Tap this button to activate the loop cut tool.
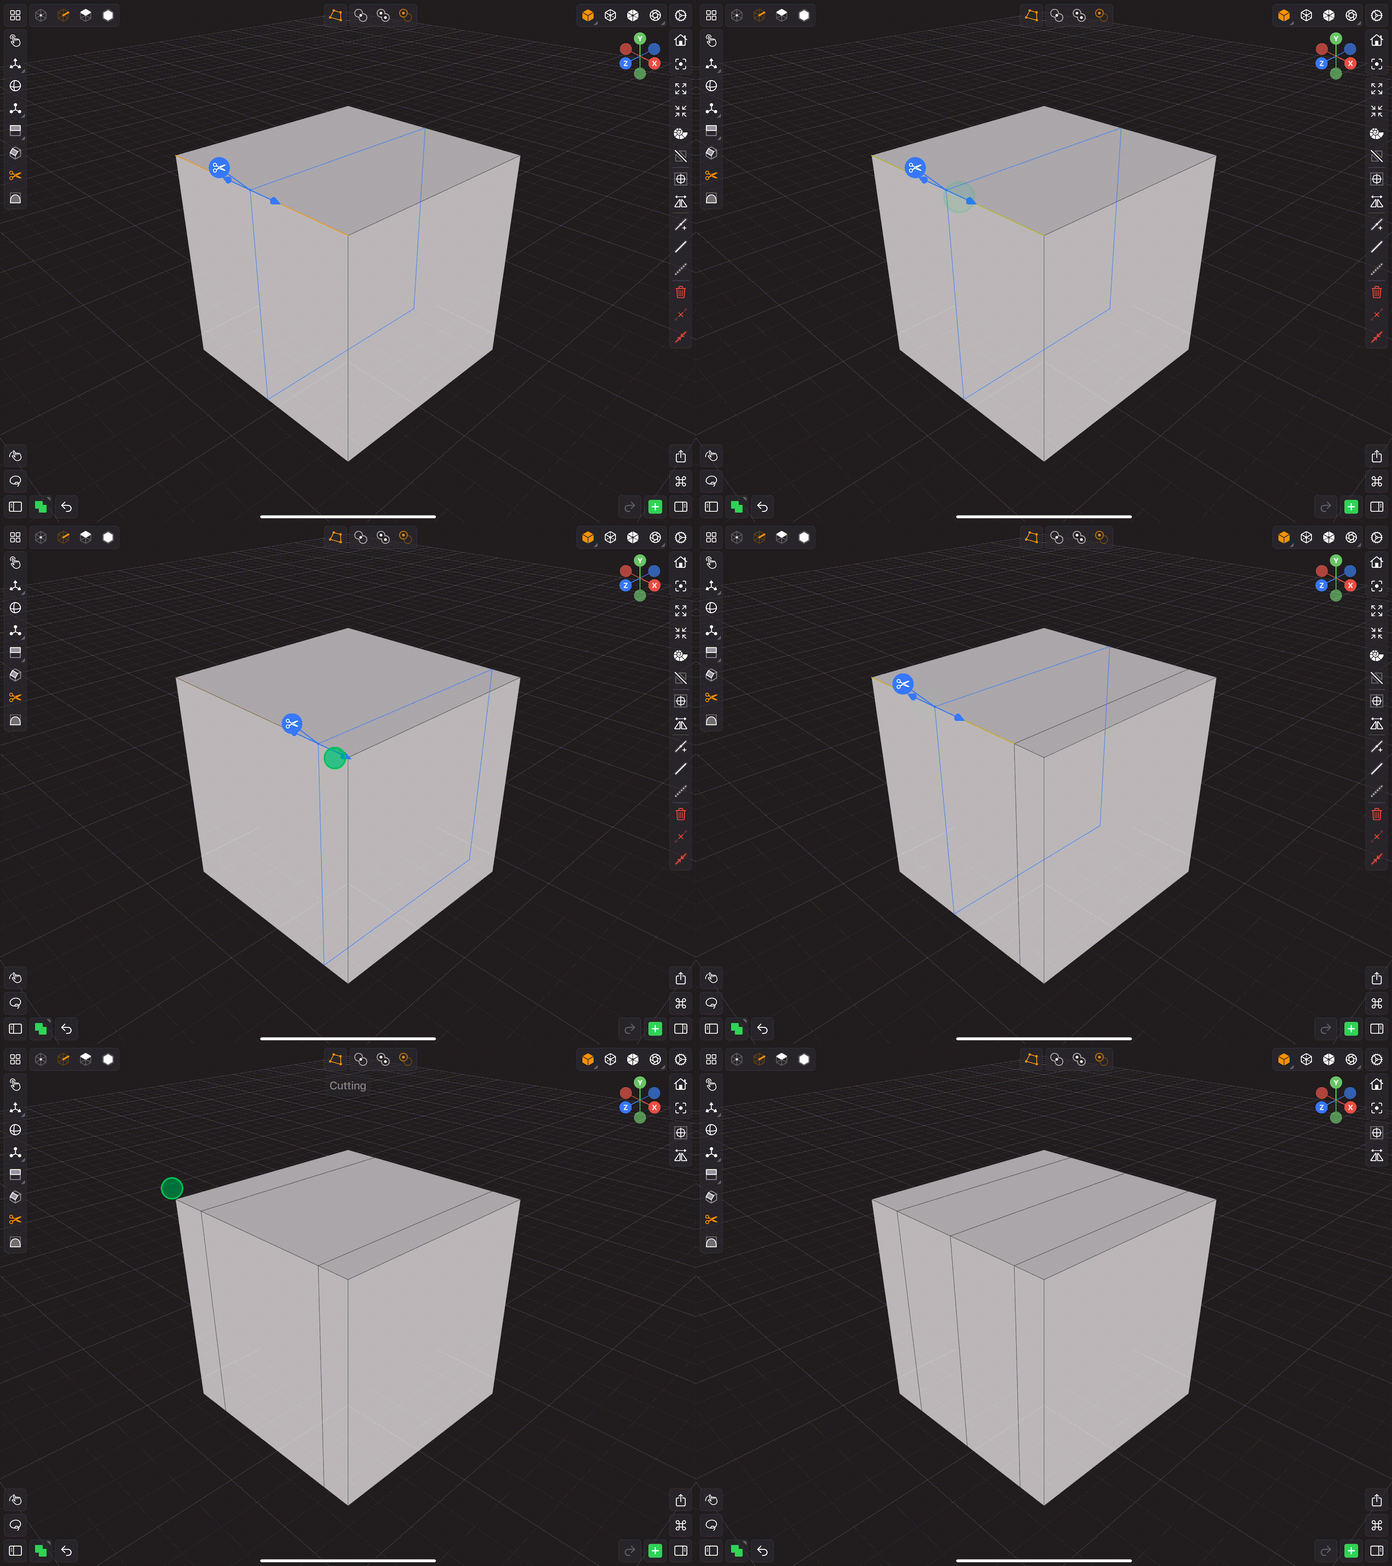
This tool works well for meshes that are predominantly composed of quads (faces with 4 vertices connected by four continuous edges). If the tool encounters a face that isn't a quad, then it will terminate the cut.
Crease Tool
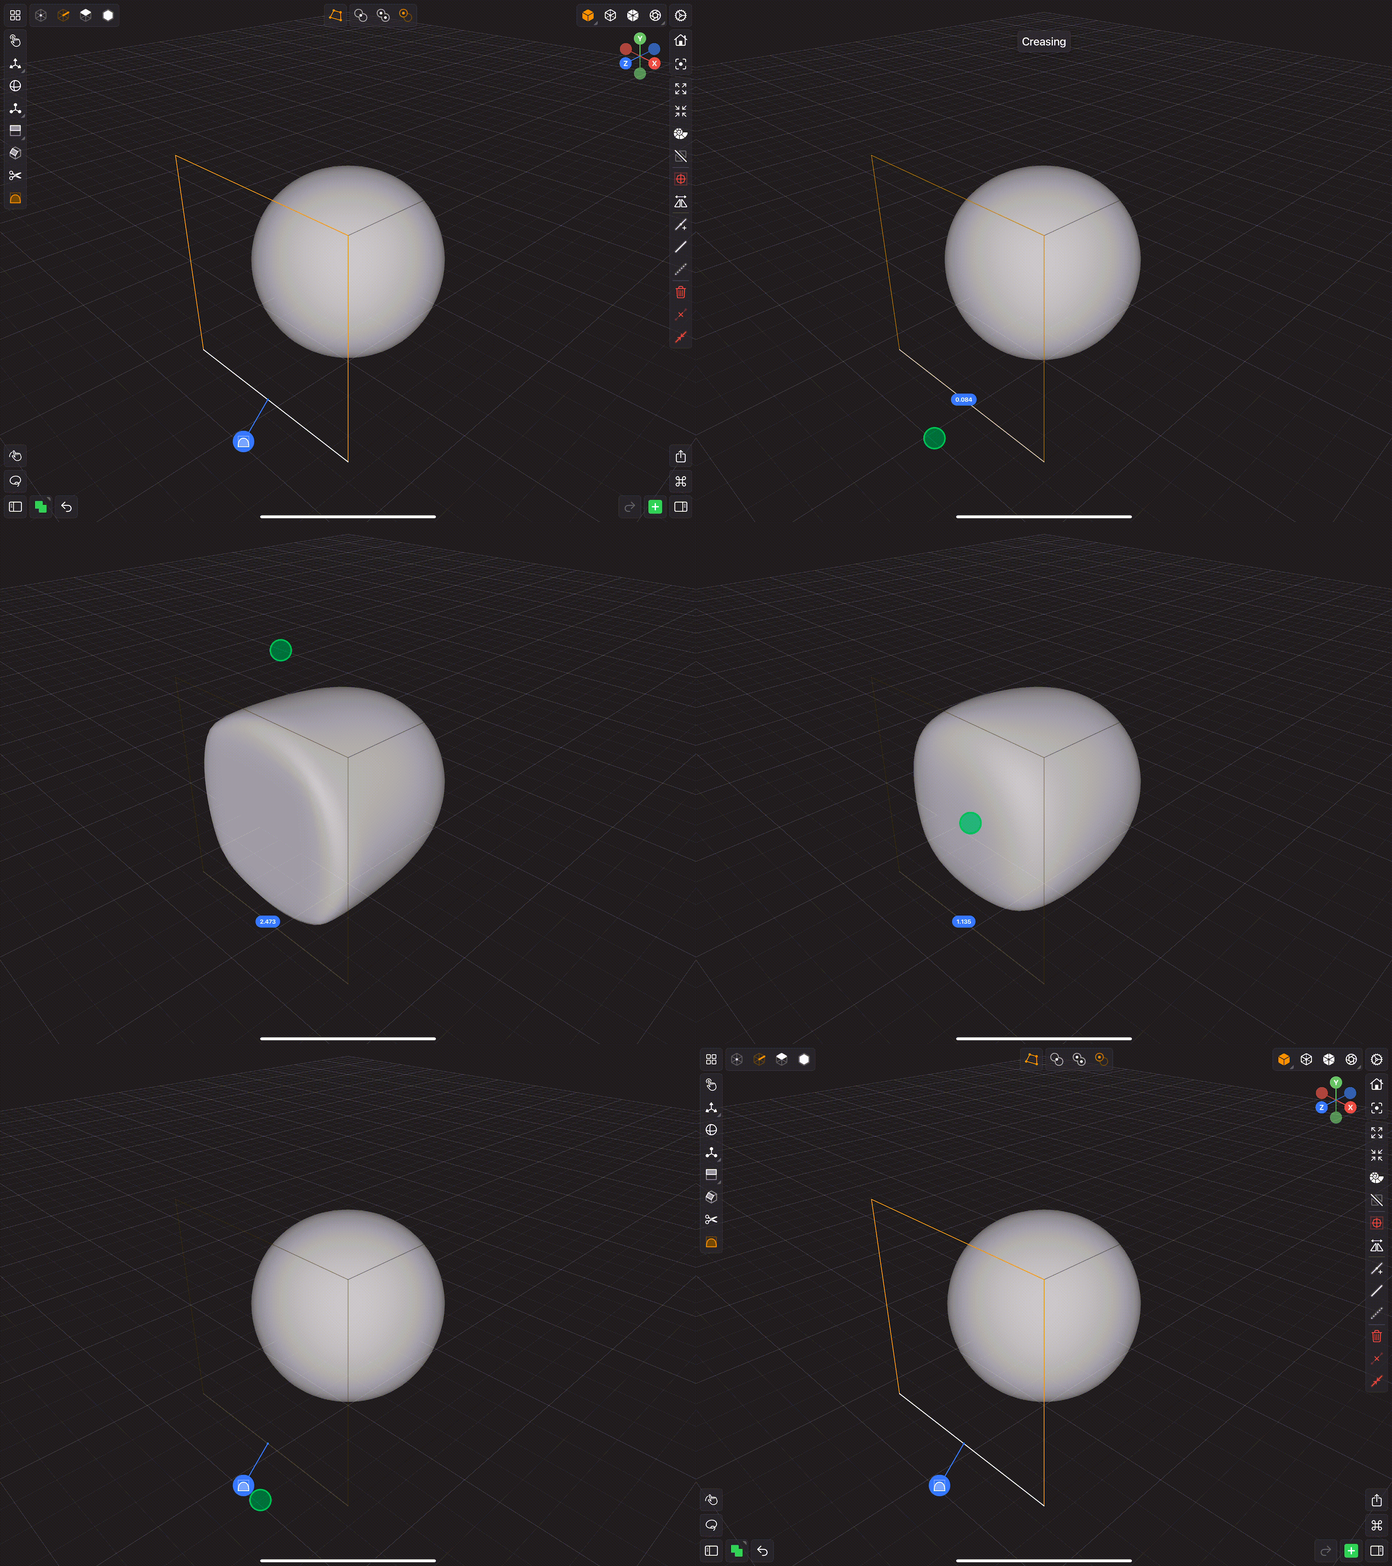
The crease tool allows you to set the crease level of an edge or edges. In other words, the crease tool allows you to set the sharpness of the edges when it's subdivided. The result of using this tool is most apparent when a subdivision modifier is on the mesh being edited.
To increase or decrease the amount an edge is creased touch down and drag the circular handle of the tool's gizmo. Dragging up will increase the crease amount, dragging down will decrease the crease amount (see below).
Tap this button to activate the crease tool.
