Outliner
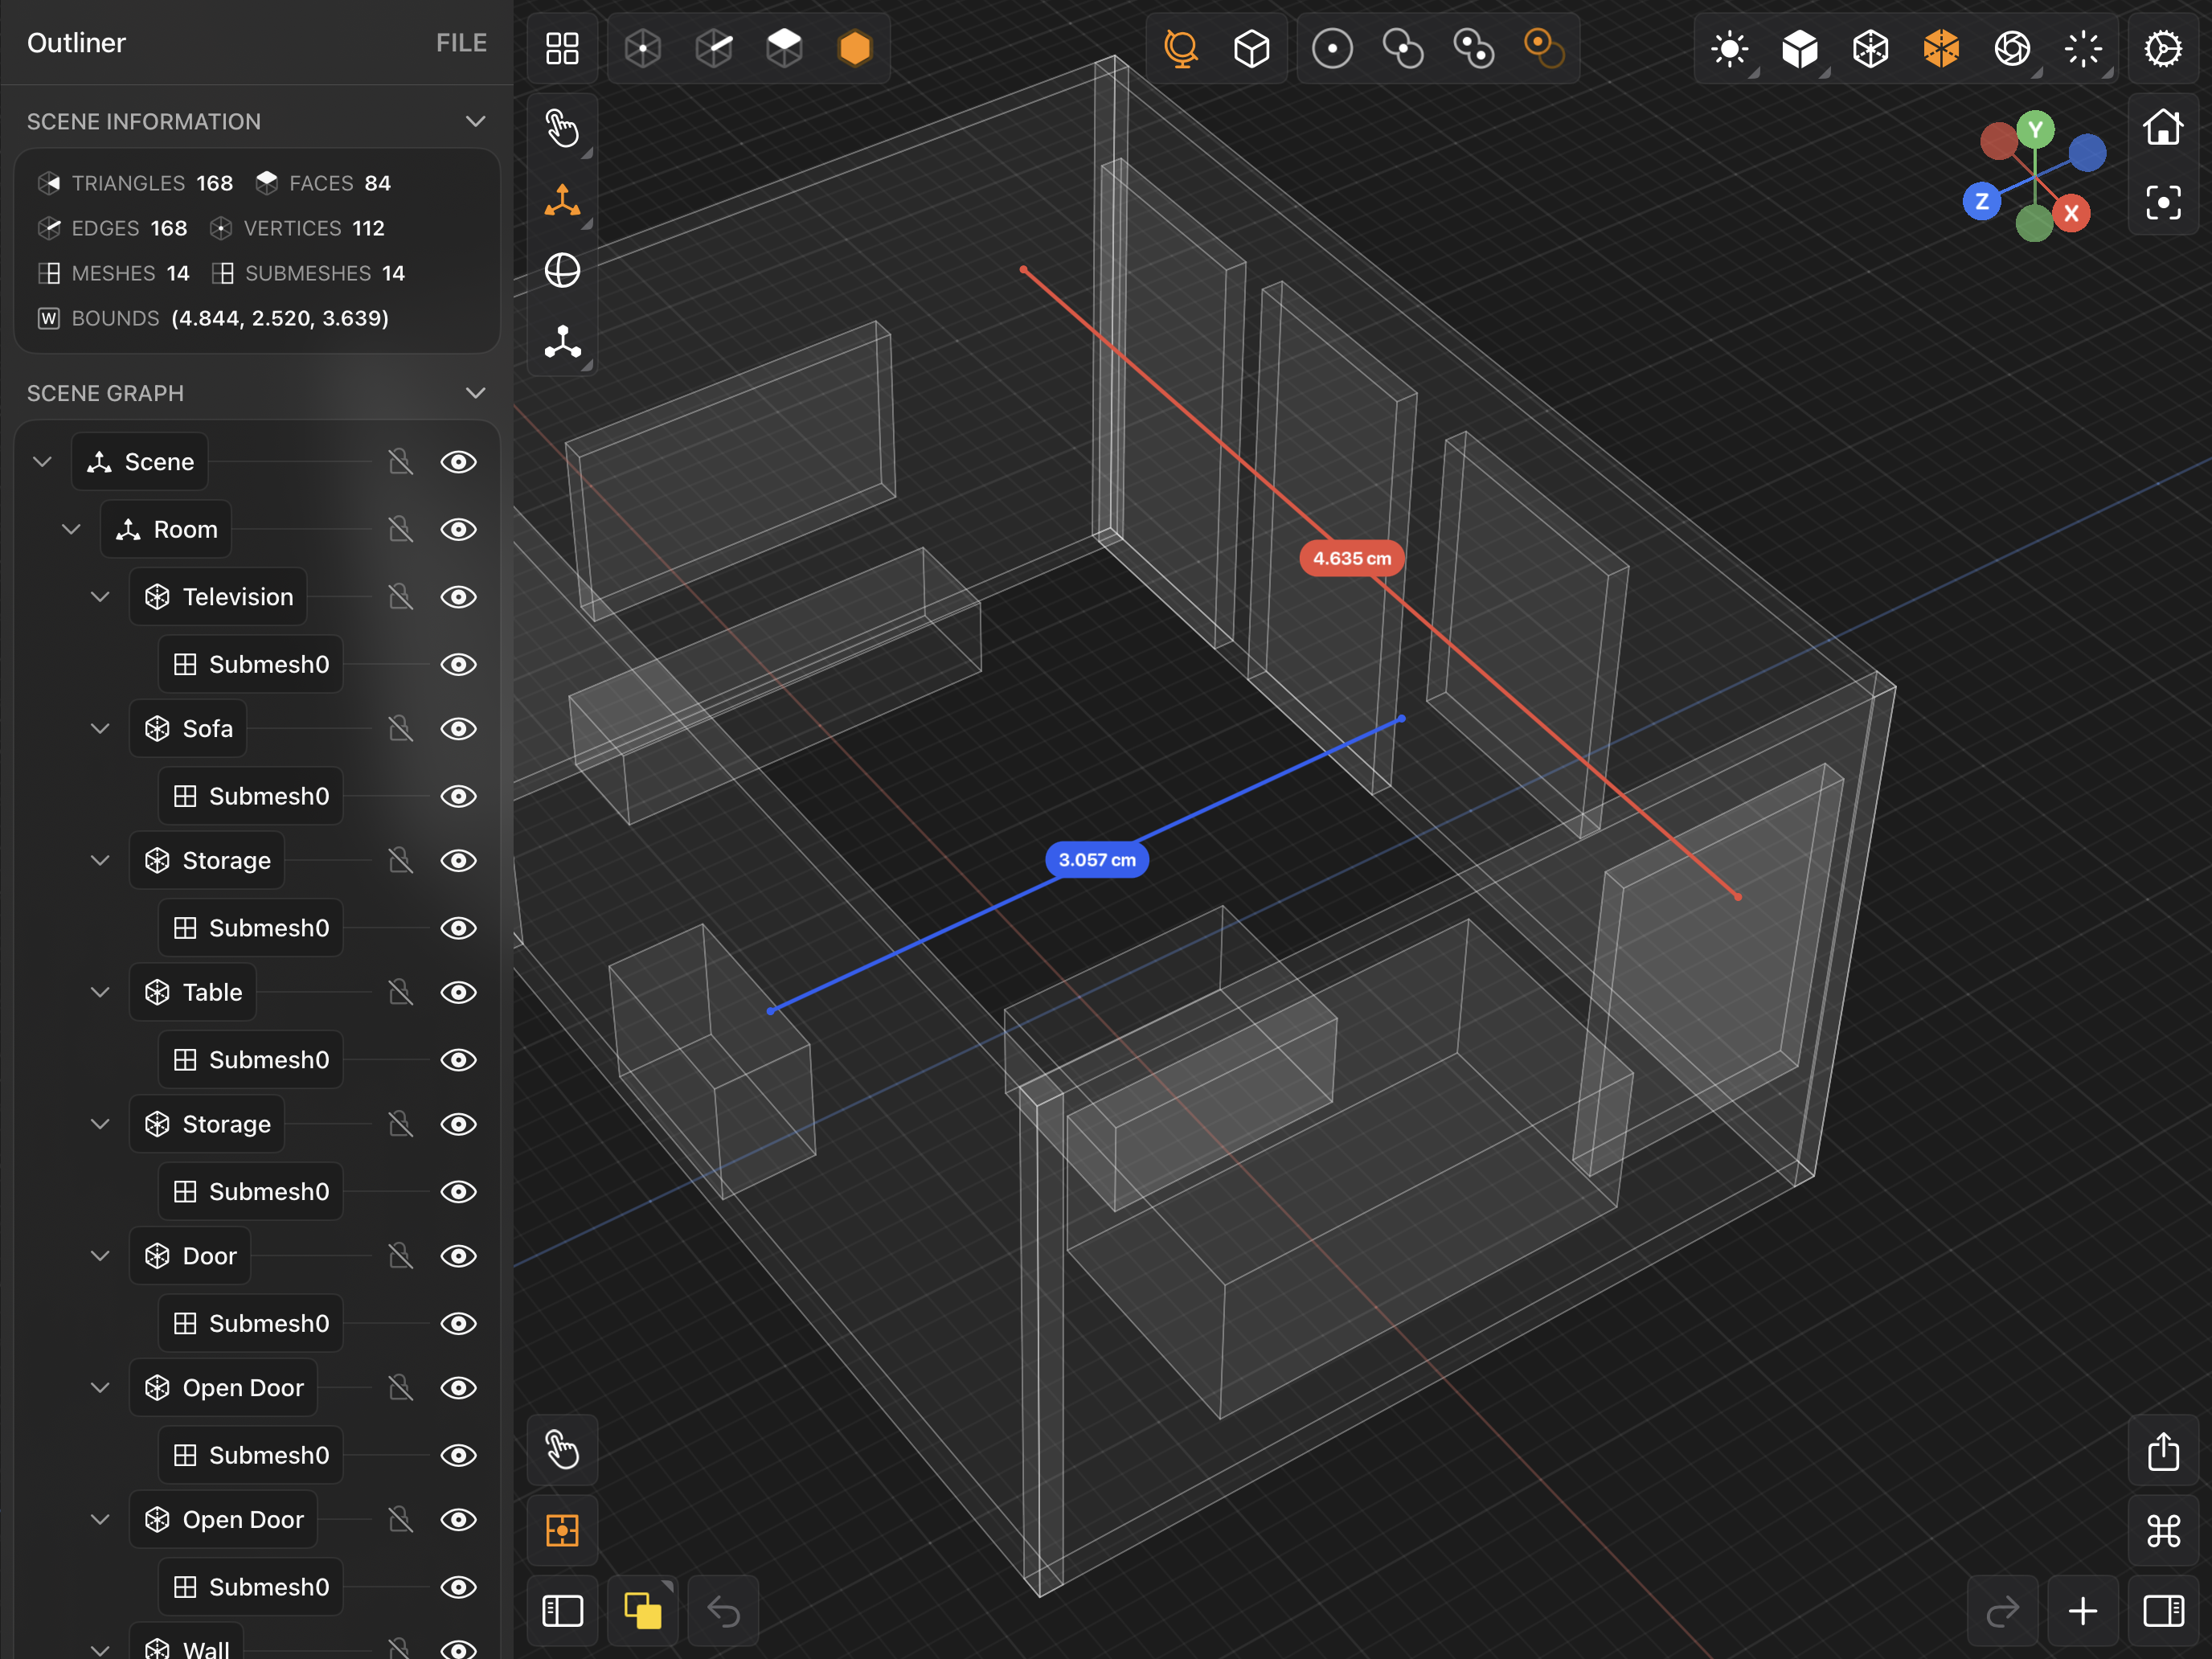
The Outliner is a panel that shows an outline (or scene graph representation) of the valence file you are working on. This panel is where you can reorder, rename, delete, detach instances, duplicate, and more.
The selected items in the scene are shown as highlighted orange items in the Outliner. You can also select items in the Outliner. Furthermore, each mesh node has a submesh (or potentially multiple submeshes), which when tapped will select all the faces in that submesh.
Modeler Interface
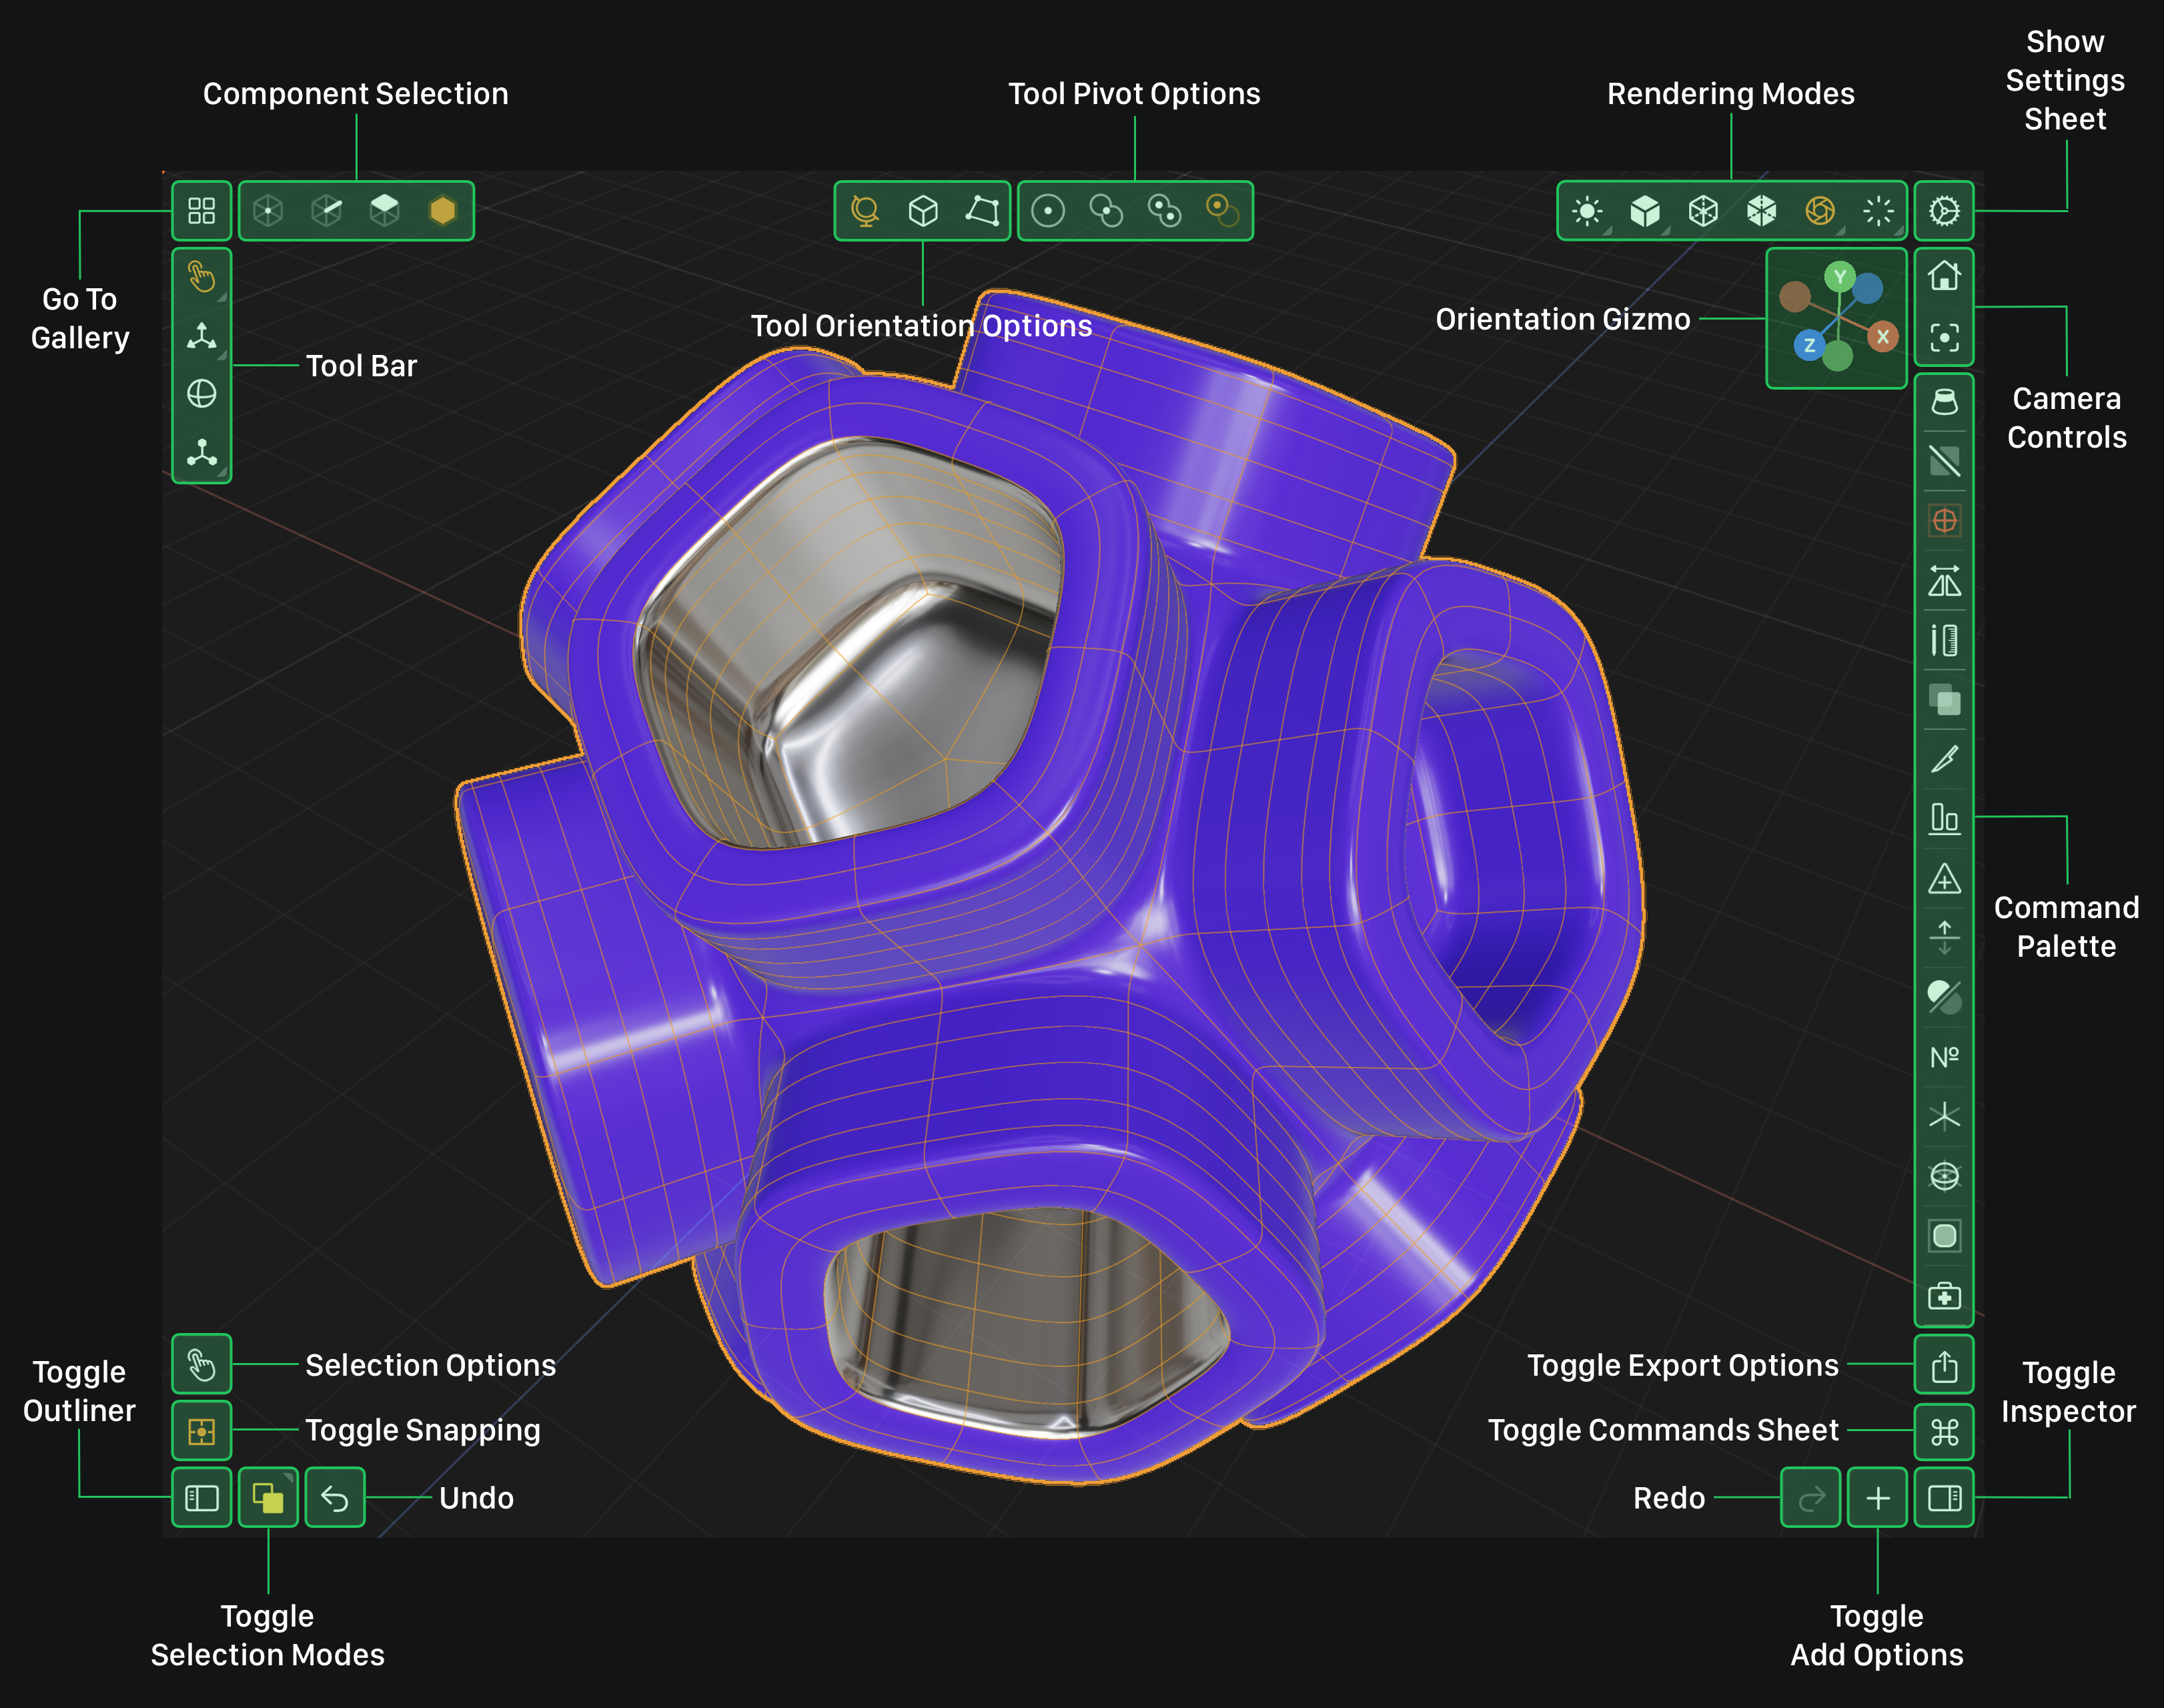
Outliner
Toggle Outliner
If you are on iPad, toggle the Outliner by tapping the Toggle Outliner button located near the bottom left corner of the screen (see below).
Tap this button on iPad to show / hide the Outliner.
If you are on iPhone, toggle the Outliner by tapping on the Toggle Outliner button located near the bottom left corner of the screen.
Tap this button on iPhone to show / hide the Outliner.
On iPhone, instead of a panel, the Outliner is a modal sheet that is expandable. Drag the sheet up or down to see more or less. The modal sheet is also scrollable.
Toggle Outliner
Rename Node
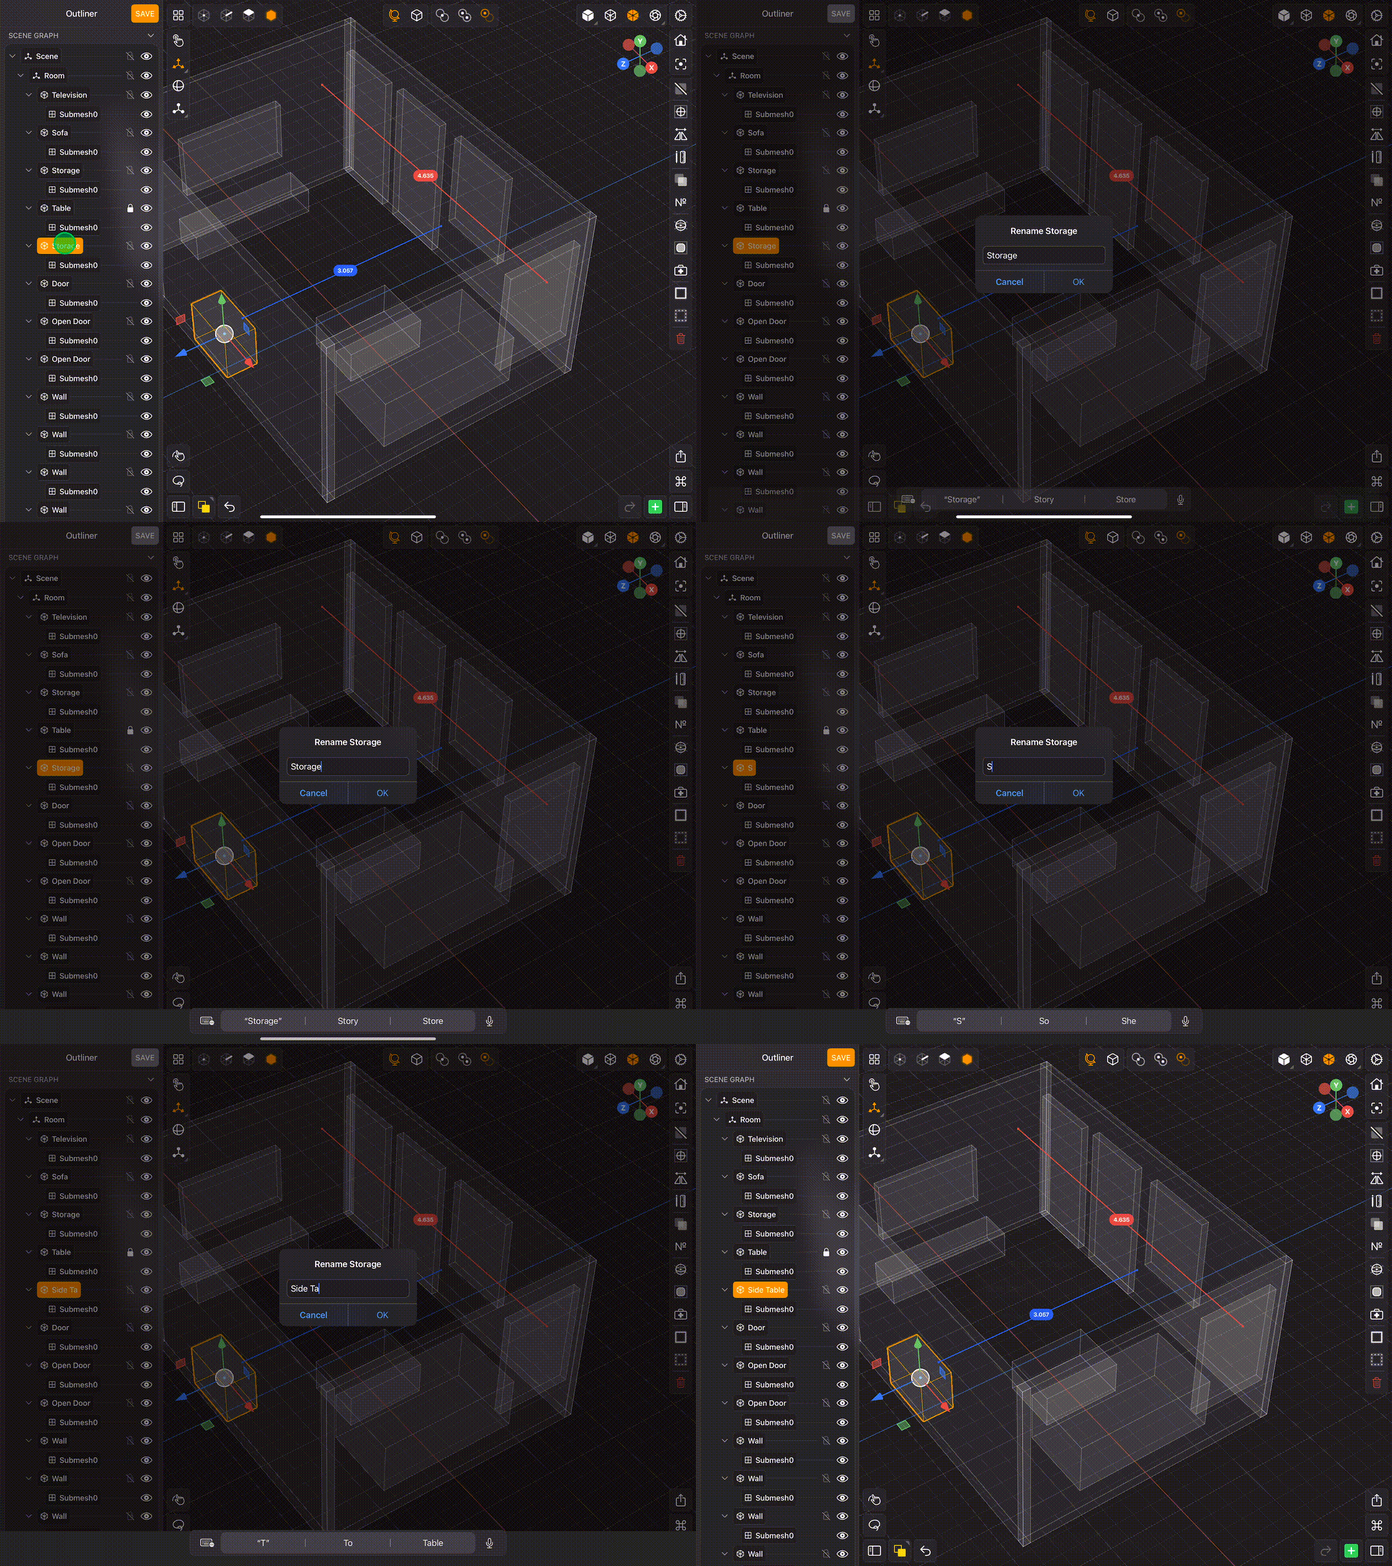
To rename a node using the Outliner, simply tap twice on its label and a popup with a text input field will show and you can set the new name there (see below).
Rename Node
Reorder Node
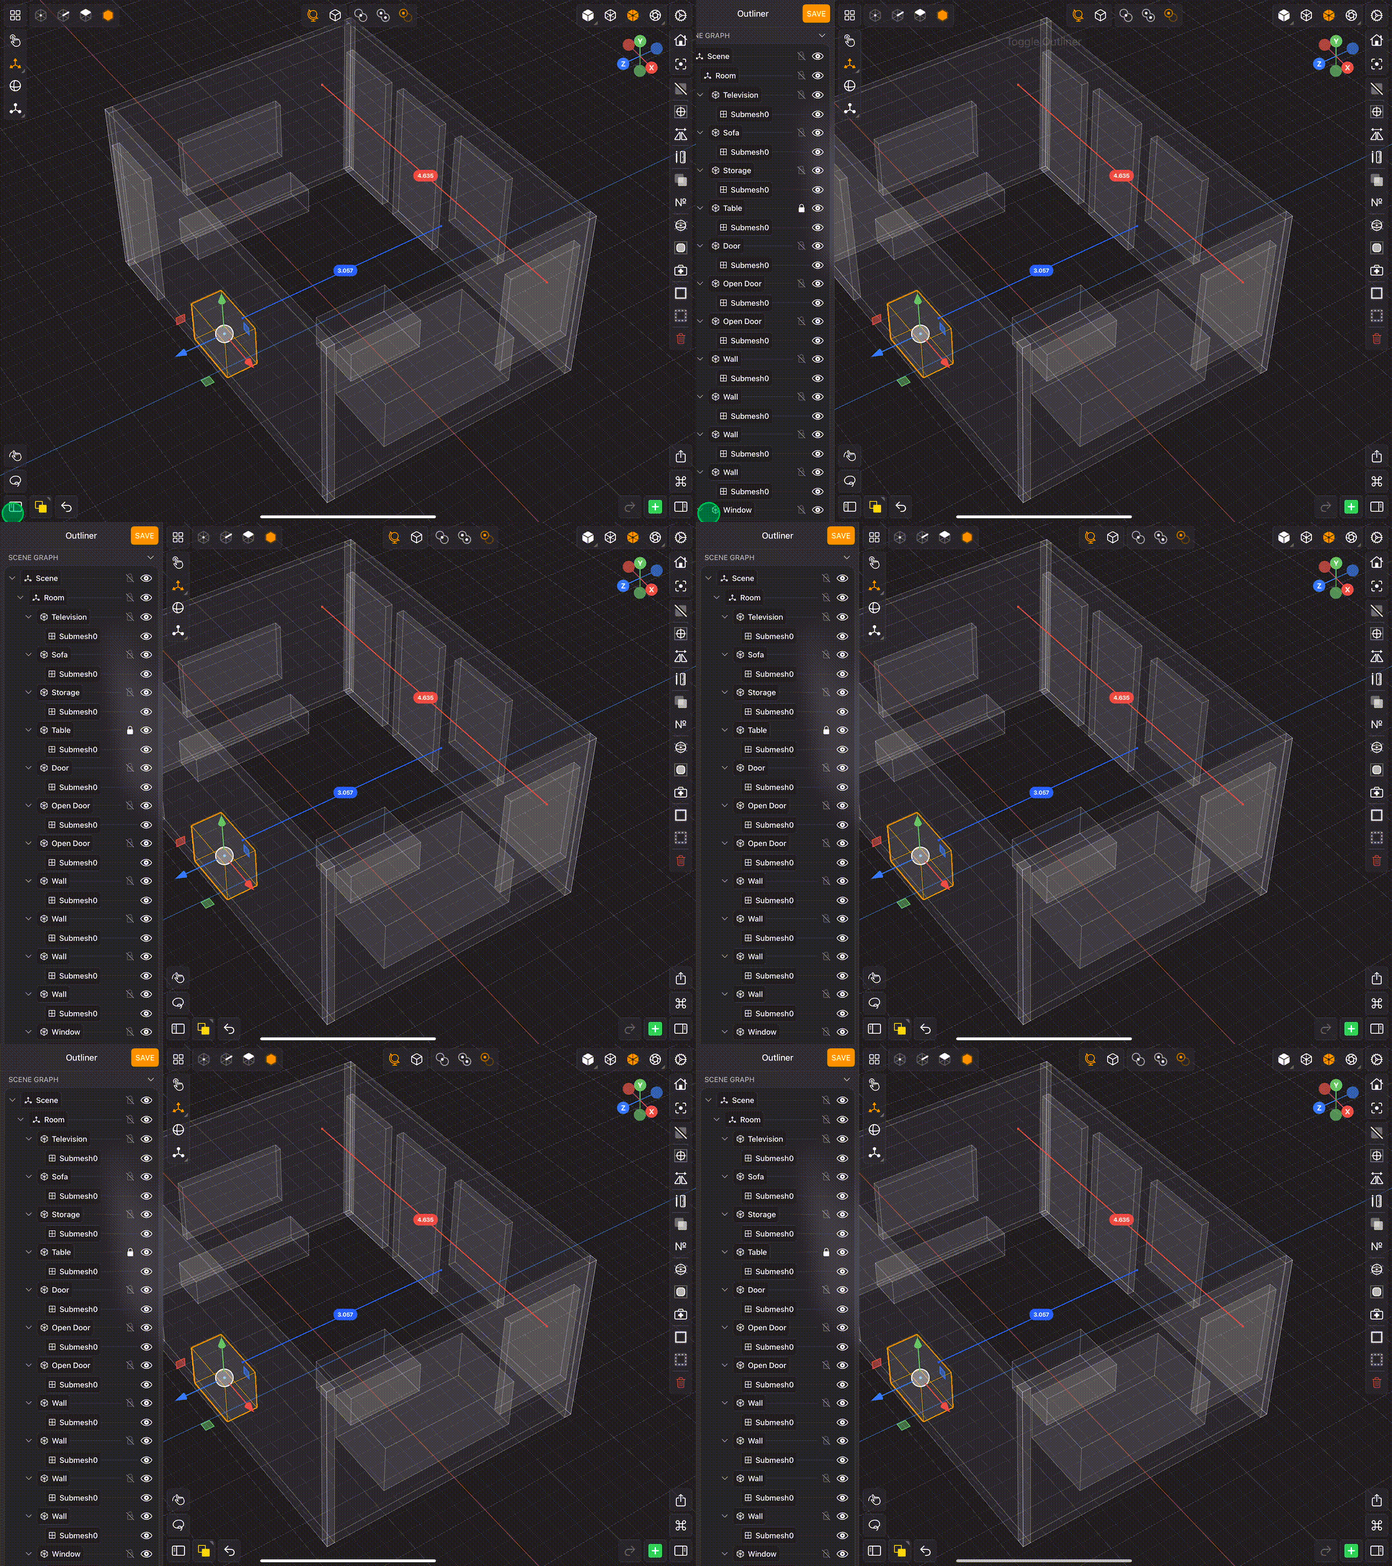
To reorder nodes in the outliner, touch down and hold for a second, then drag the node on another node (the future parent node) and release. This will parent the node you dragged to the node you dropped it on (see below).
Reorder Node
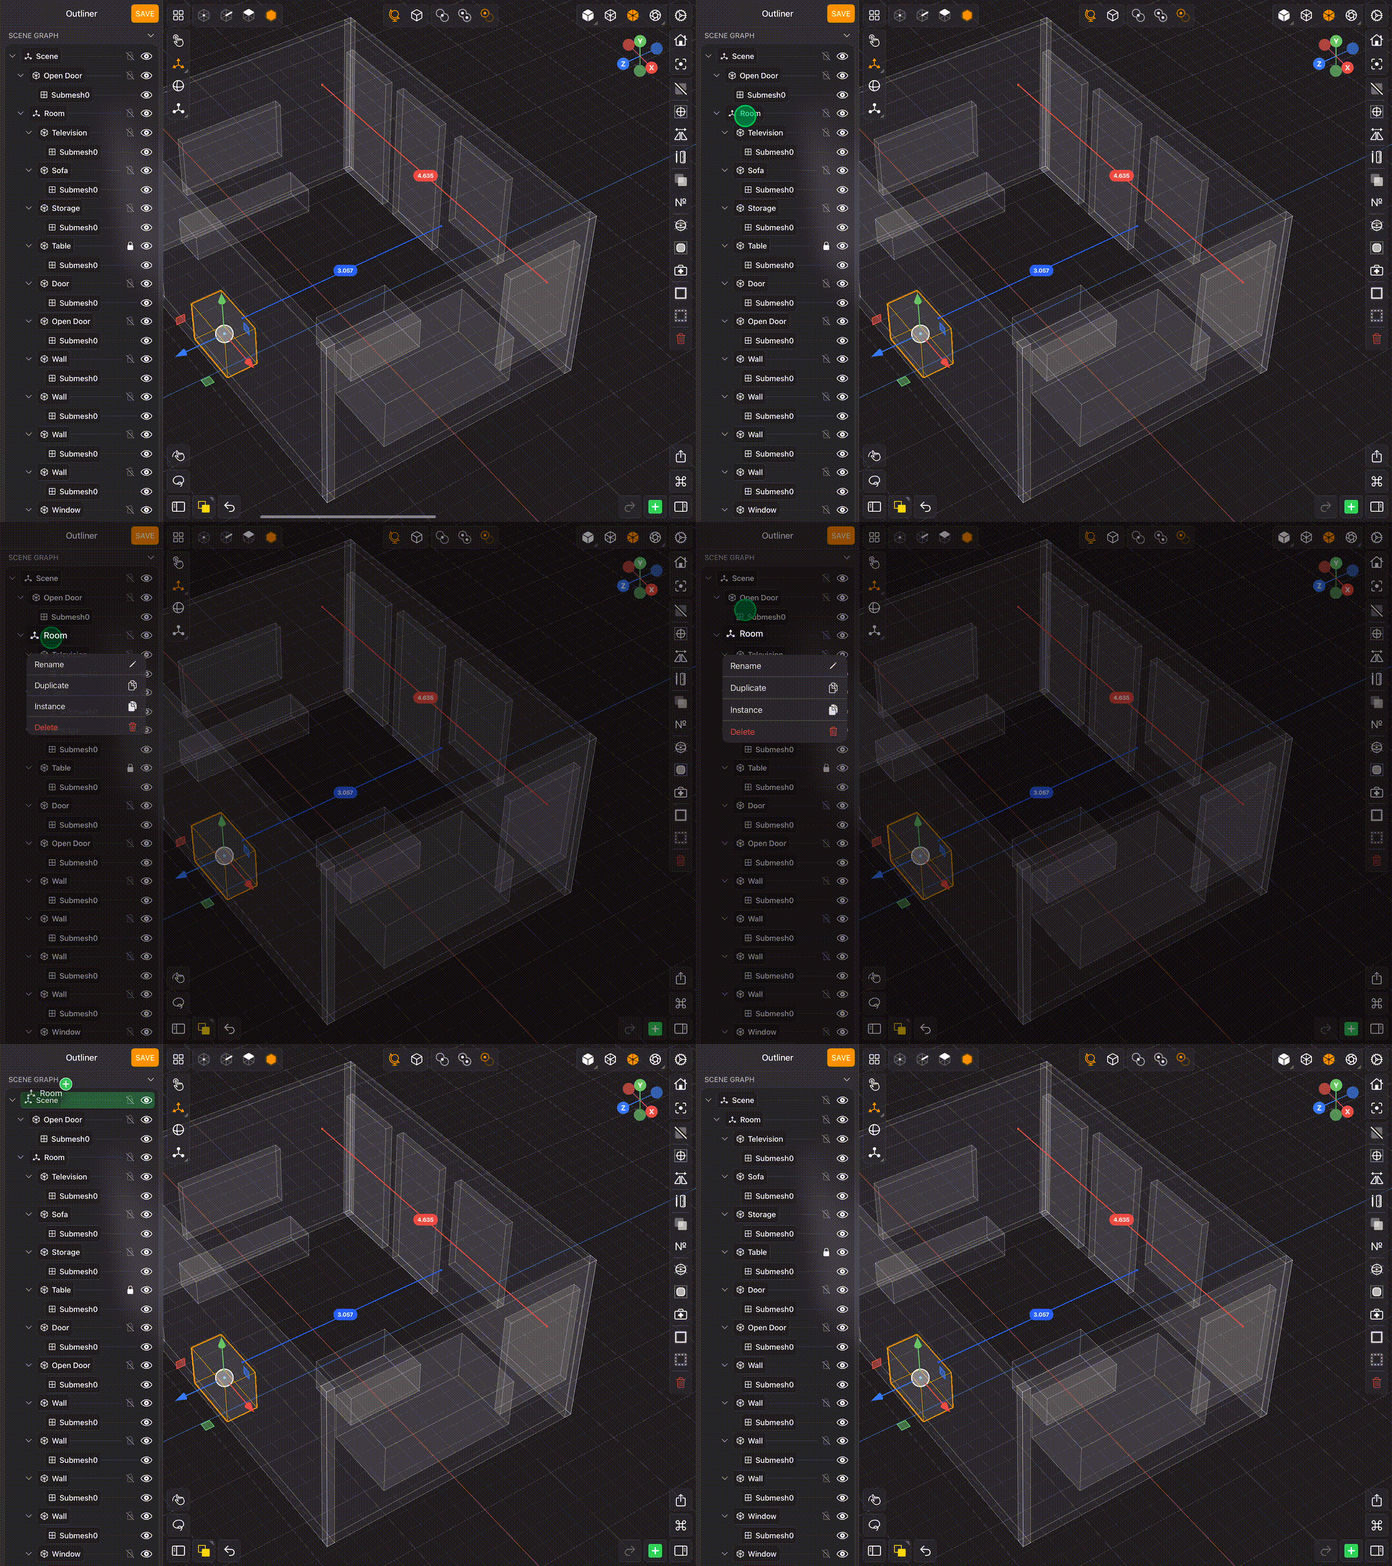
Visibility & Lock
Each row in the Outliner carries two buttons on its trailing edge.
- The eye button hides and shows the node. A hidden node is not rendered and is skipped by snapping and by exports filtered to Visible.
- The lock button locks and unlocks the node. A locked node cannot be selected or edited in the viewport, which is useful for freezing reference geometry you want to model against but not touch.
Hiding or locking a node removes it from the current selection. Both actions are undoable with Undo.
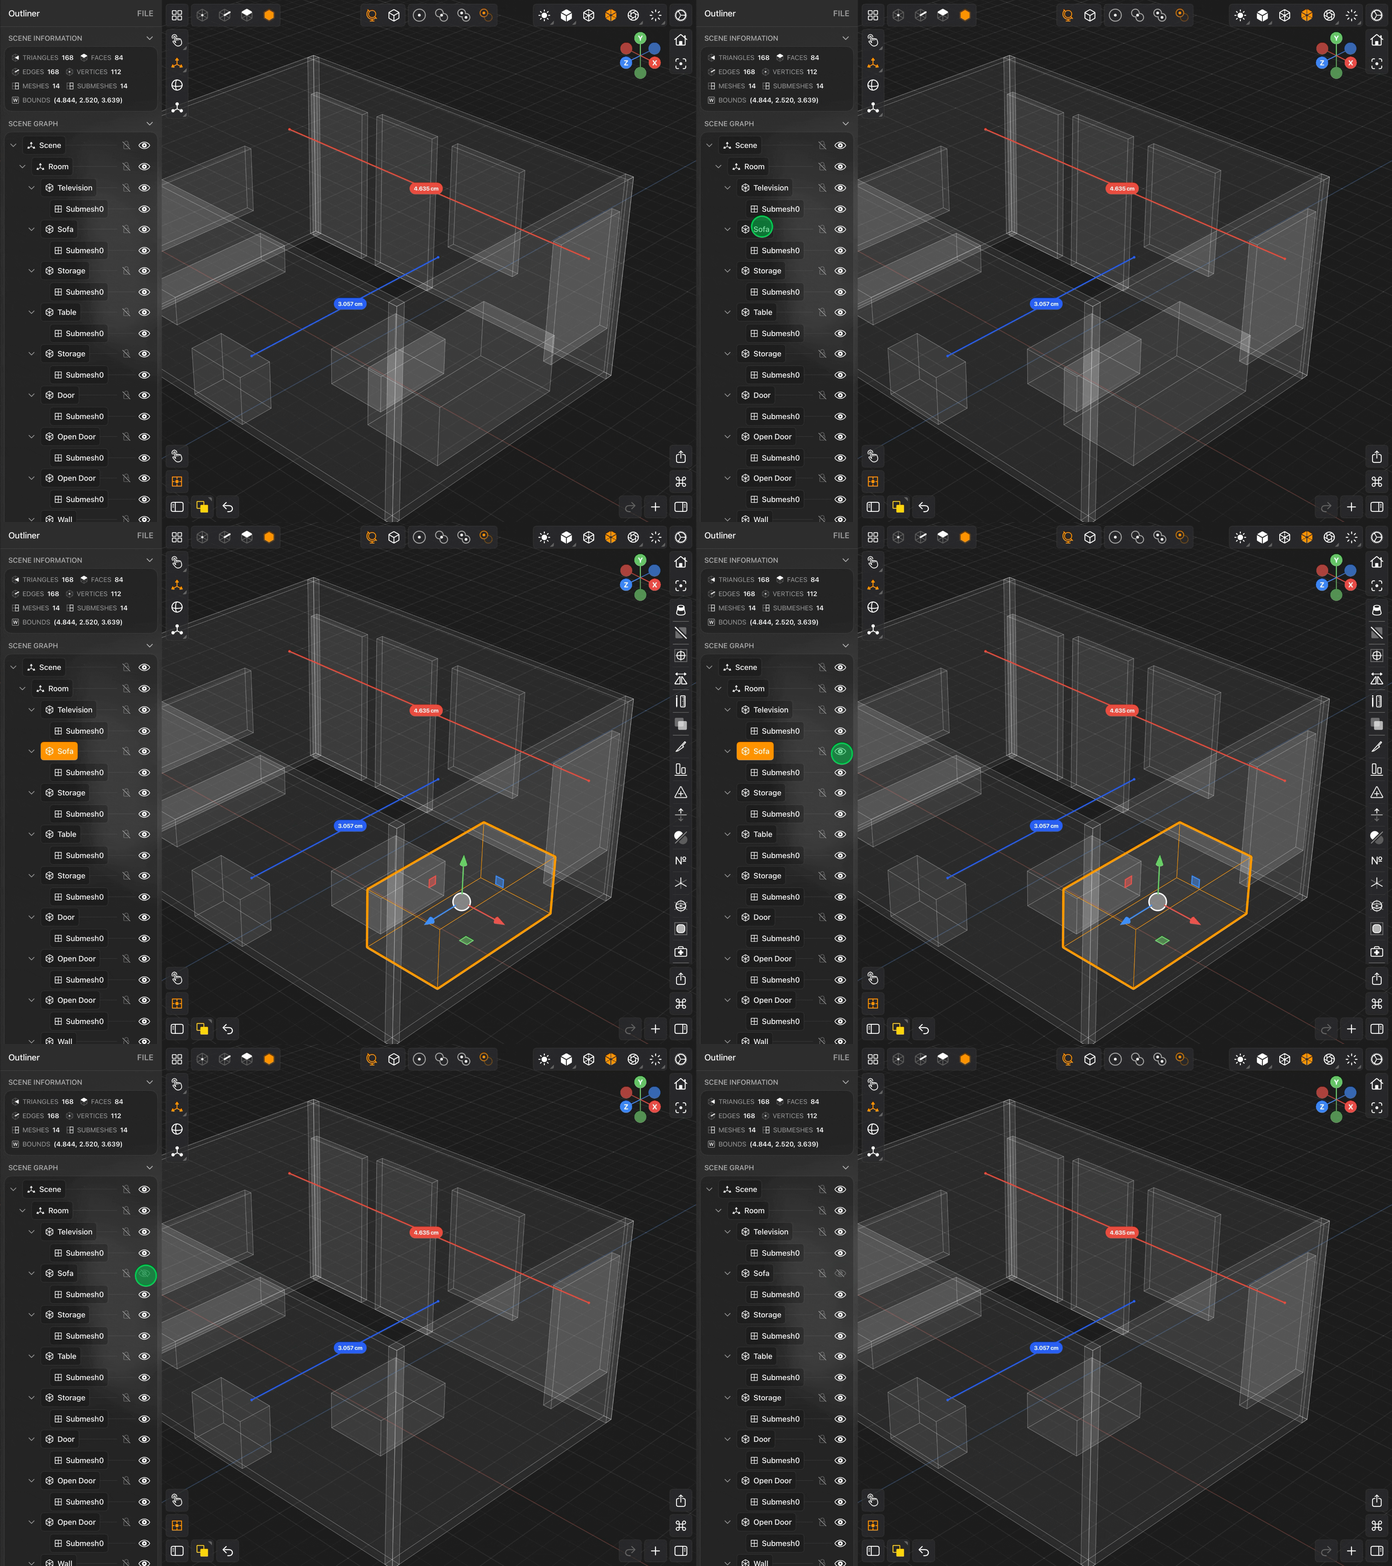
Submesh rows have an eye button but no lock button — locking applies to whole nodes.
Node Context Menu
To see other things you can do with a node in the Outliner, simply touch down on its label and hold. This will expose a context menu with actions you can take (see below).
Context Menu
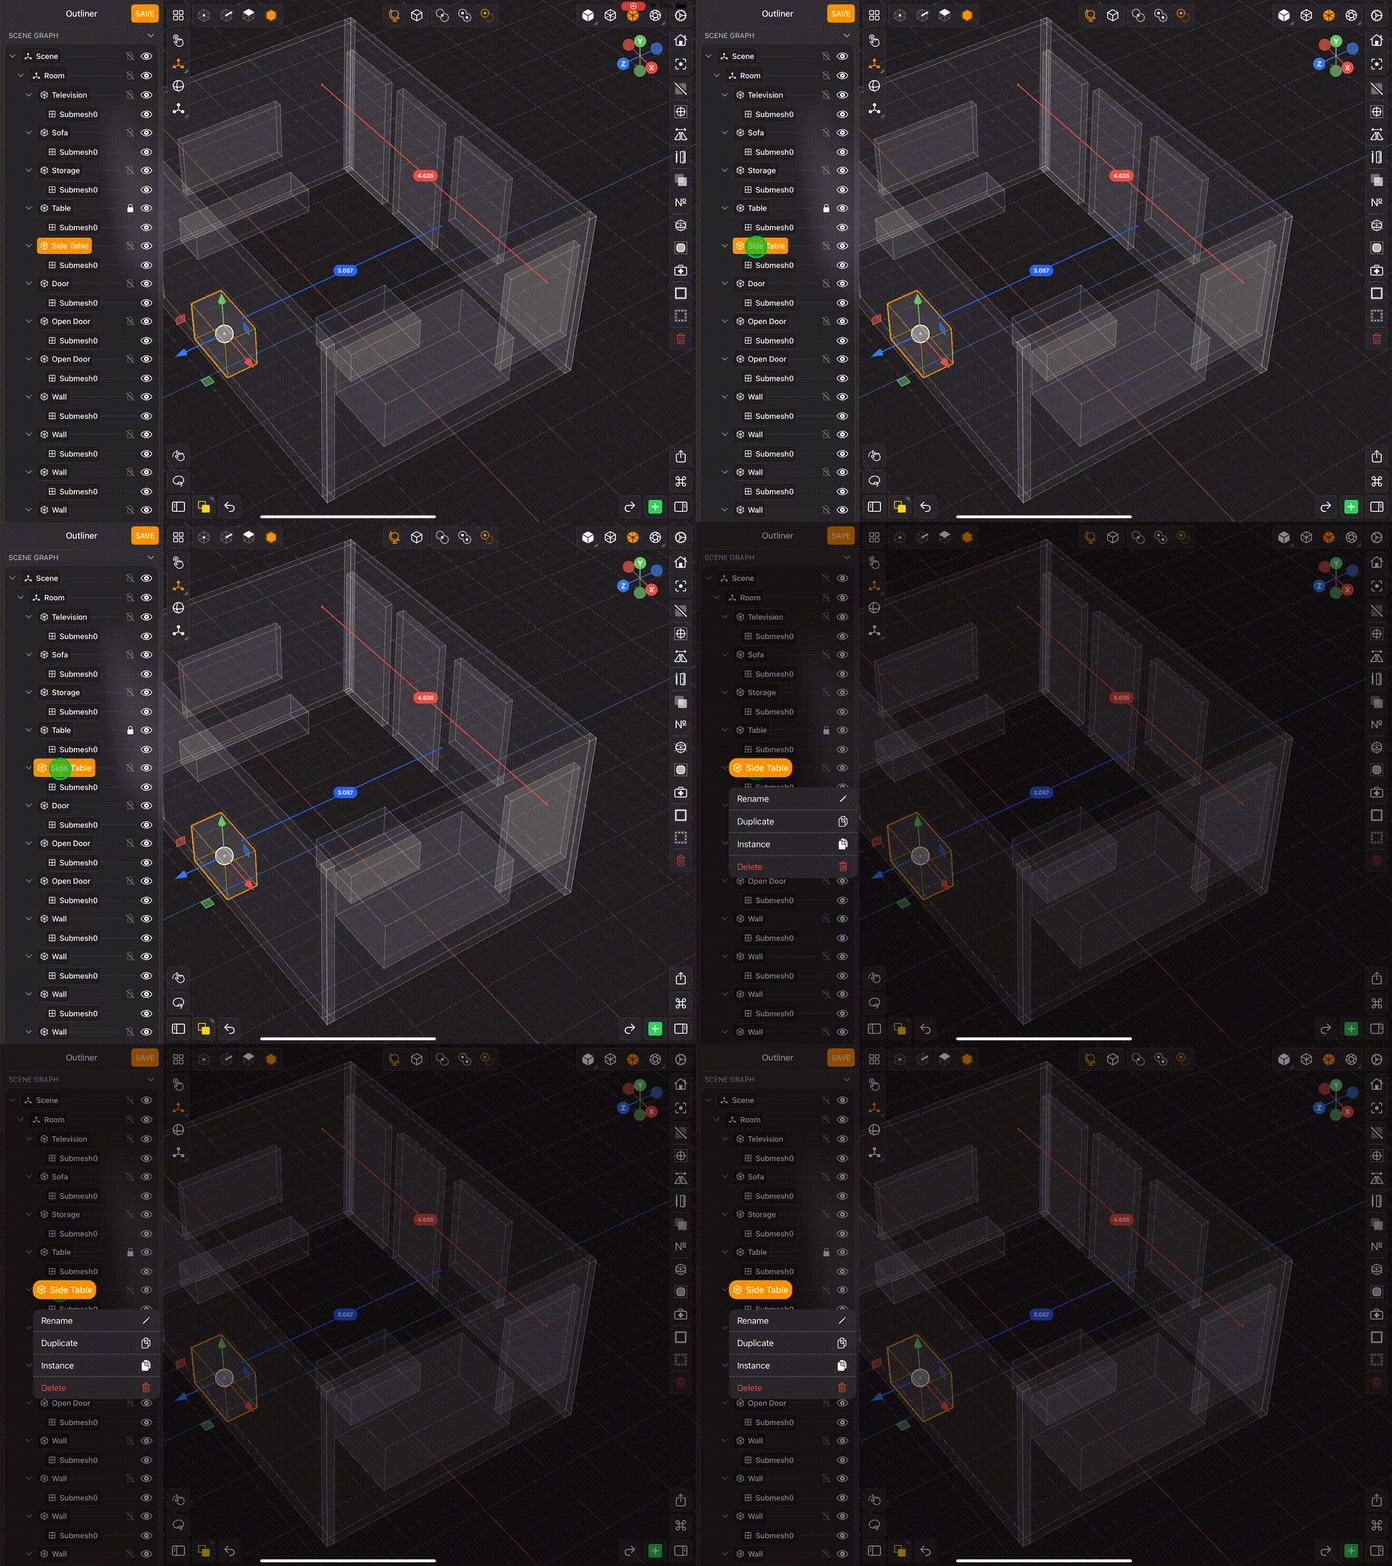
For a mesh, image reference or empty node the menu offers:
- Rename — same as double tapping the label.
- Duplicate — creates an independent copy of the node.
- Instance — creates a copy that shares the original's geometry. Editing one instance's geometry changes all of them, which keeps file size and memory down for repeated parts.
- Detach Instance — only shown on a mesh that is an instance. Gives it its own independent geometry so it can be edited on its own.
- Delete — removes the node.
Submesh Context Menu
Long pressing a submesh row offers a different set of actions:
- Rename — same as double tapping the label.
- Duplicate — copies the submesh's faces into a new submesh on the same mesh.
- Dissolve — merges the submesh back into the rest of the mesh, so its faces take on the neighbouring submesh's material.
- Separate — moves the submesh's faces out into a new mesh of their own.
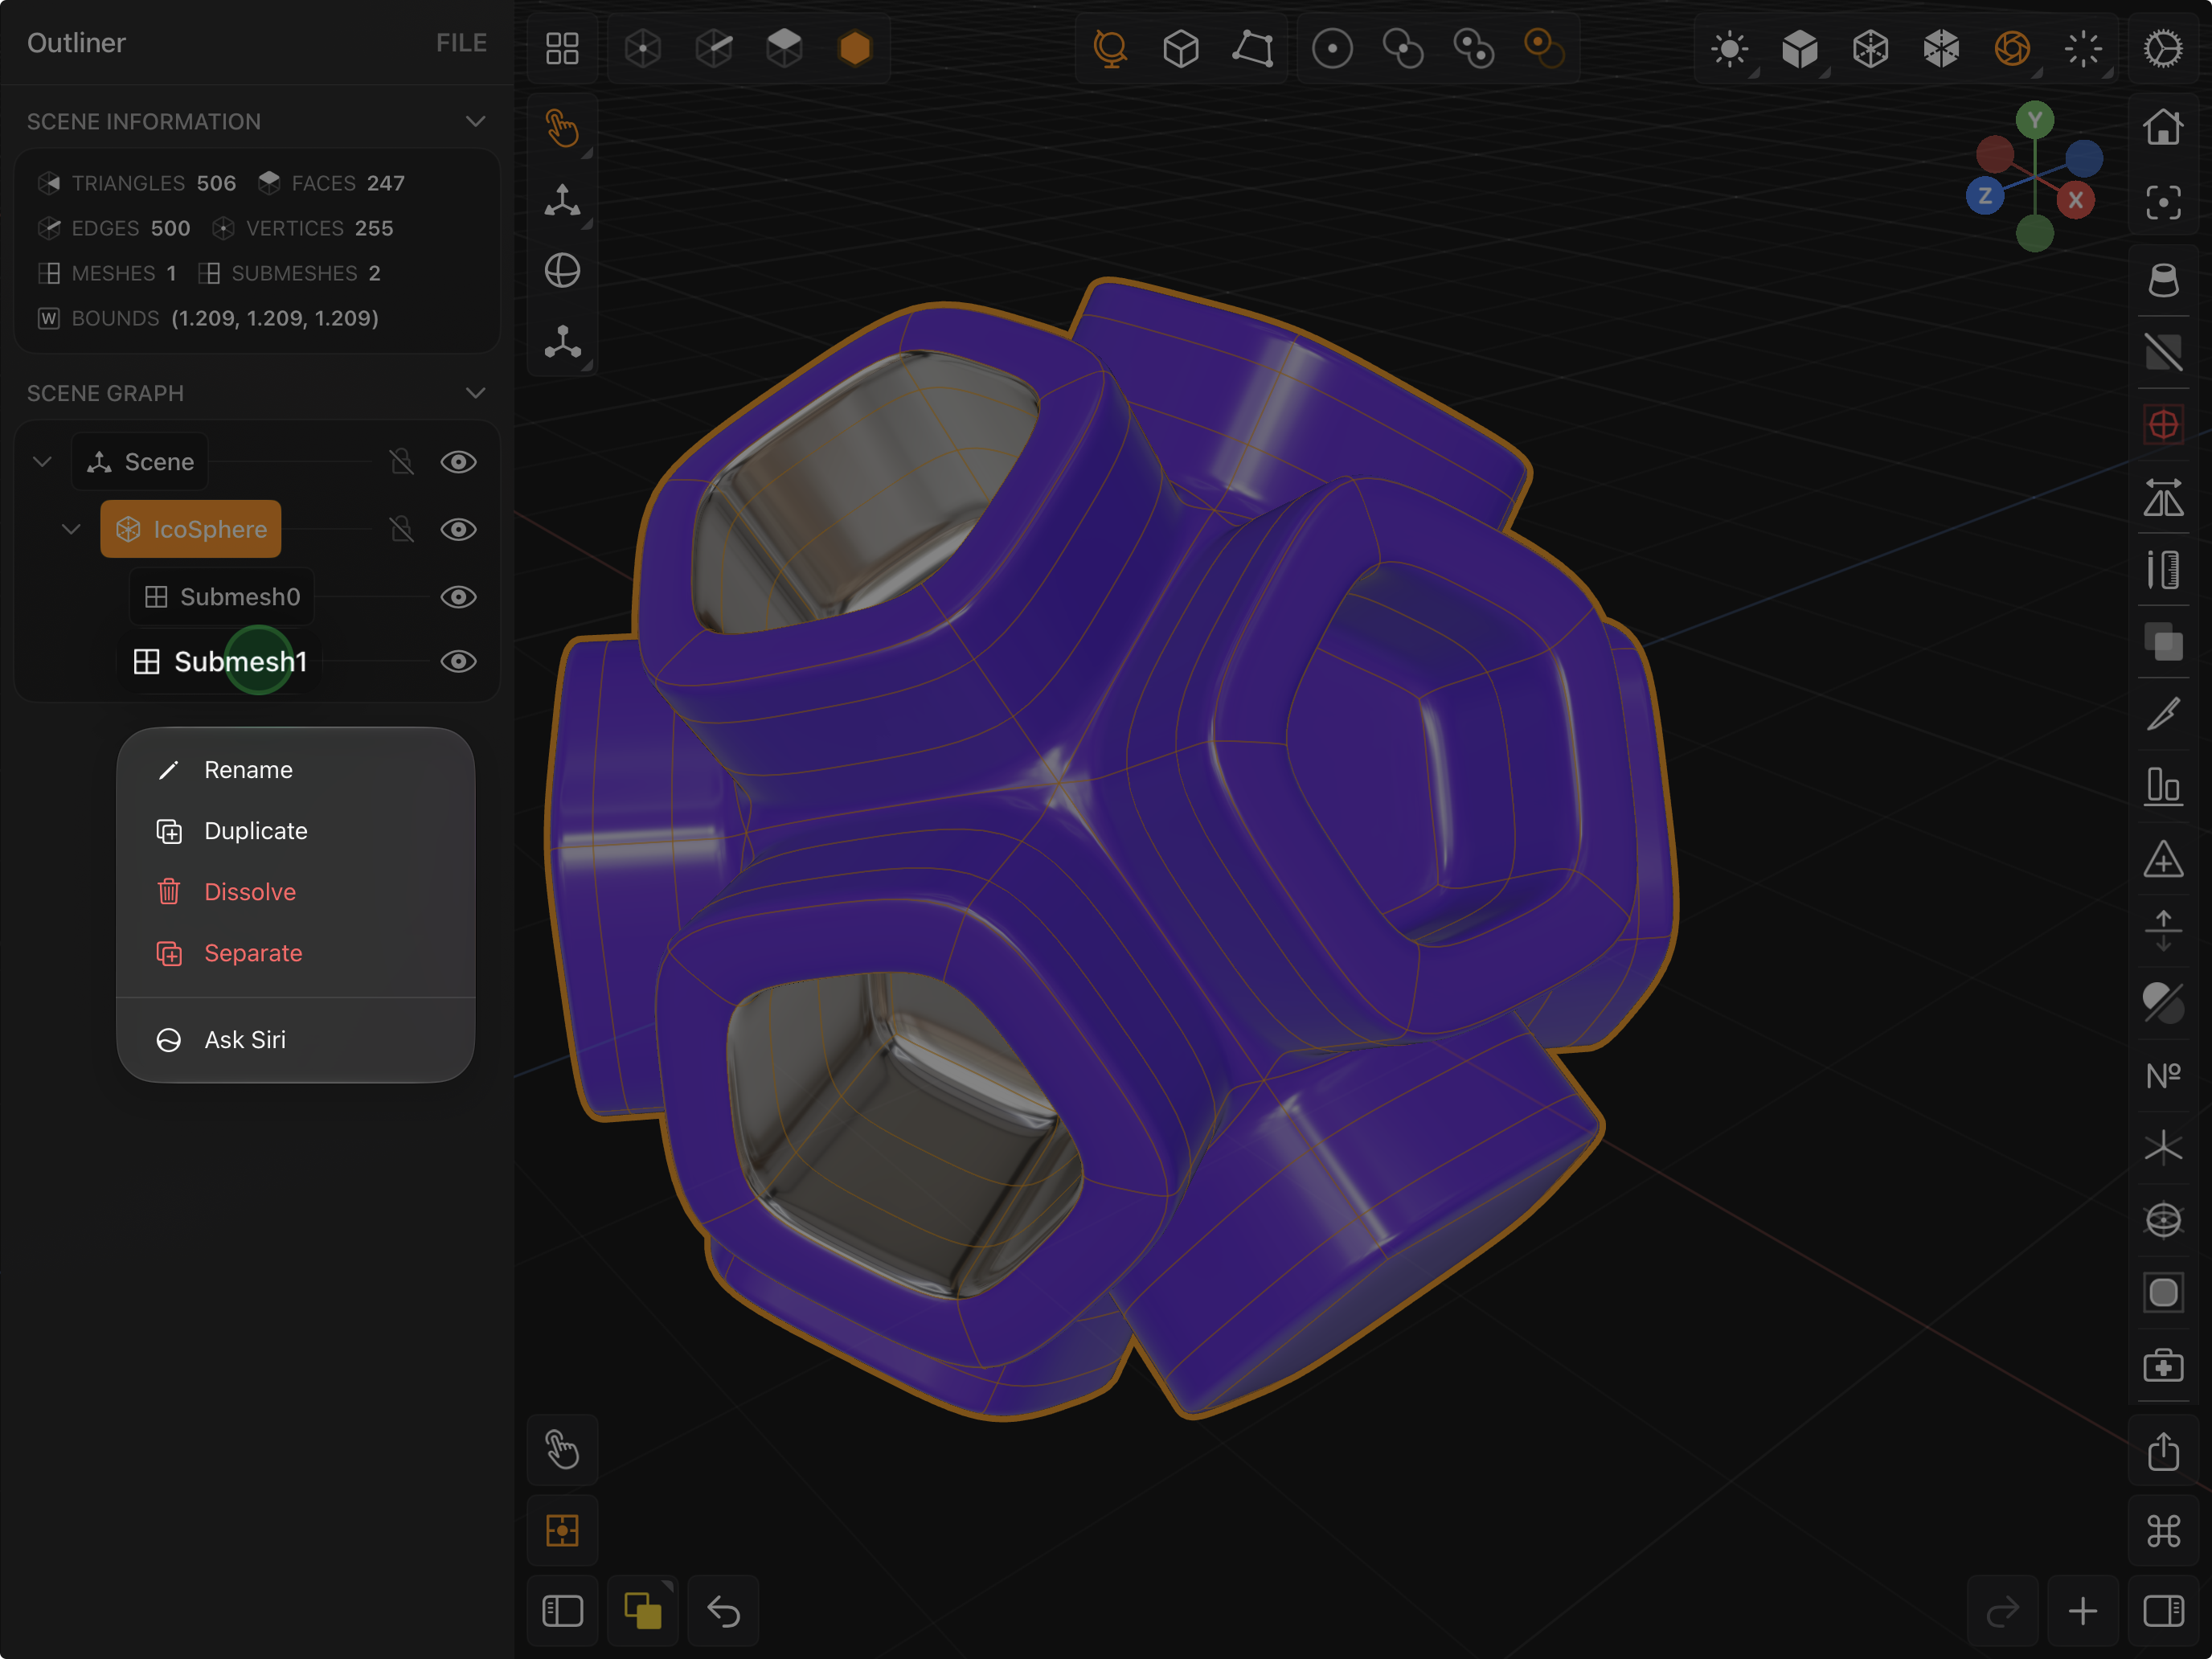
Dissolve and Separate only appear when the mesh has more than one submesh — a mesh always needs at least one.
Saving
The Outliner's header has a FILE menu with two actions:
- Save — saves the current file.
- Save As — prompts for a new filename and saves a copy, leaving the original untouched.
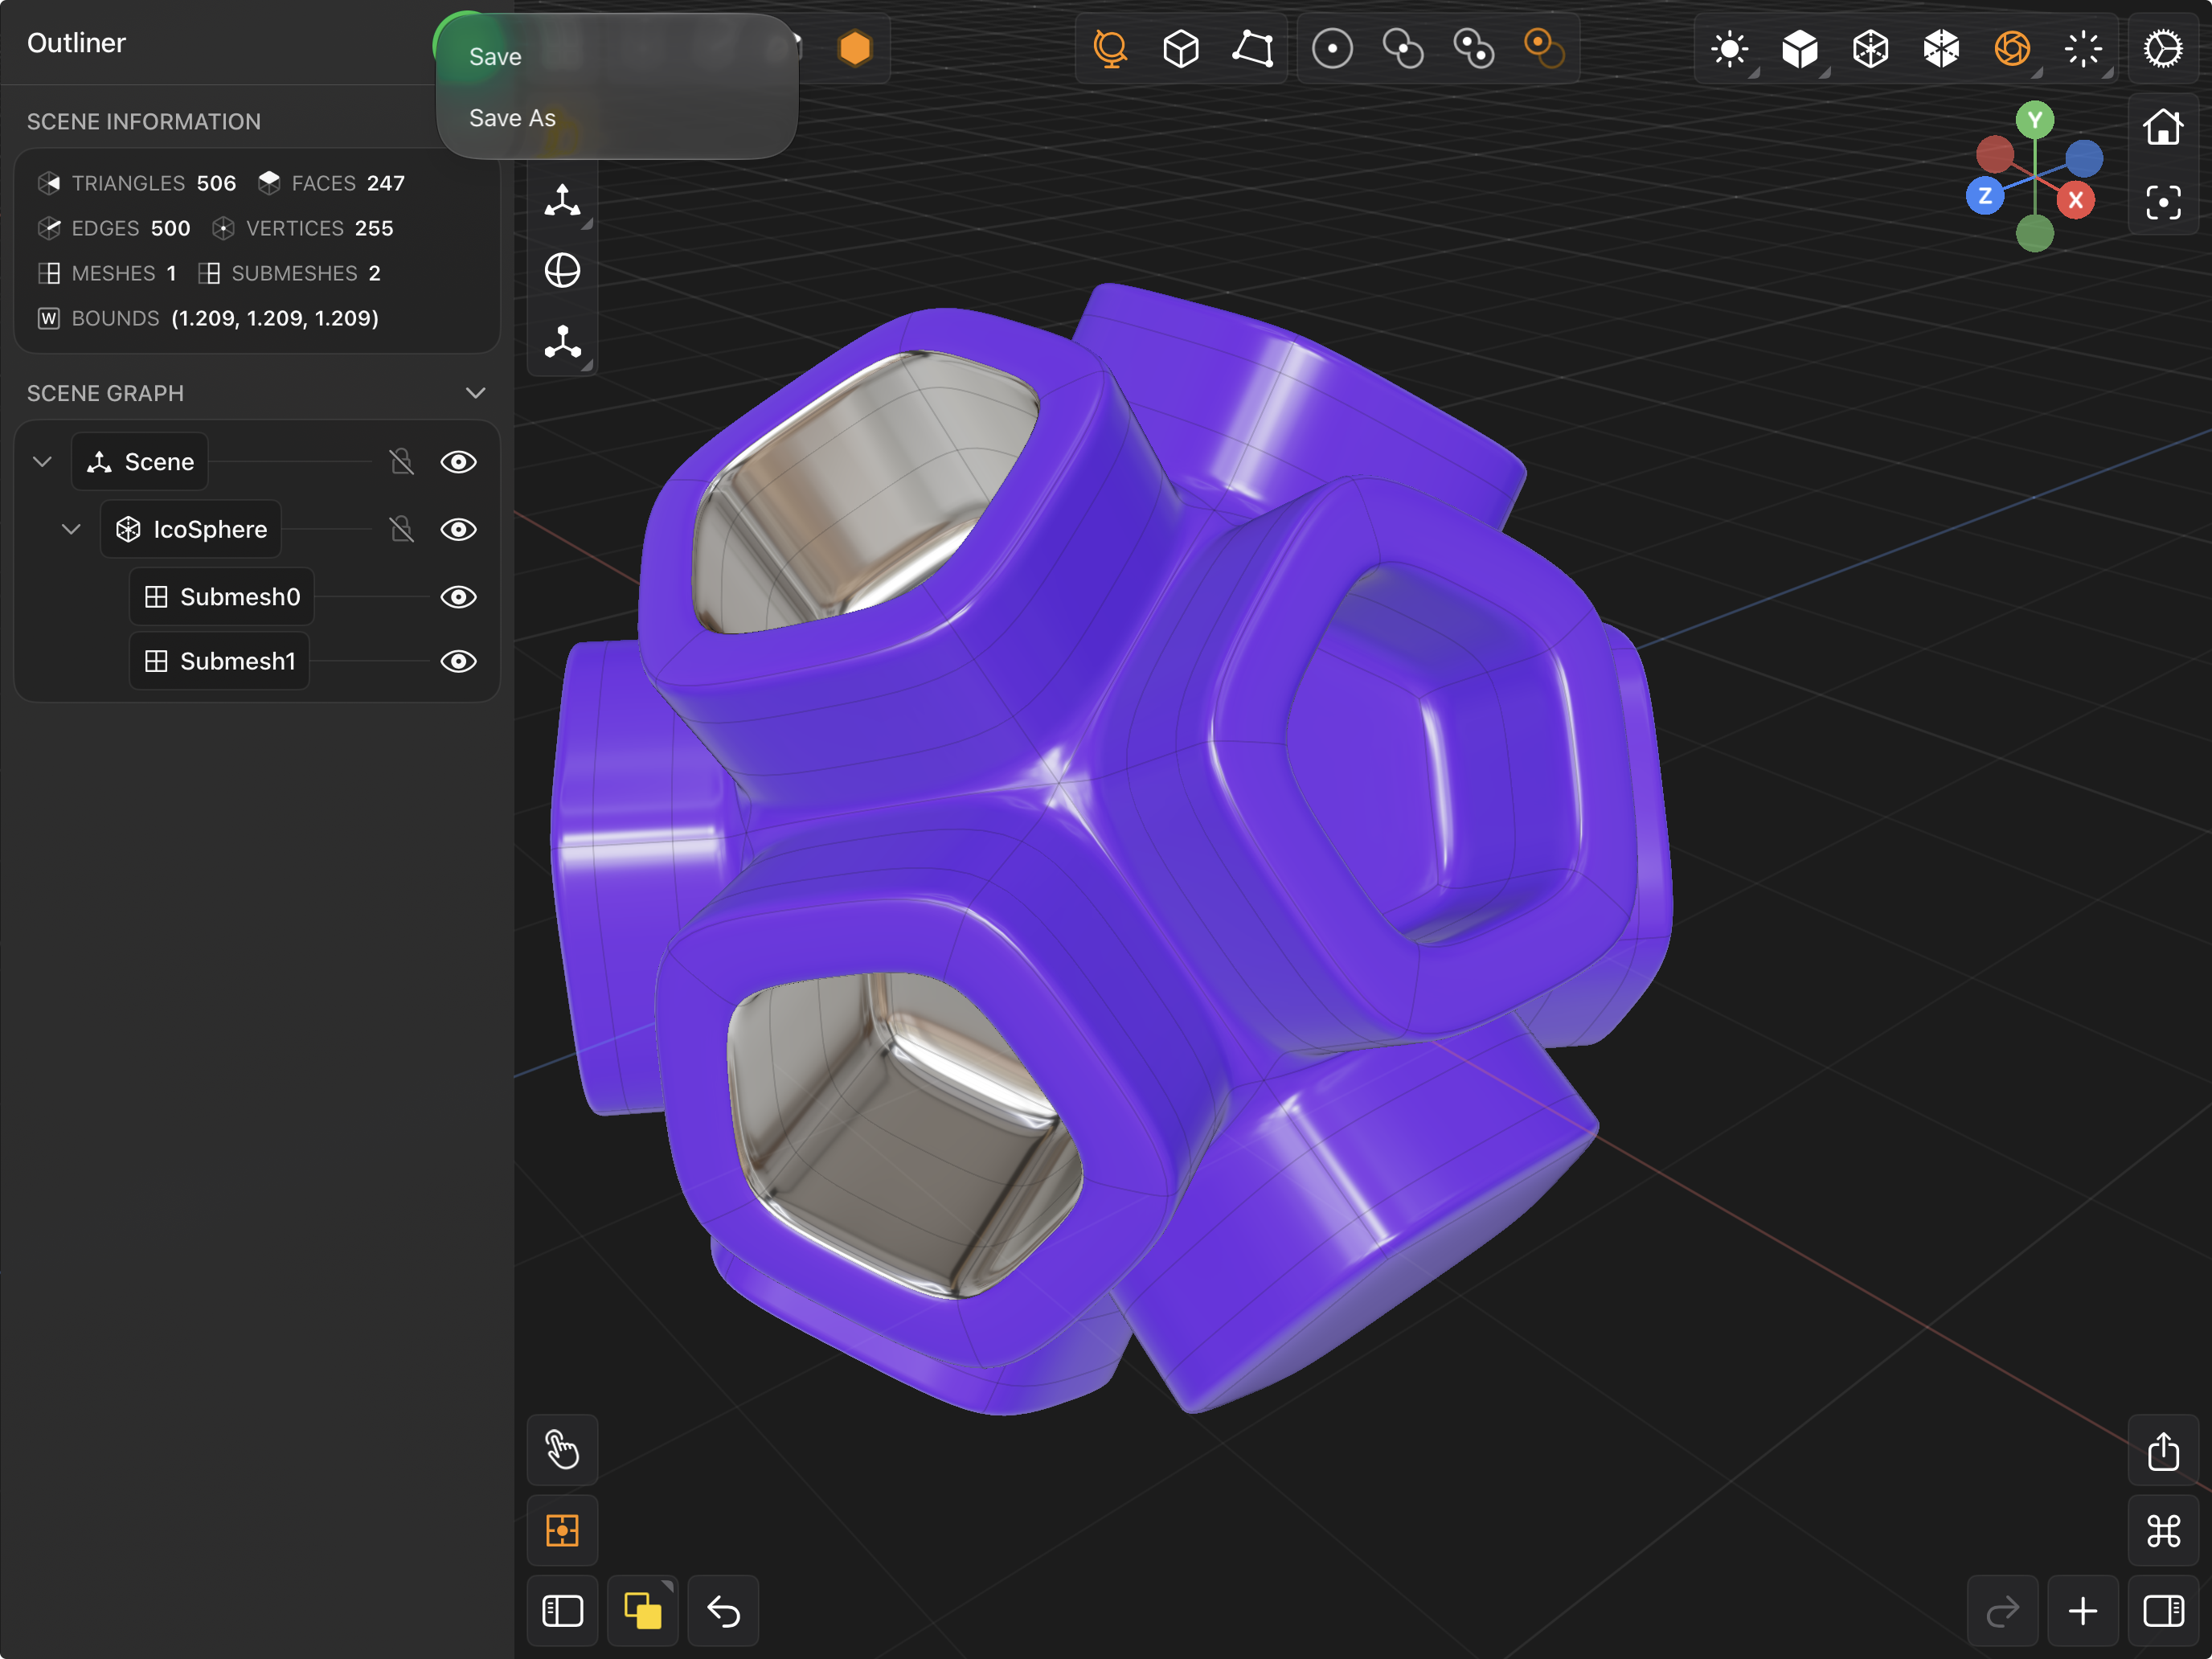
Scene Information
At the top of the Outliner, above the scene graph, the SCENE INFORMATION section summarizes the whole scene — MESHES, VERTICES, EDGES, FACES, TRIANGLES and SUBMESHES counts, plus the scene's overall BOUNDS. These figures cover the entire file regardless of what is selected, and they update as you model.
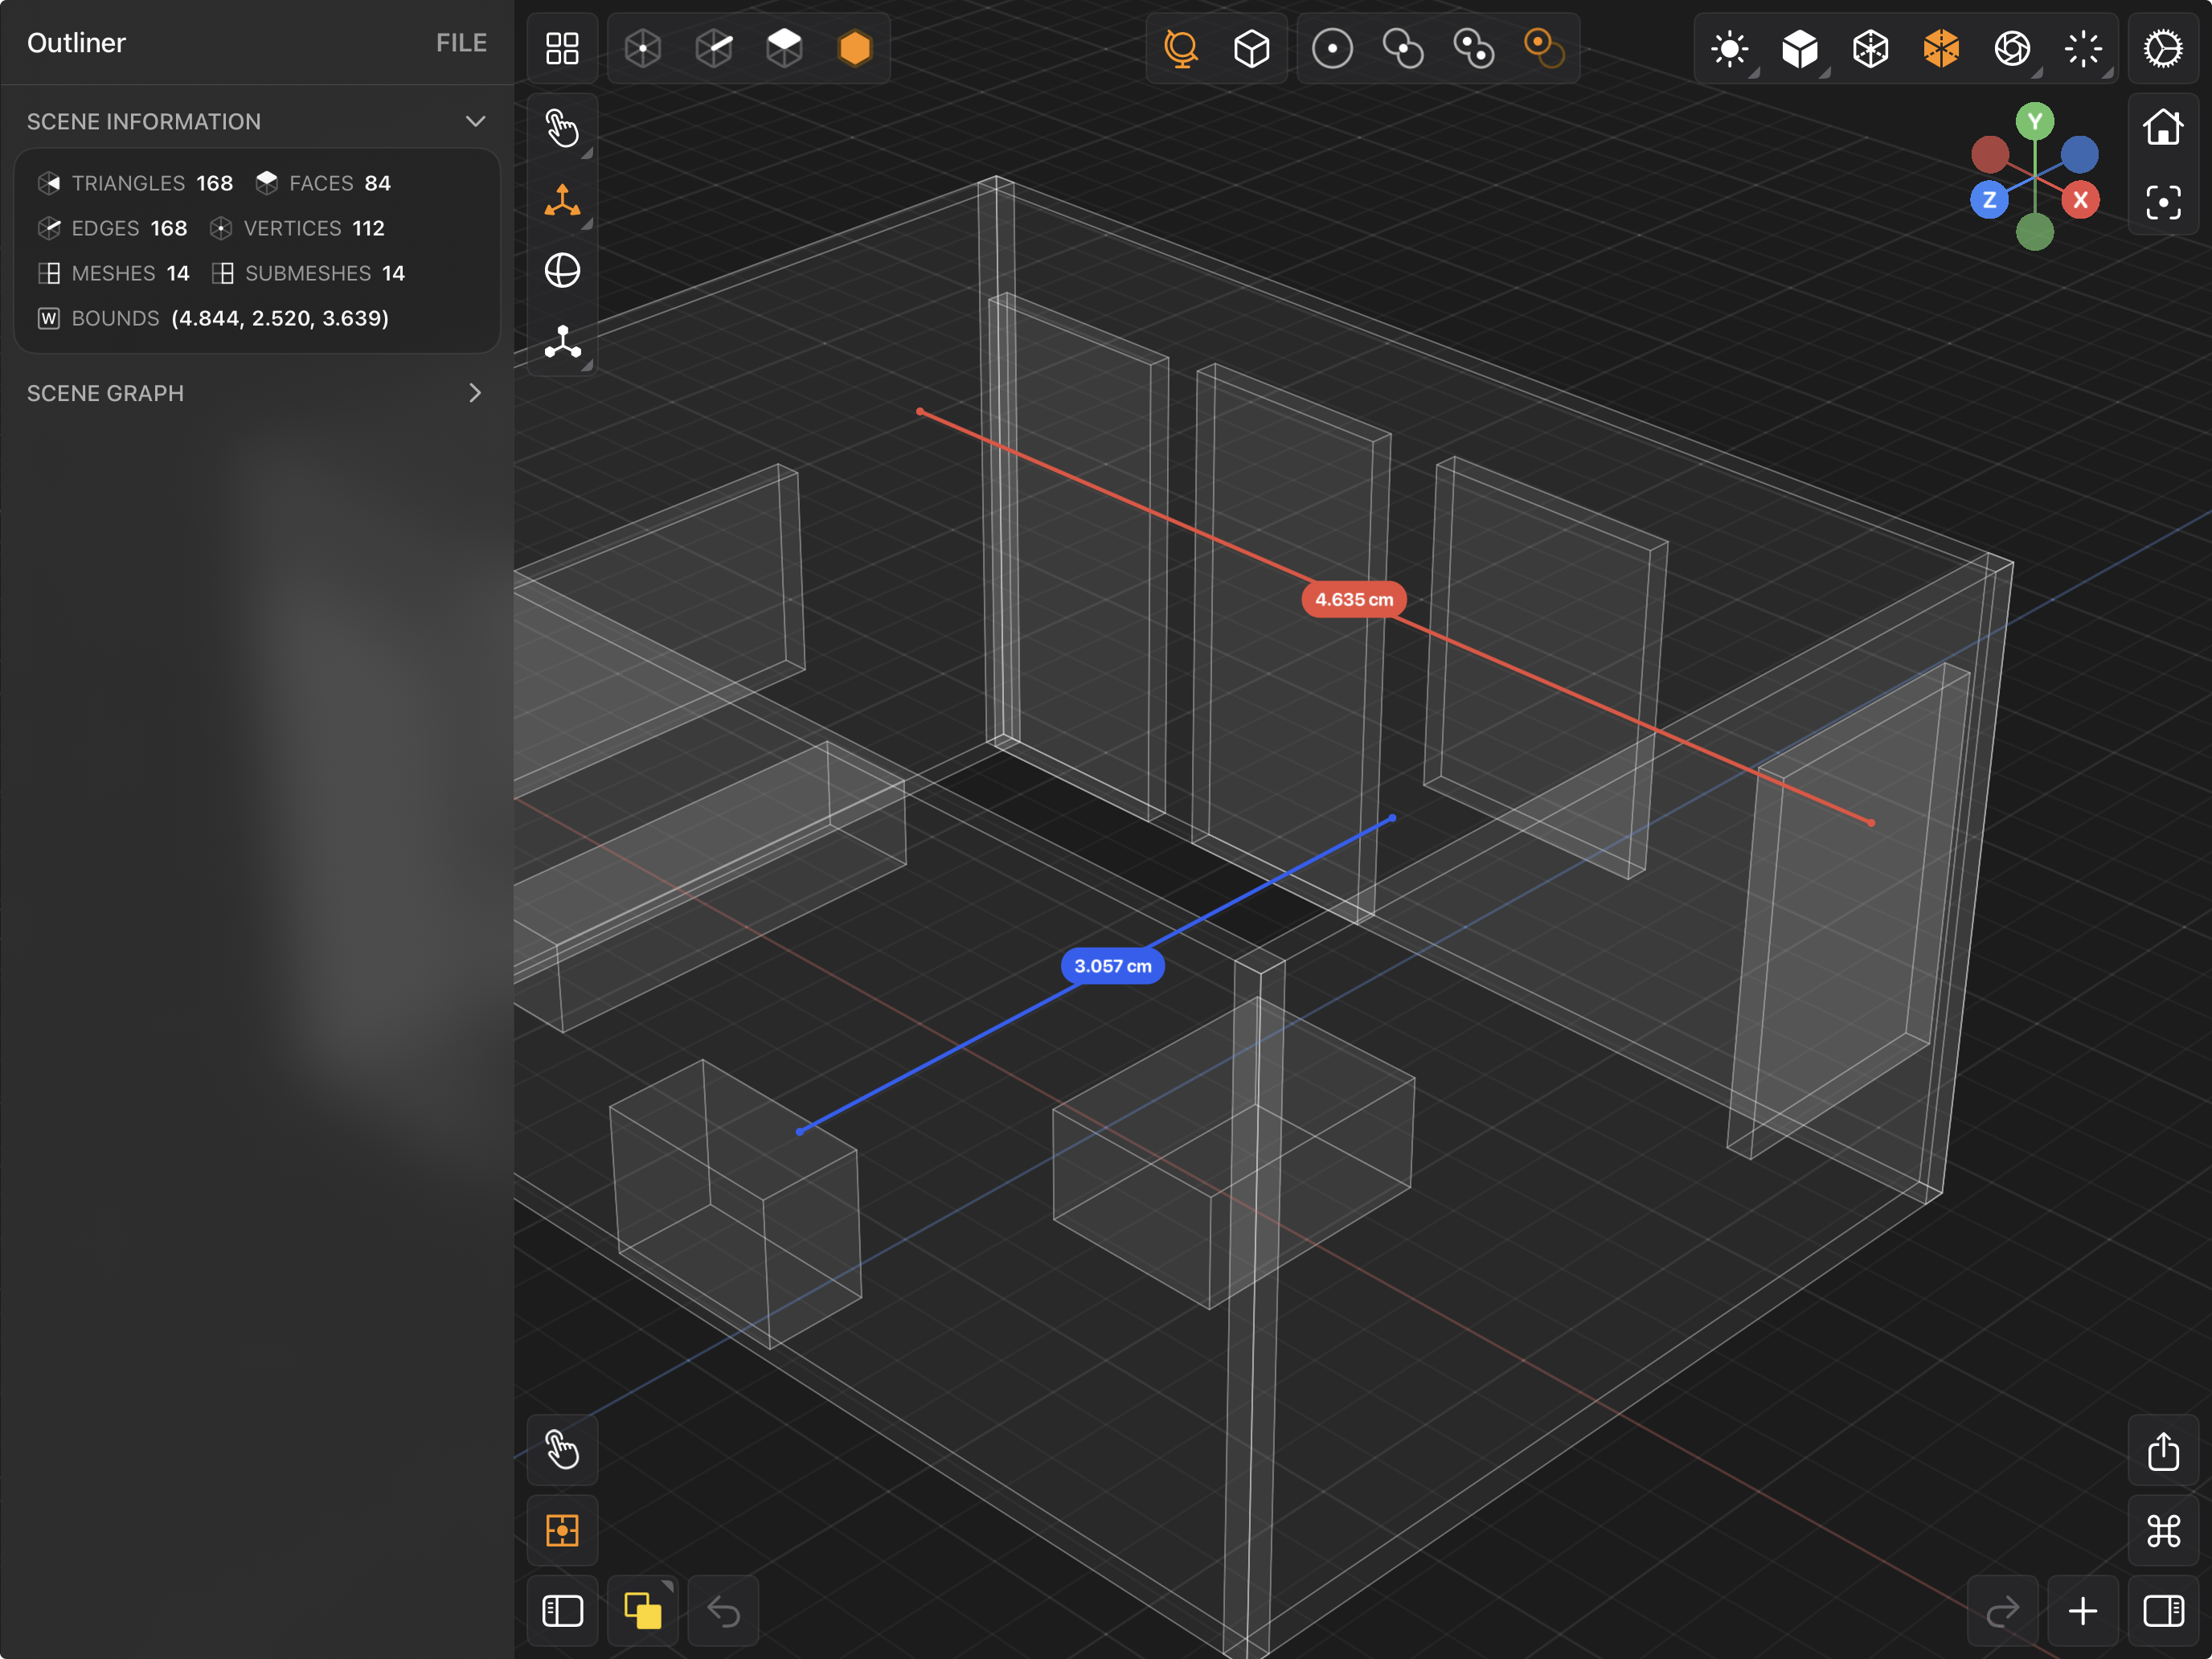
For the same figures on a single mesh, use Mesh Information in the Inspector.