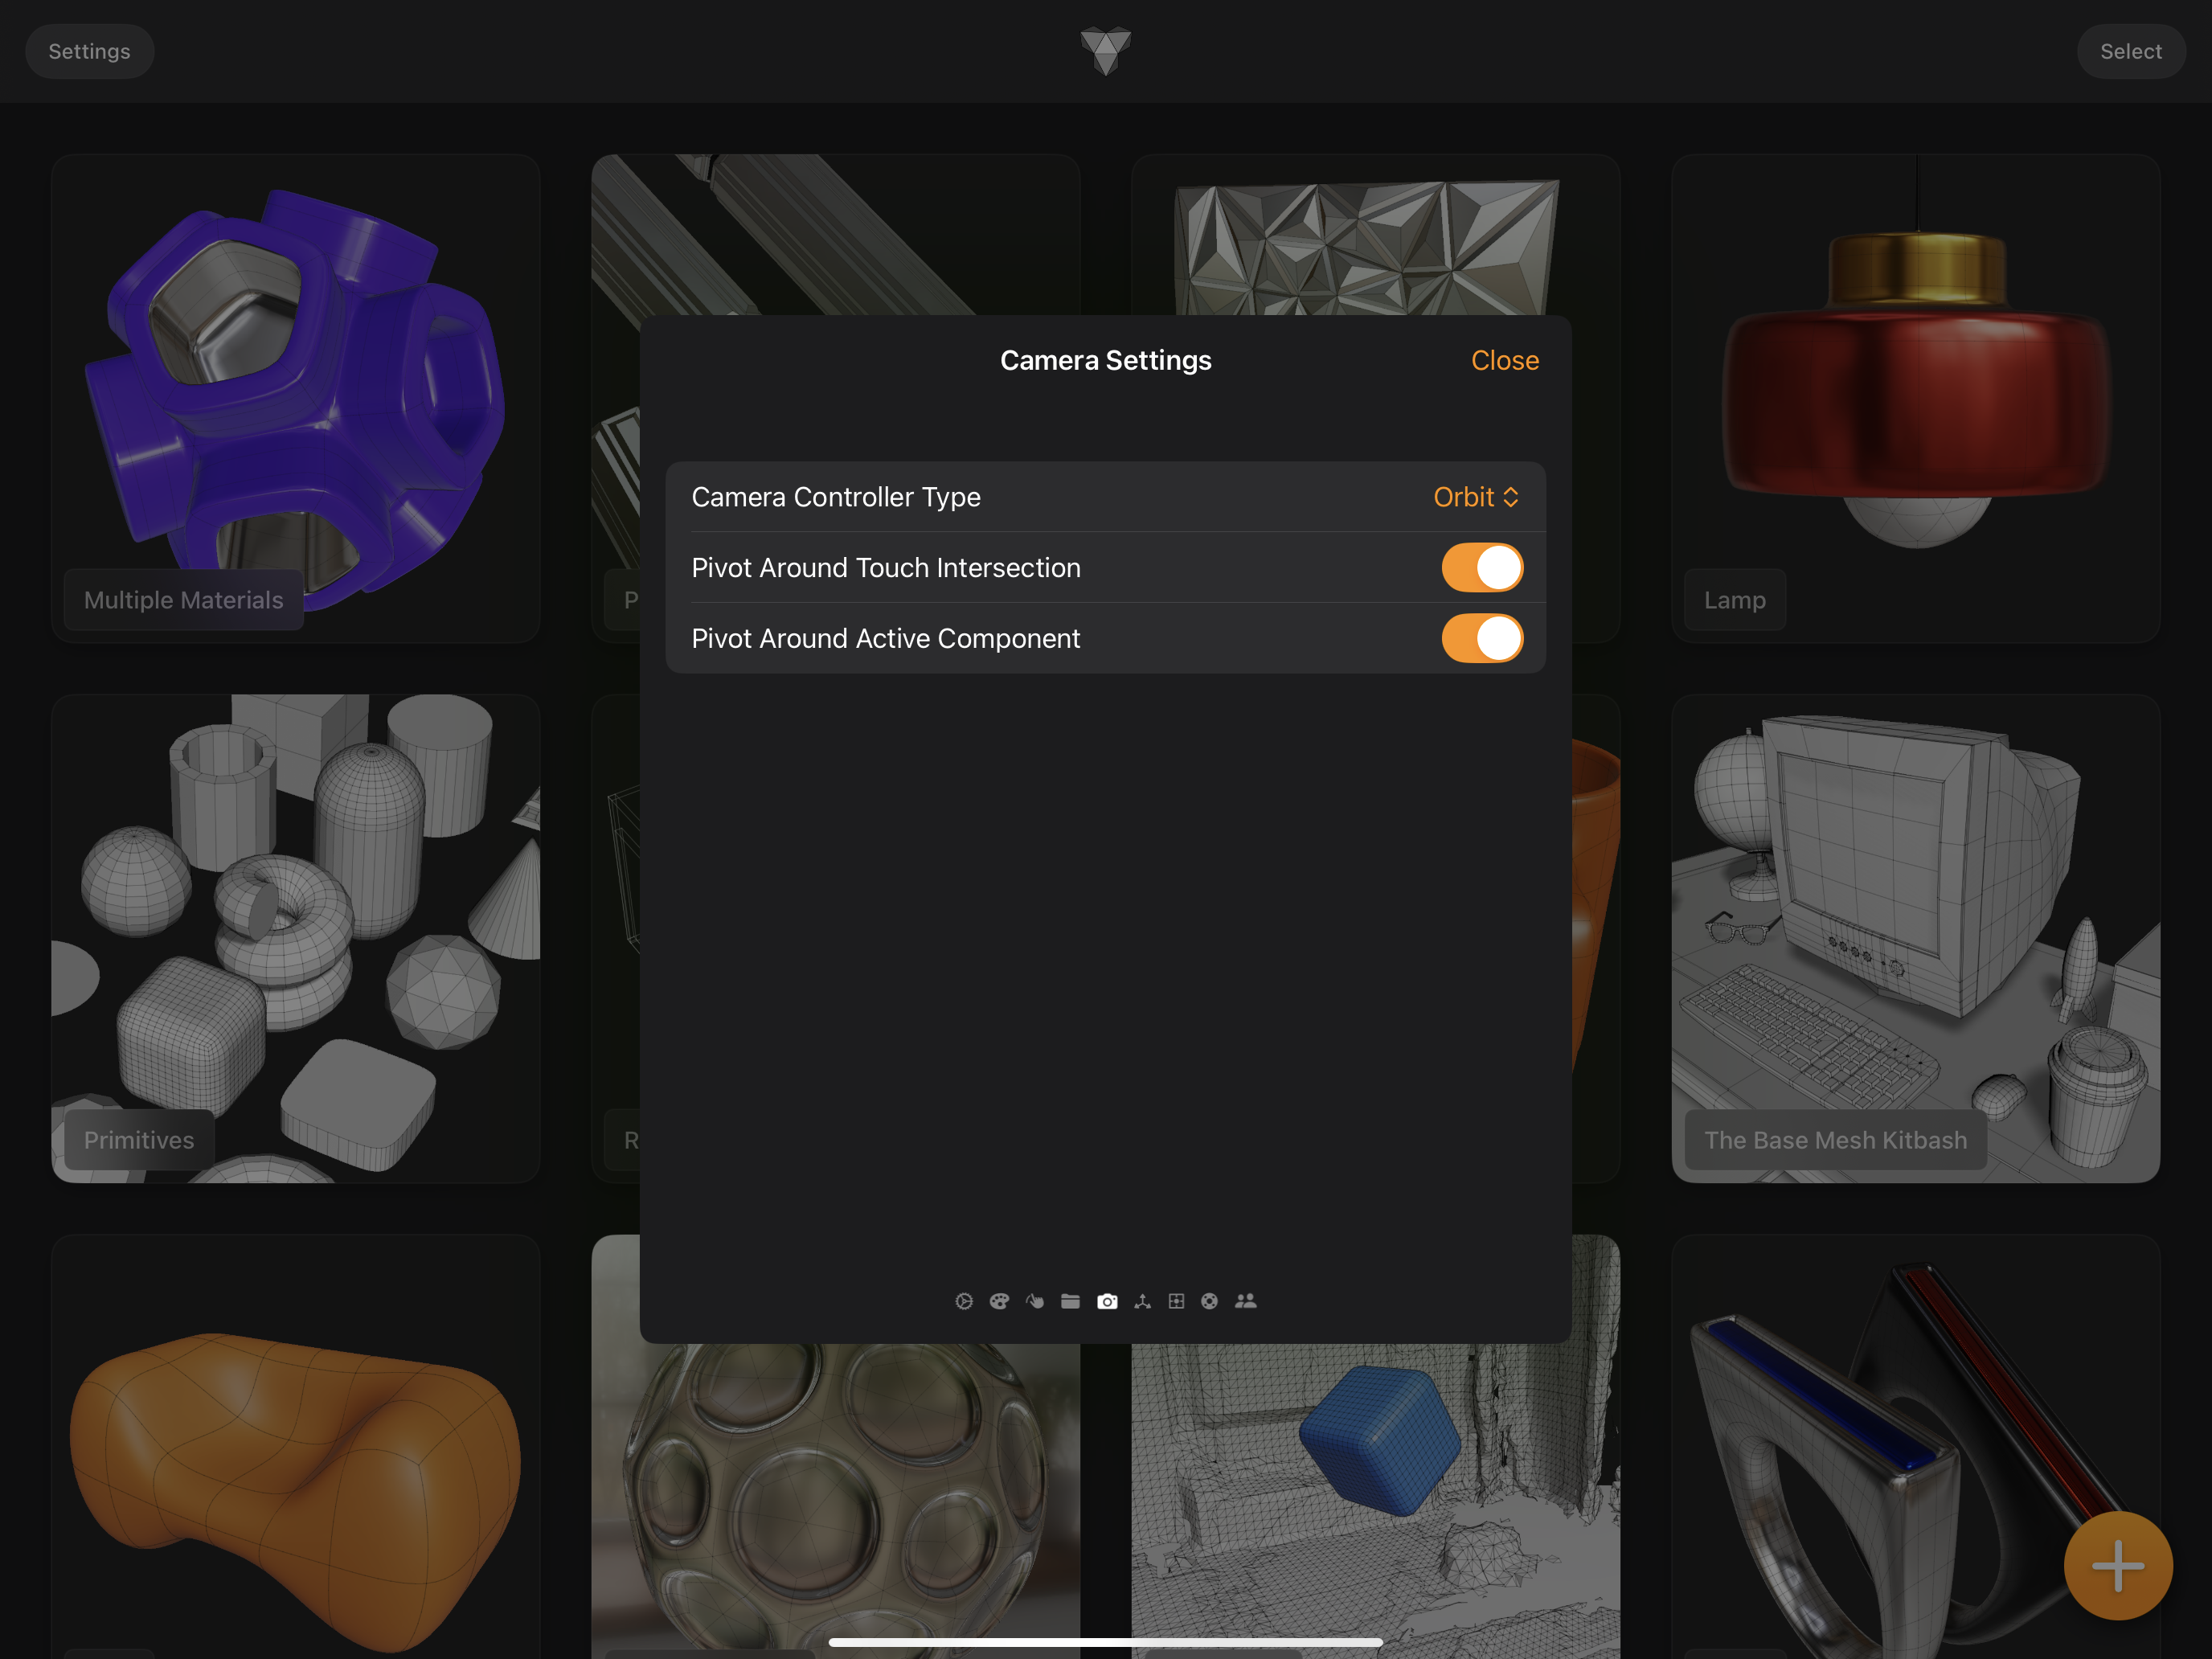
Camera Settings
When modeling in Valence 3D you'll use touch gestures to navigate your scene. There are a couple settings you can set to change how the 3D camera controller behaves. These settings are grouped under Camera Settings page in the Settings sheet.
Modeling is a complex process that requires you to view your scene from various different perspectives to help optimize your commands and actions. Valence 3D's perspective camera controller has a couple features that can help you get into the optimal view point. These features can be configured in the Camera Settings.
Settings Sheet

Camera Controller Type
By default Valence uses an Orbit camera. The type of camera allows you to view your scene from various perspectives while maintaining the camera's up axis to be aligned with the world. This ensures the camera does not roll such that the up axis is not aligned vertically. The other option is an Arcball style camera which will allow for more complex camera orientations but can be disorienting for some users.
Orthographic Camera
When viewing the scene in 2D from either the top, bottom, left, right, front or back orthographic view, you can pan the camera by touching down with one finger and dragging. To zoom in and out, touch down with two fingers and move your fingers apart or closer. To roll the camera, touch down with two fingers and rotate your fingers clockwise or counter-clockwise.
When viewing your scene in 2D (orthographic mode), when you pinch to zoom in or out, the orthographic camera controller will zoom to the center point between your two finger tips.
Perspective Camera
When viewing your scene in 3D, you can rotate the camera by touching down with one finger and dragging. To zoom in and out, touch down with two fingers and move your fingers apart or closer. To roll the camera, touch down with two fingers and rotate your fingers clockwise or counter-clockwise.
When viewing your scene in 3D (perspective mode), Valence 3D uses an arcball style camera controller. You can visualize this by imagining a ball behind the screen. When you swipe the screen with one finger you are rotating the ball. The ball is centered on the camera's pivot point. The pivot point varies depending on what is selected and whether you have initially touch down on a polygon or not.
Pivot Around Touch Intersection
When navigating your scene, if you initially touch down on a polygon, then Valence 3D's perspective camera will set its pivot point to where you have touched (represented by a fleeting blue dot). This is useful when trying to precisely pivot around a part of your model. This is what the Pivot Around Touch Intersection setting does. By default this setting is ON. If you turn this setting OFF then the camera will pivot around the Active Component (the active selection).
Pivot Around Active Component
The Active Component in the scene is either a mesh or meshes that are selected when in Mesh Selection mode. If nothing is selected then the Active Component will default to the scene's centroid. Alternatively if your selection mode is either face, edge, or vertex, then the Active Component will be the centroid of your selection. If no mesh elements are selected, then the Active Component will be the selected mesh. If no mesh is selected, then the Active Component will fall back to the scene's centroid. By default Pivot Around Active Component is on, however if you are finding it hard to navigate a complex scene, try turning this setting off.