Rendering Modes
Valence 3D has various rendering modes that you can select from, depending on what you are trying to accomplish. When 3D modeling, its sometimes helpful to be able to see through your meshes. Other times its helpful to see a more physically accurate representation of your scene. And sometimes you just need simple diffuse rendering to help you focus on refining forms, scene composition, etc.
If you are on iPad, to switch rendering modes, tap on one of the Rendering Mode buttons located near the top right corner of the screen. The active rendering mode is always tinted orange. If you are on iPhone, then tap on the Toggle Rendering Modes button located near the top right corner of the screen. Then pick one of the rendering modes in the modal overlay that pops up. The active rendering mode is always shown in the Toggle Rendering Modes button.
Regardless of device, if you tap on a rendering mode button twice (and it has a small triangular shape located on its bottom right corner), a modal sheet will popup and display options for that rendering mode. The sections below describes each rendering mode.
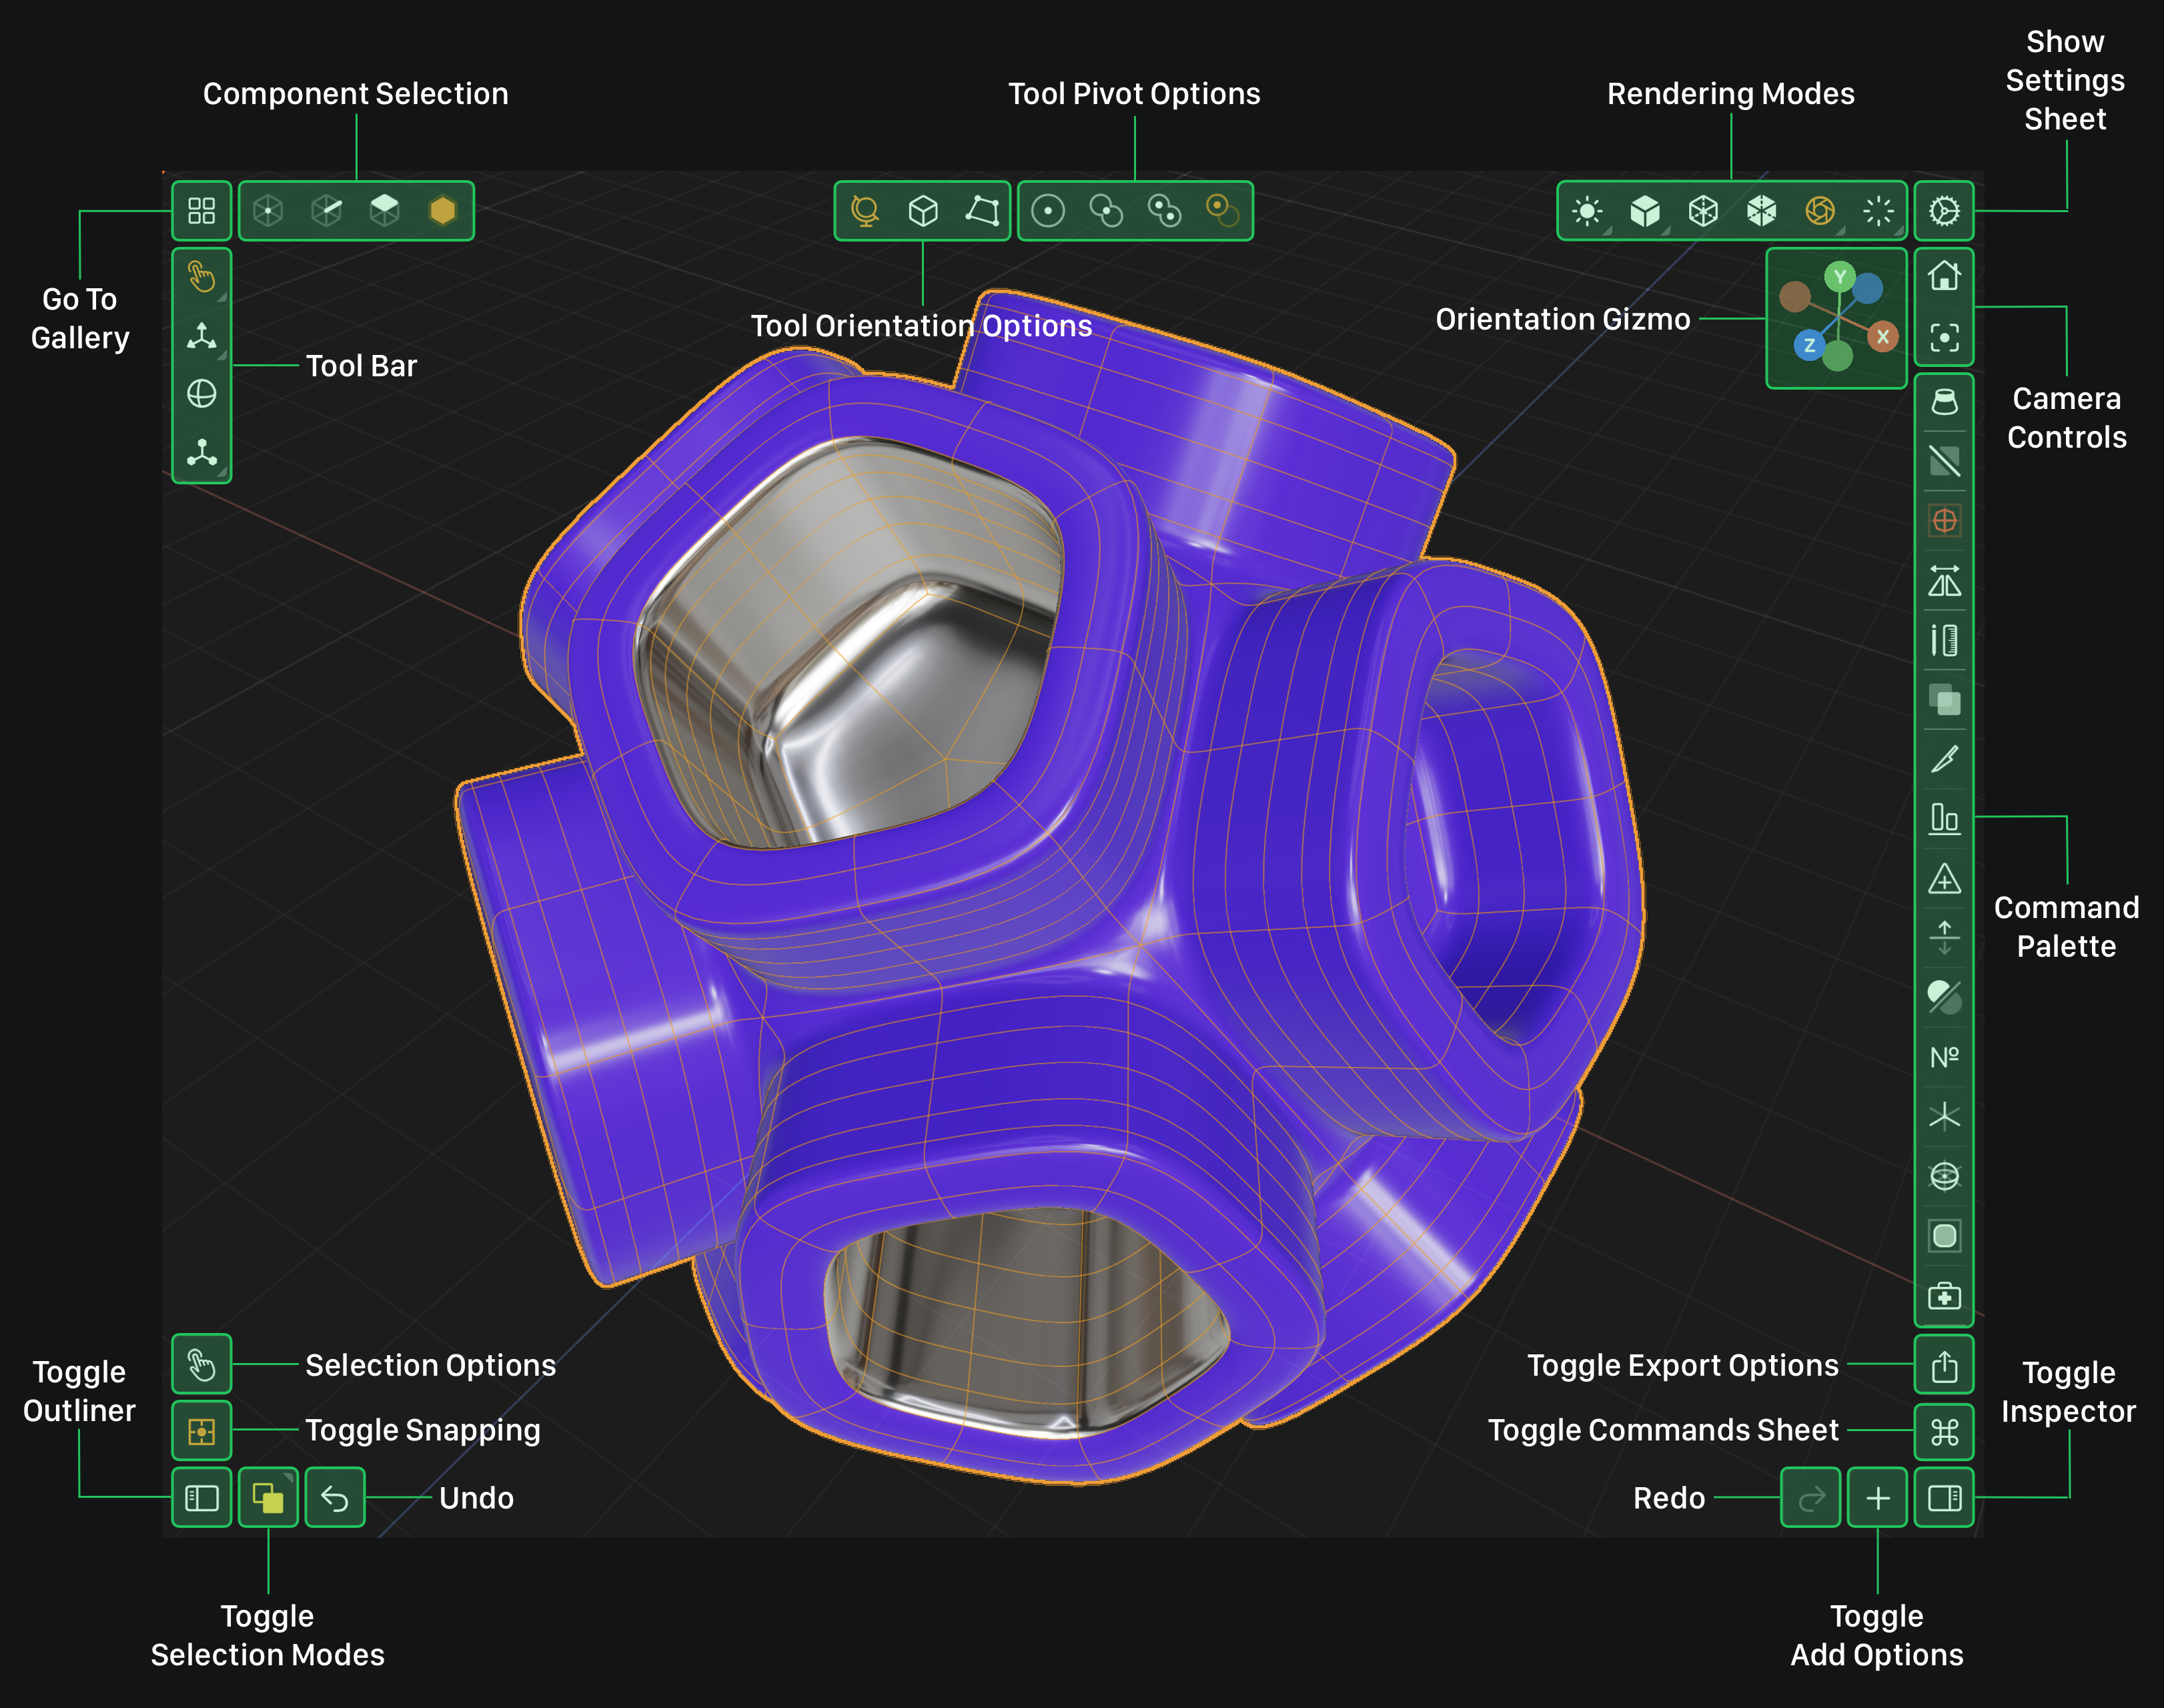
Modeler Interface
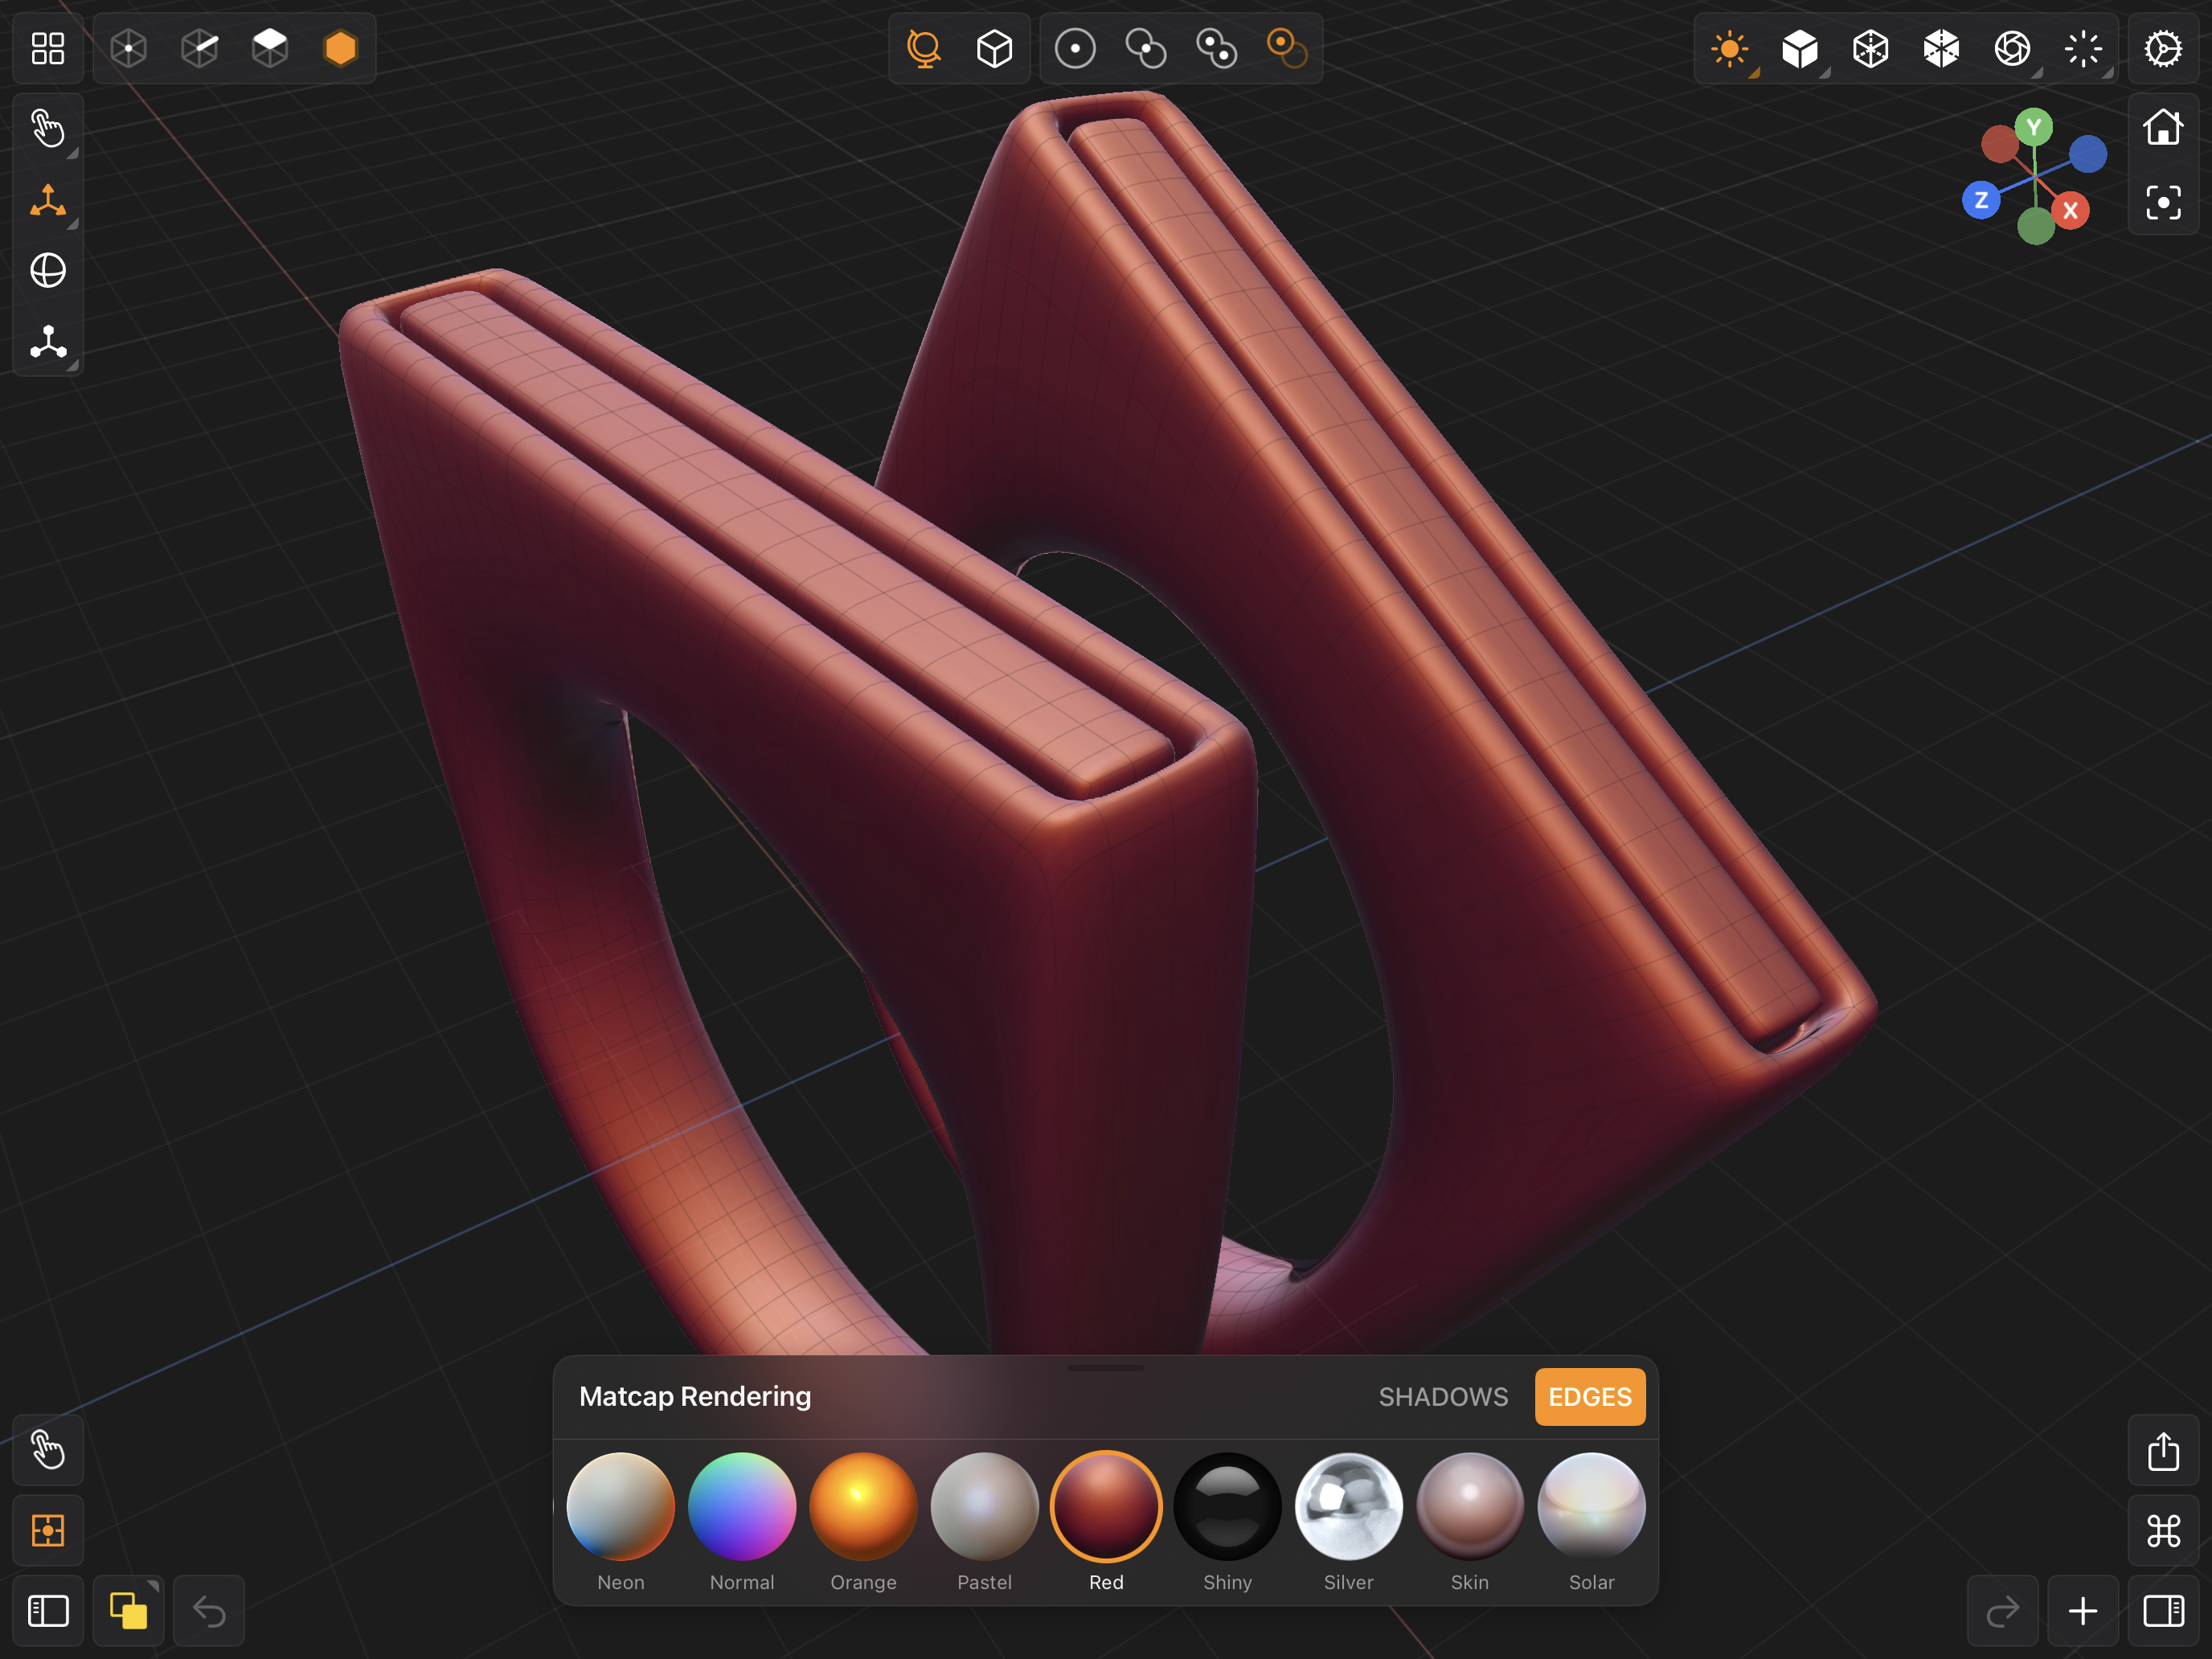
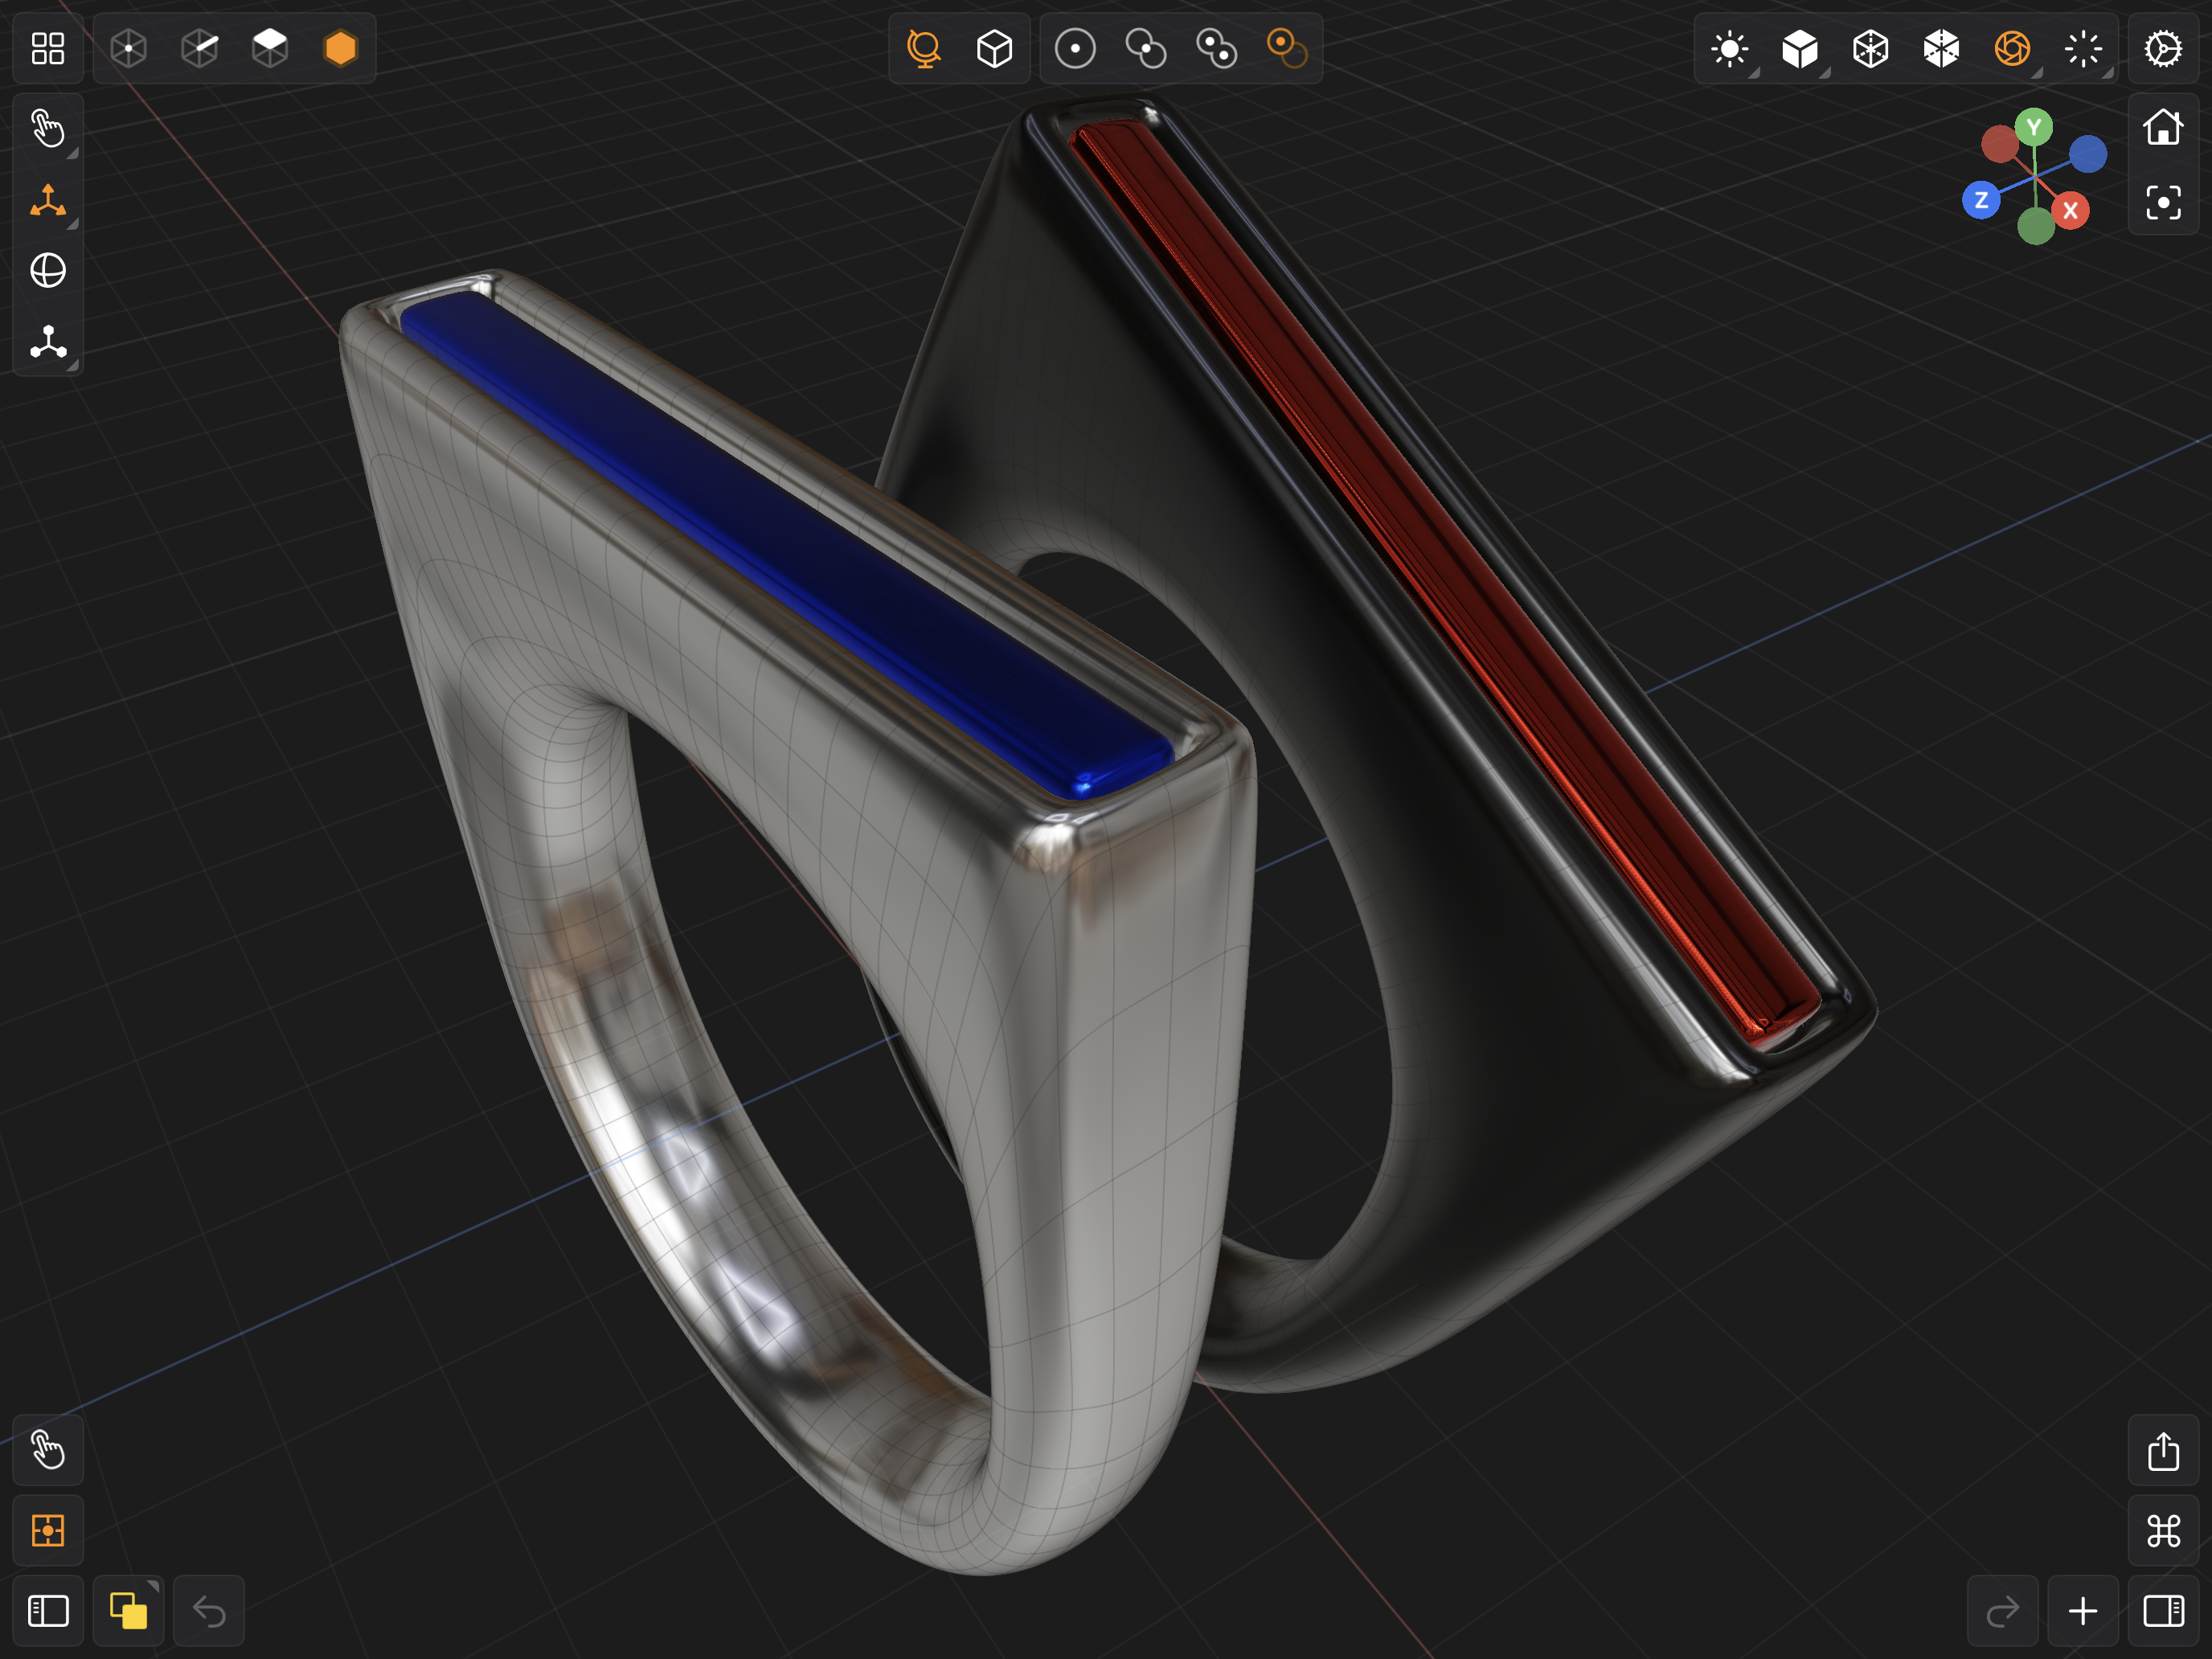
Matcap Rendering Mode
Tap this button to enable matcap rendering.
There are three options you can set when in Matcap Rendering Mode. You can enable shadows and enable wireframes and set the matcap environment texture used. By default, shadows are disabled and wireframes are enabled. If you disable wireframes, then wireframes will not show when Mesh Component Selection Mode is active. However, when other component selection modes are active, wireframes are shown.
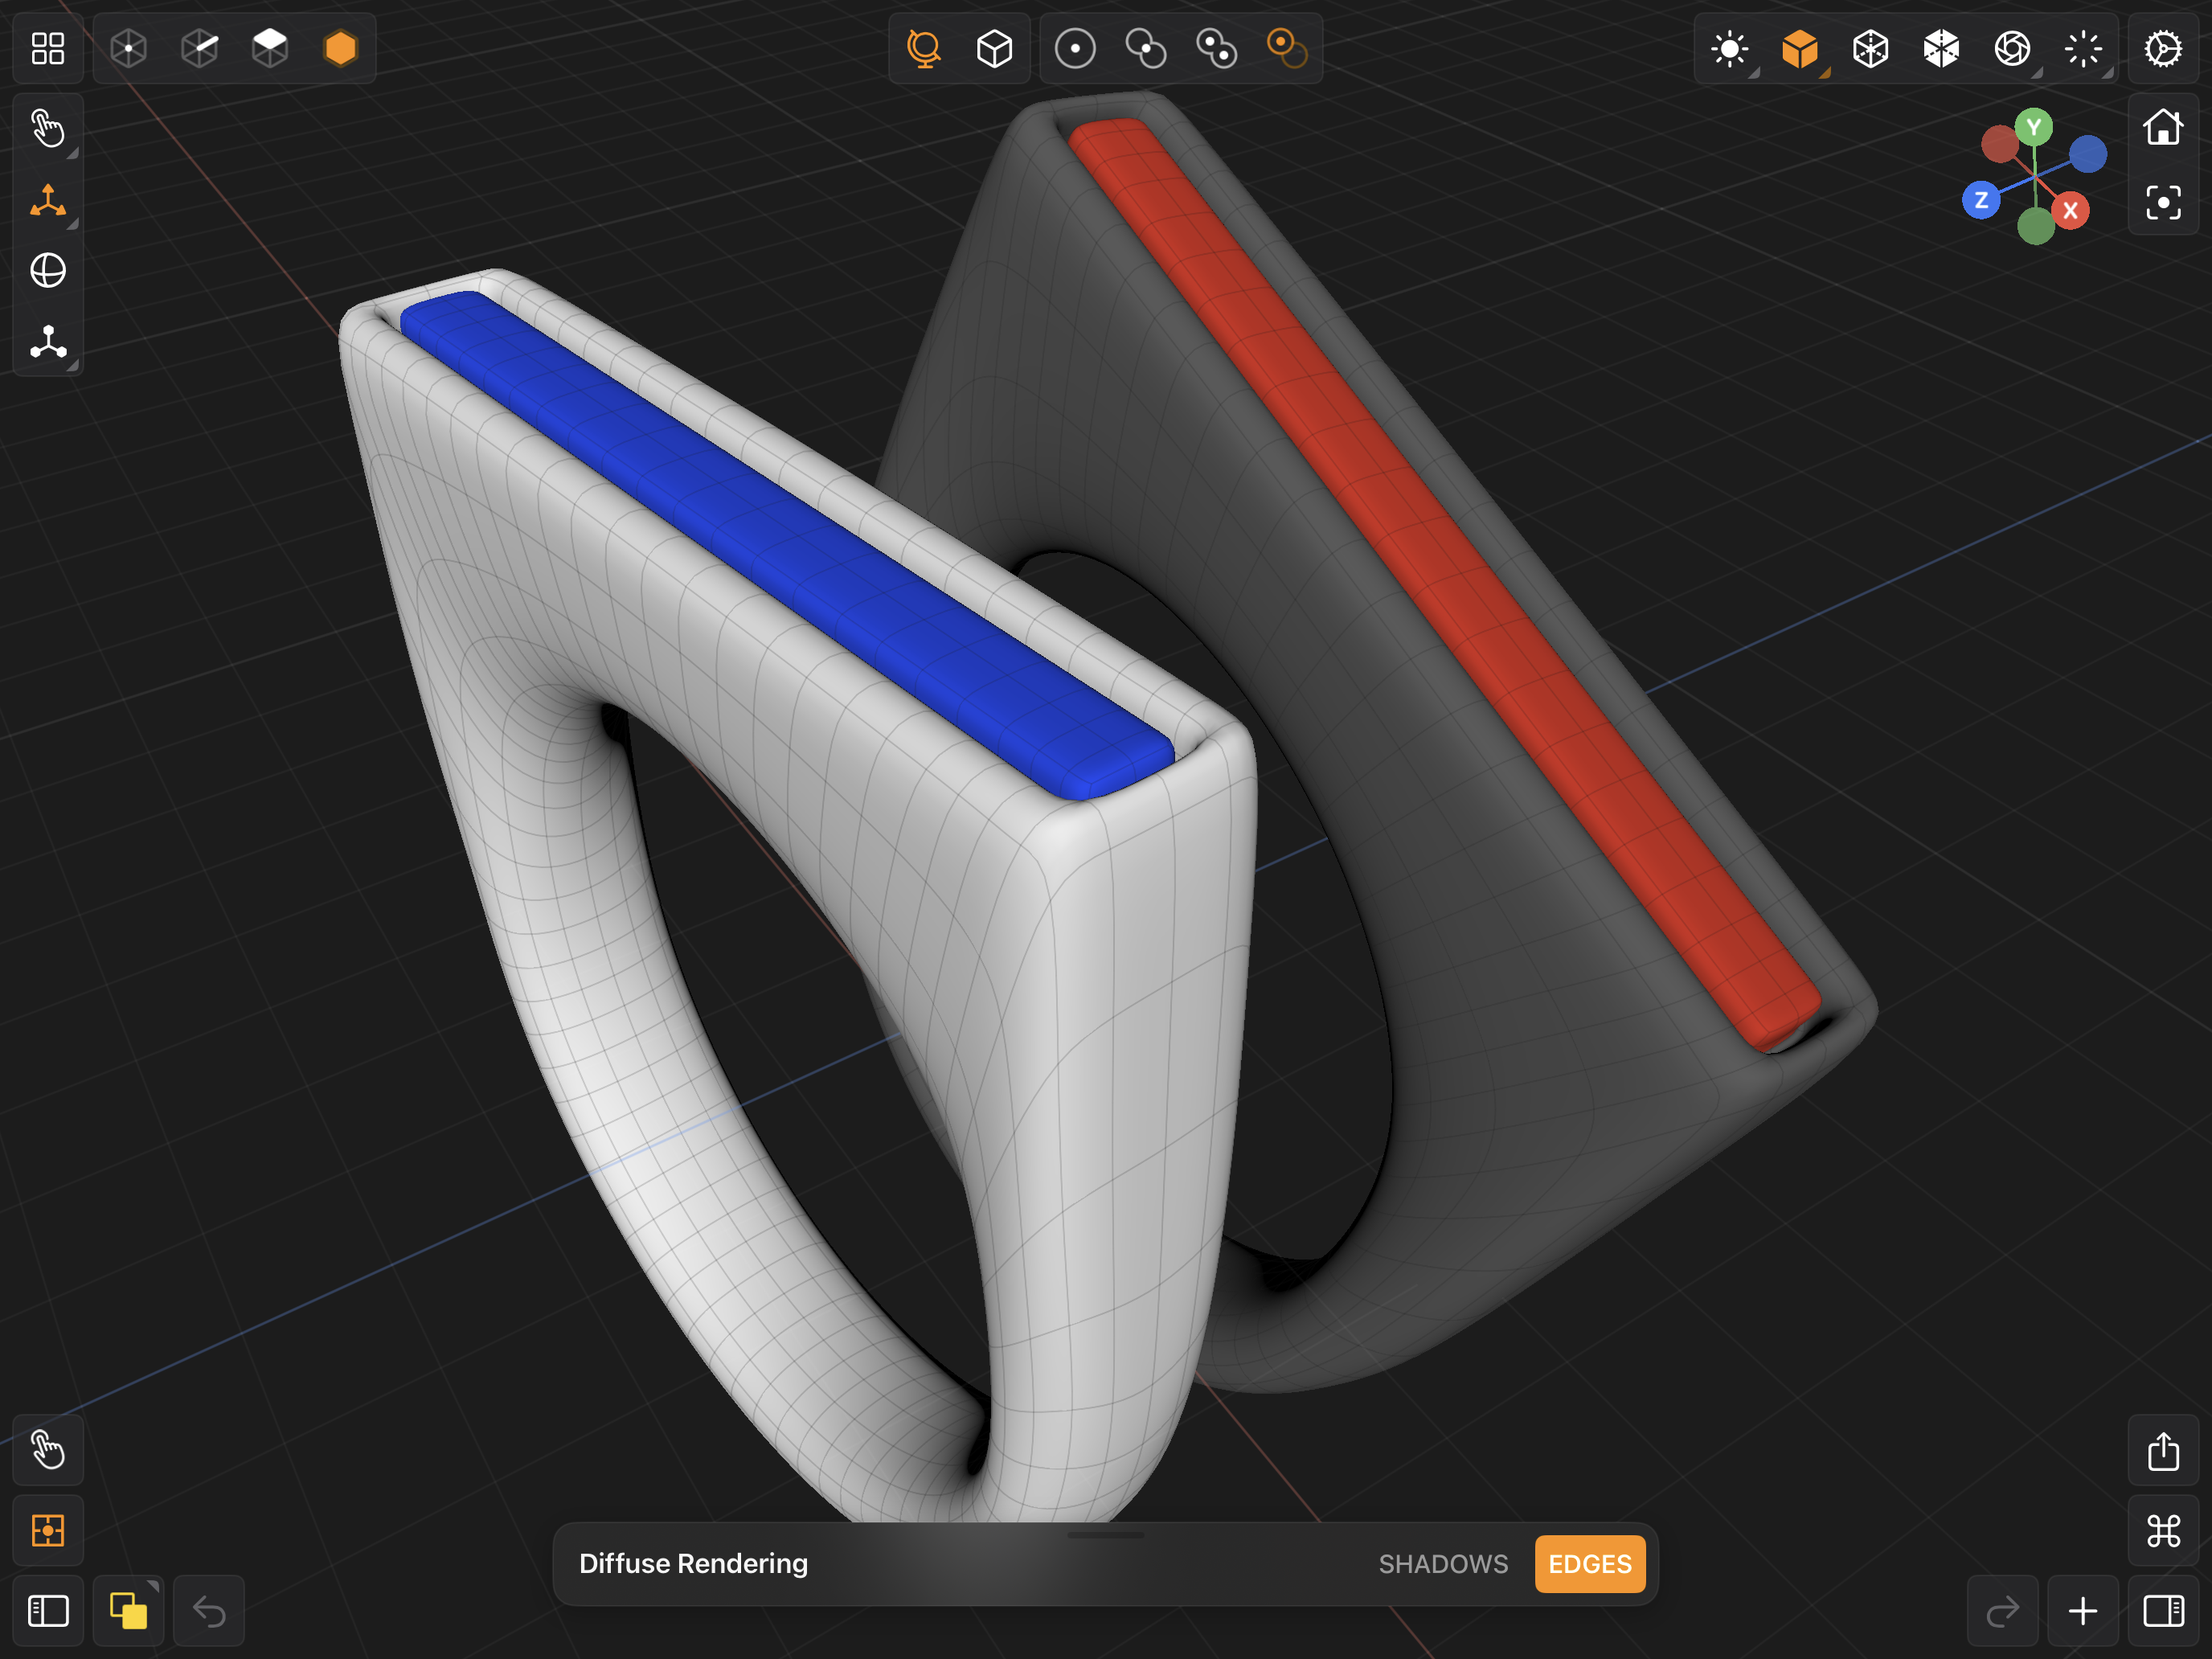
Diffuse Rendering Mode
Tap this button to enable diffuse rendering.
There are two options you can set when in Diffuse Rendering Mode. You can enable shadows and enable wireframes. By default, shadows are disabled and wireframes are enabled. If you disable wireframes, then wireframes will not show when Mesh Component Selection Mode is active. However, when other component selection modes are active, wireframes are shown.
Diffuse Rendering
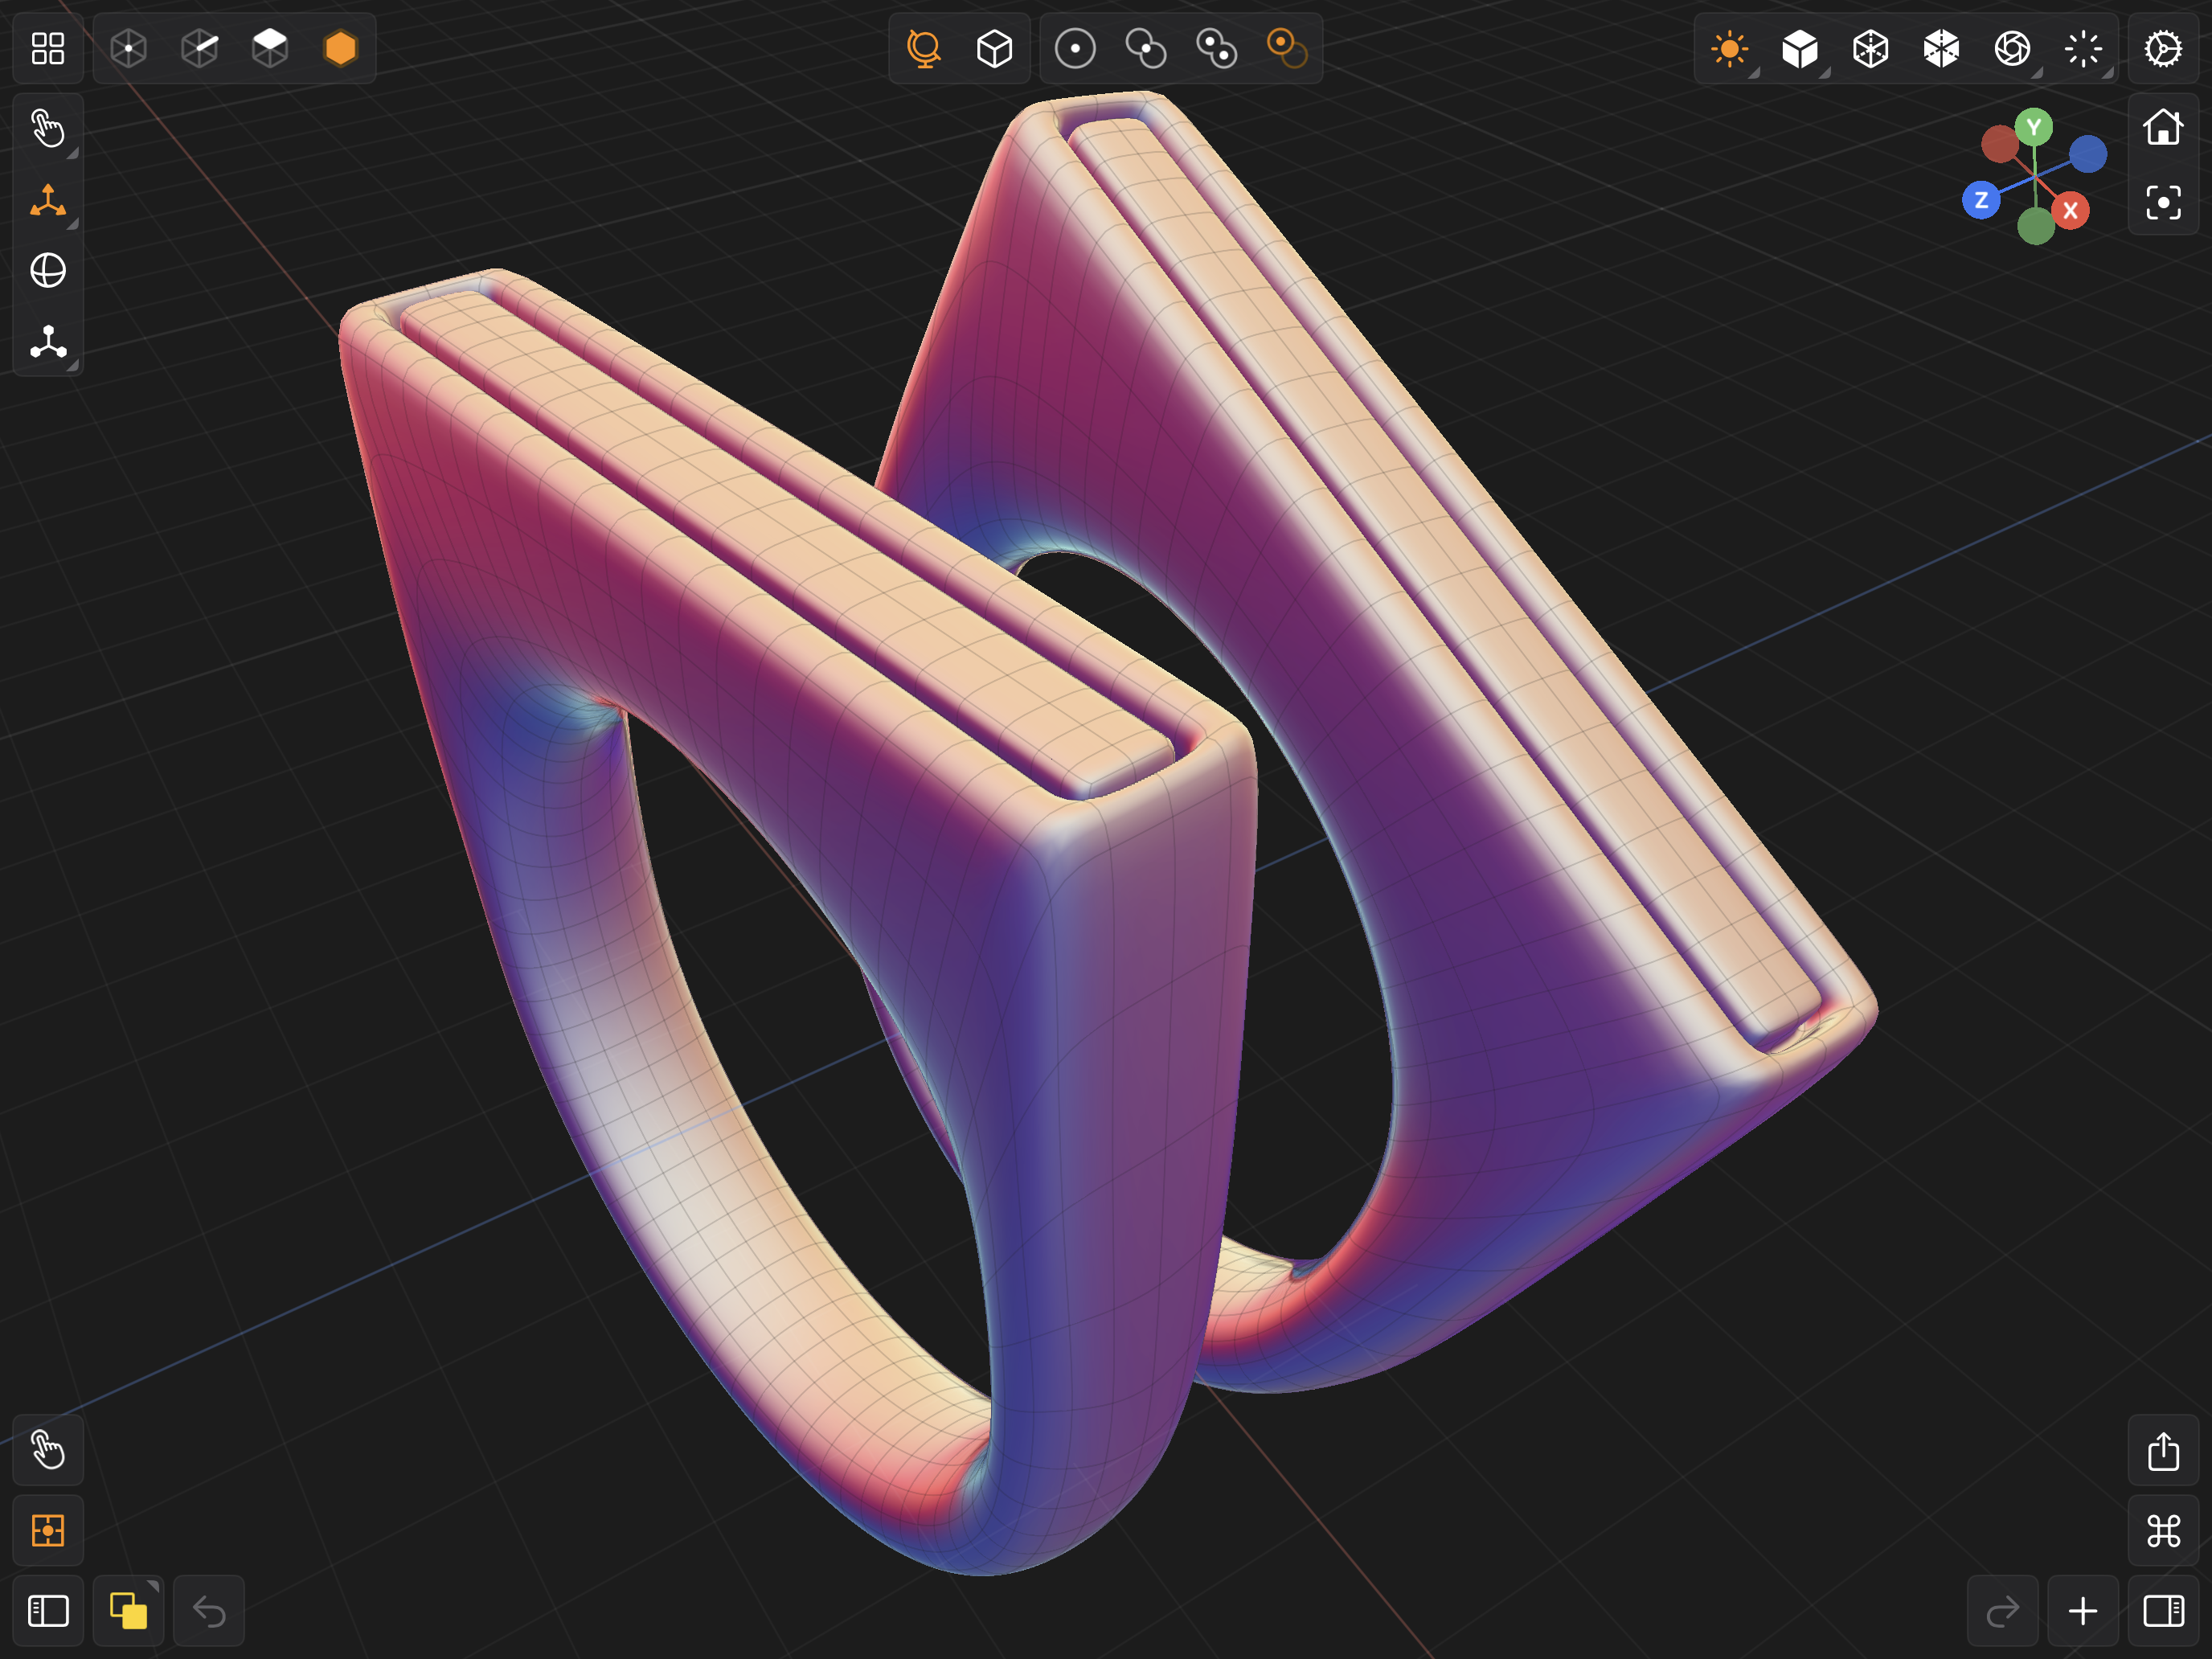
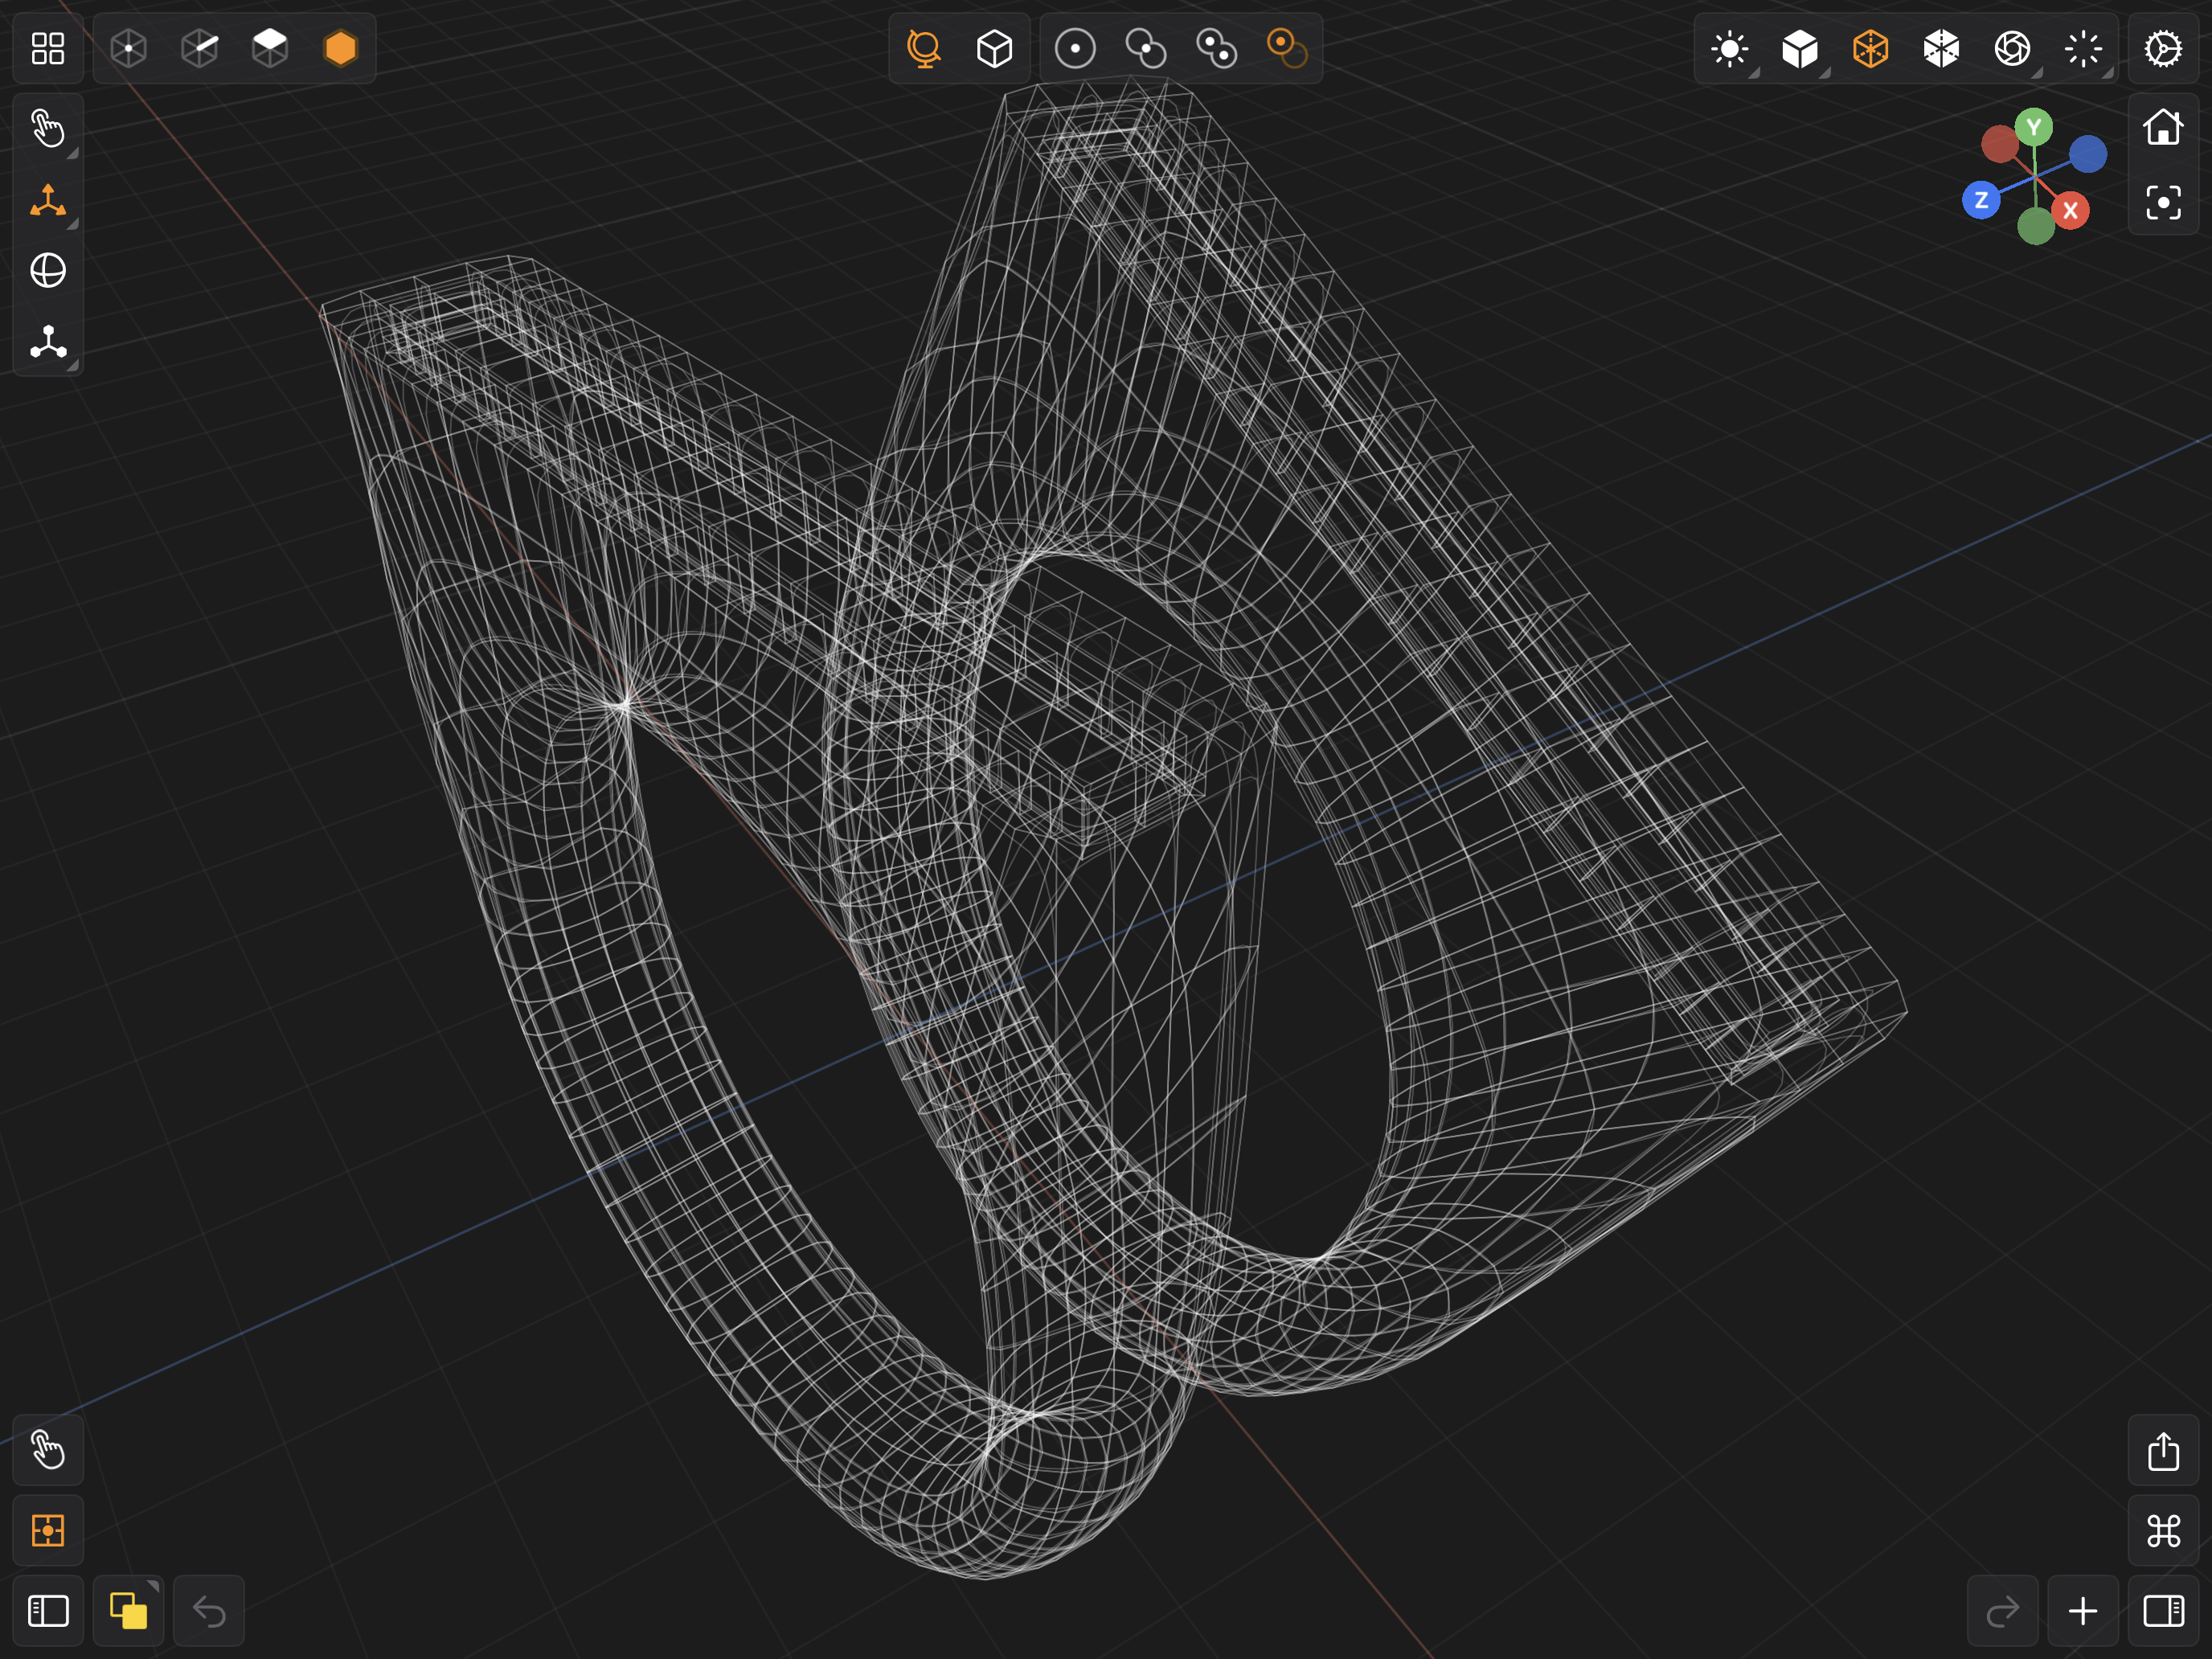
Wireframe Rendering Mode
Tap this button to enable wireframe rendering.
Wireframe Rendering Mode is very helpful when you are modeling and you need to see inside of a mesh. This rendering mode is frequently used with orthographic views.
Wireframe Rendering
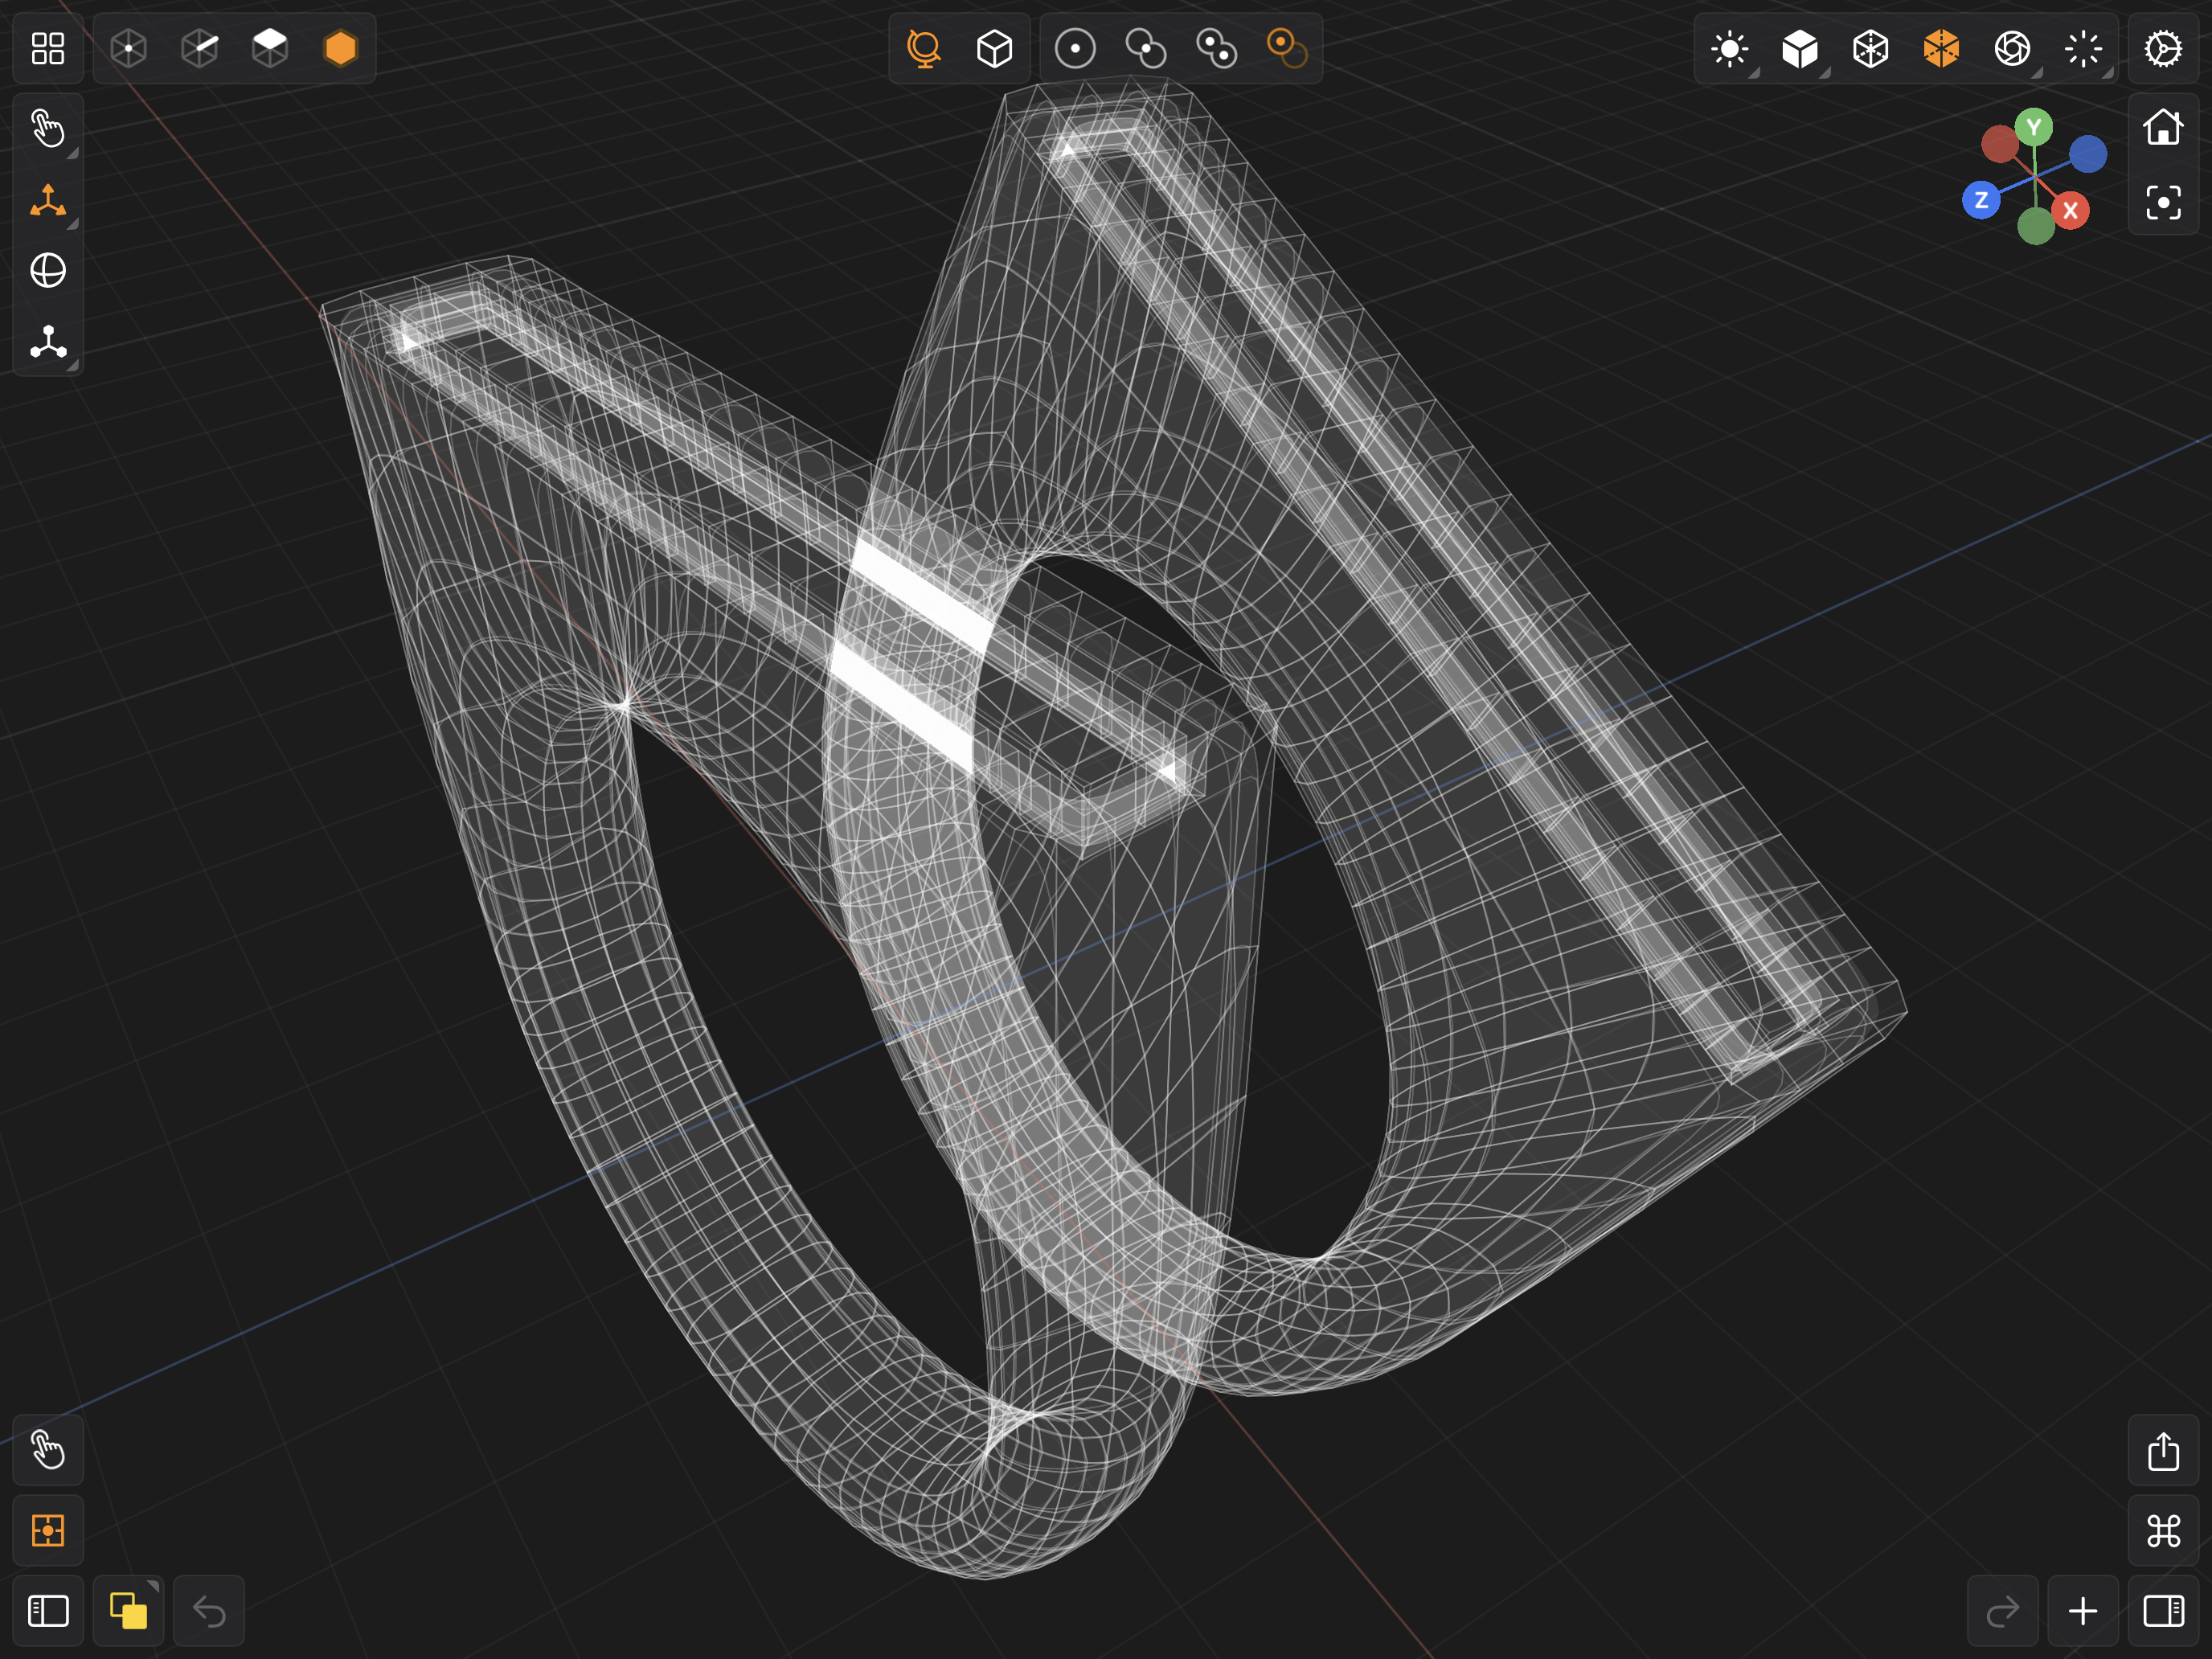
X-Ray Rendering Mode
Tap this button to enable x-ray rendering.
X-Ray Rendering Mode differs from wireframe rendering mode because it rendered faces & subdivision surfaces in addition to edges. The polygon faces & subdivsion surfaces are transparent but opaque enough to see. This mode is useful when you have a subdivision surface modifier on a mesh and need to see how the overall shape changes when modeling and you need to be able to see through the mesh.
X-Ray Rendering
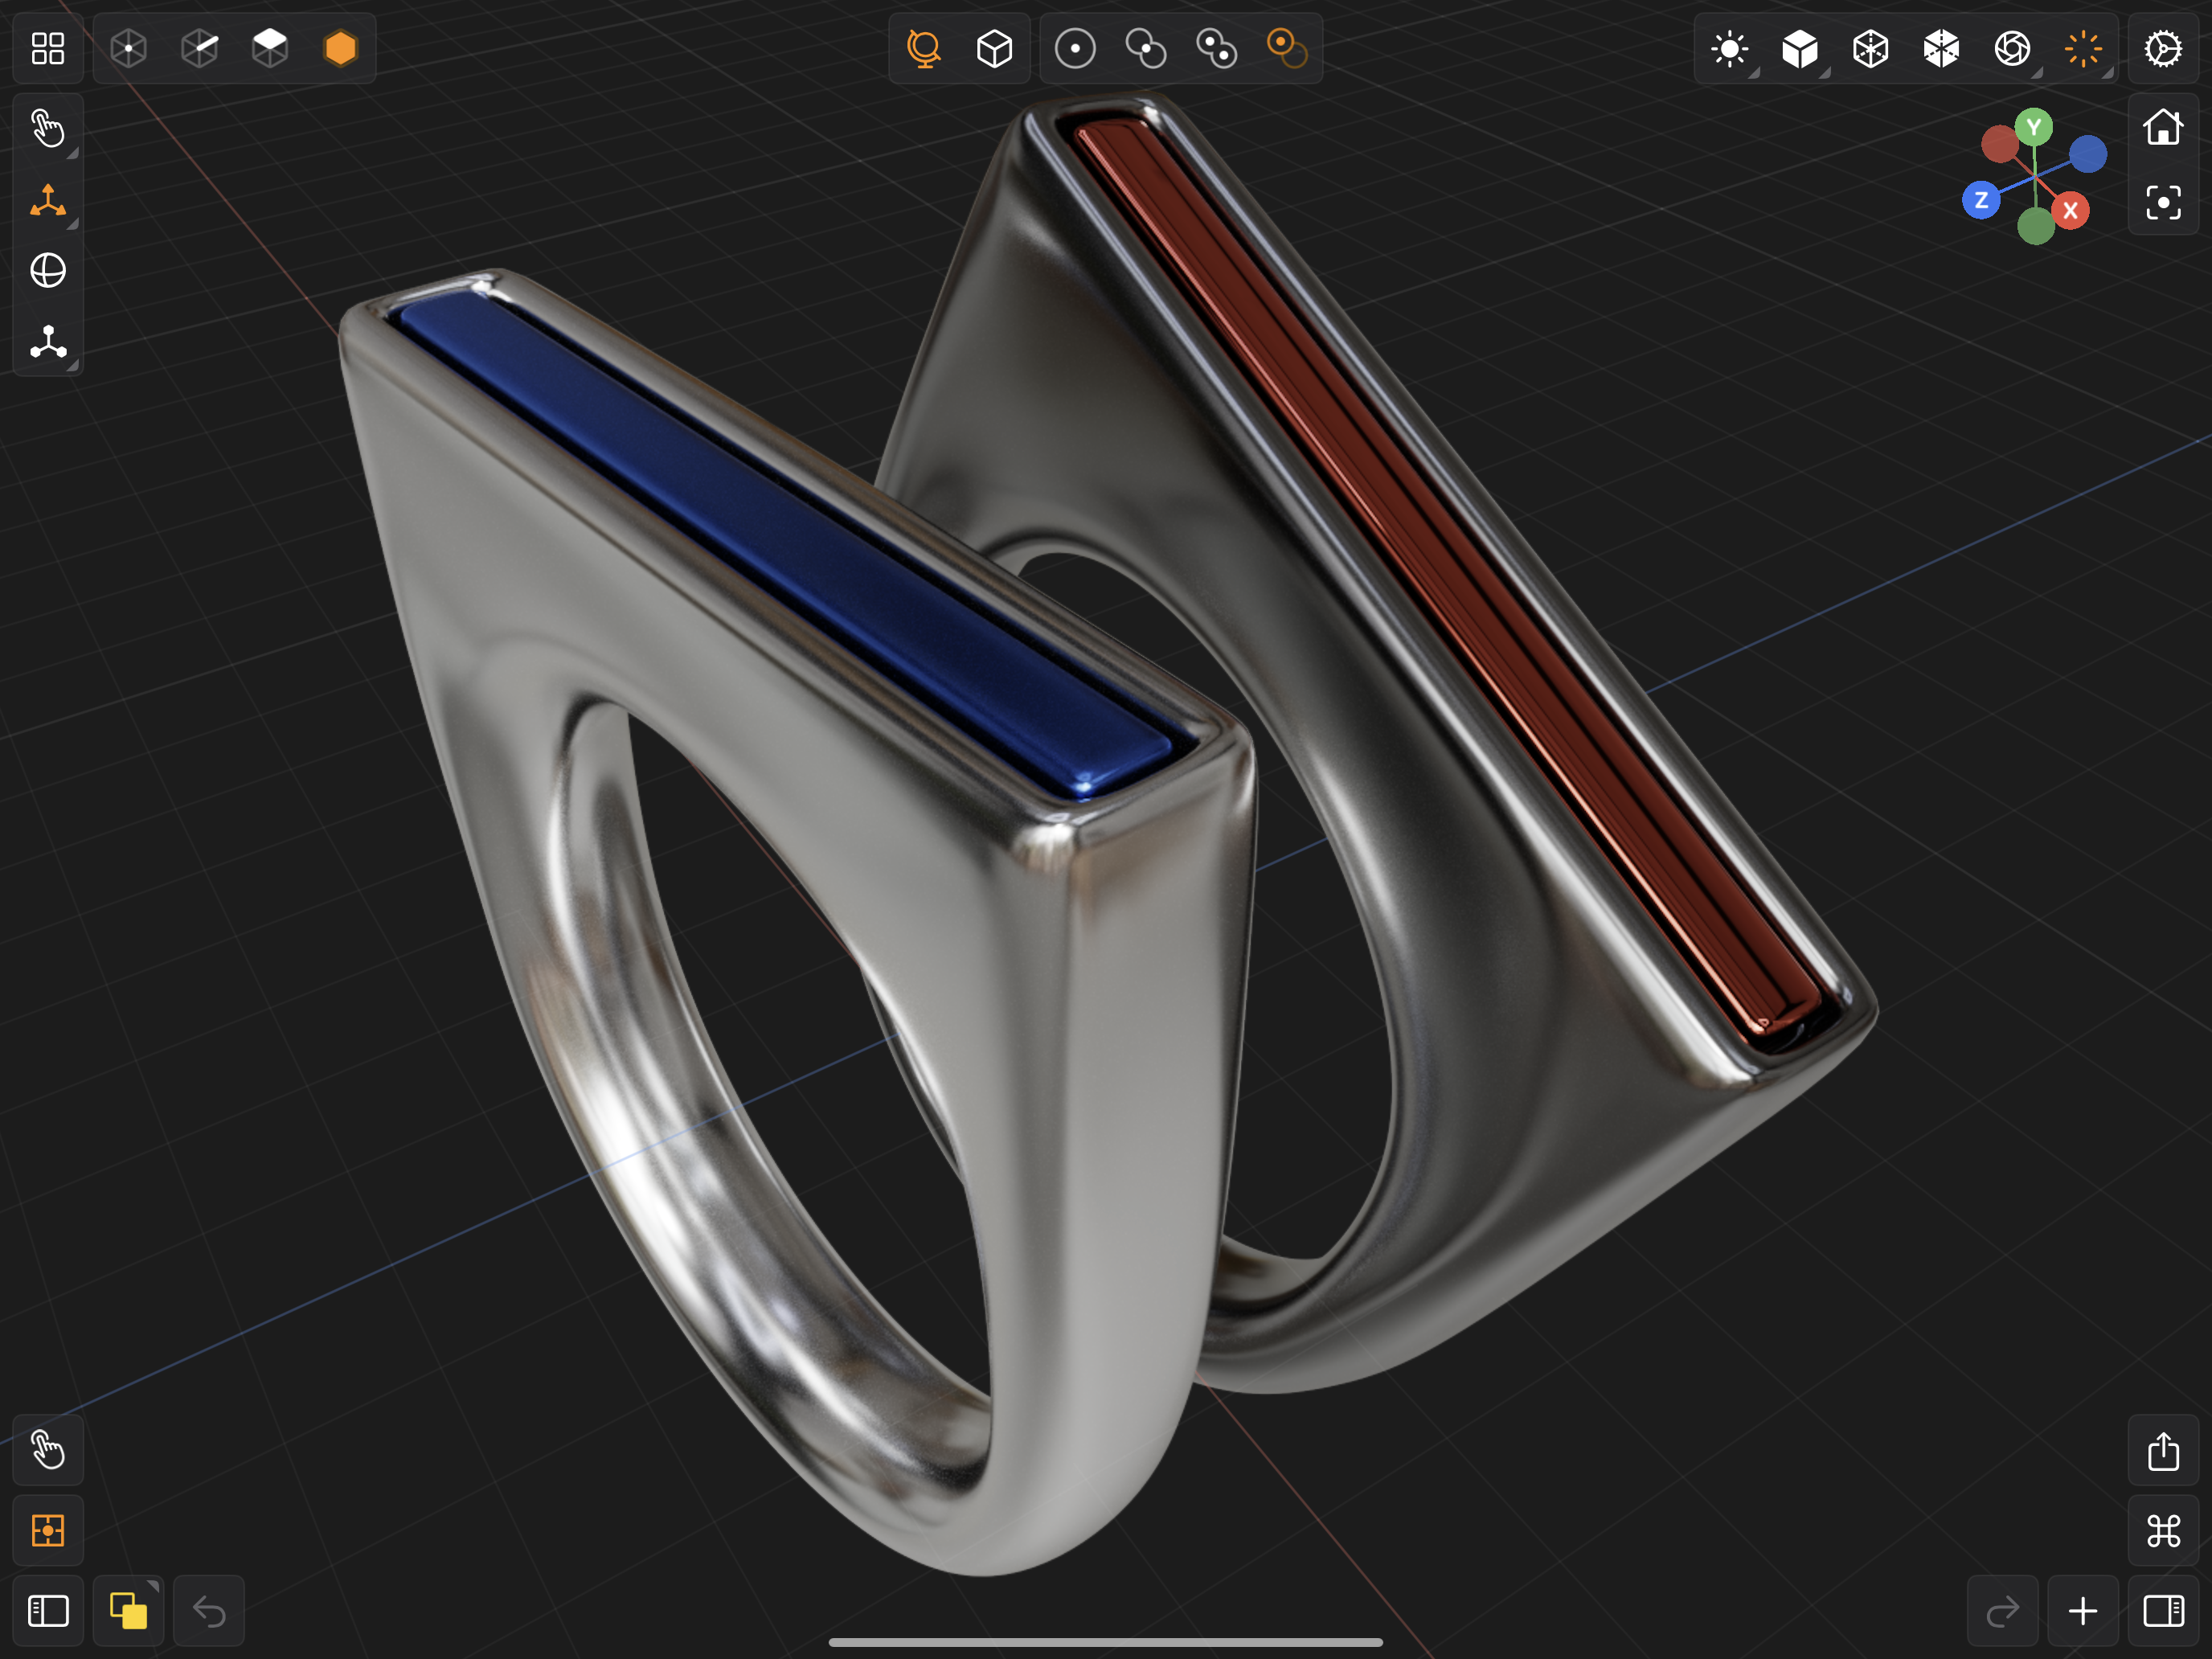
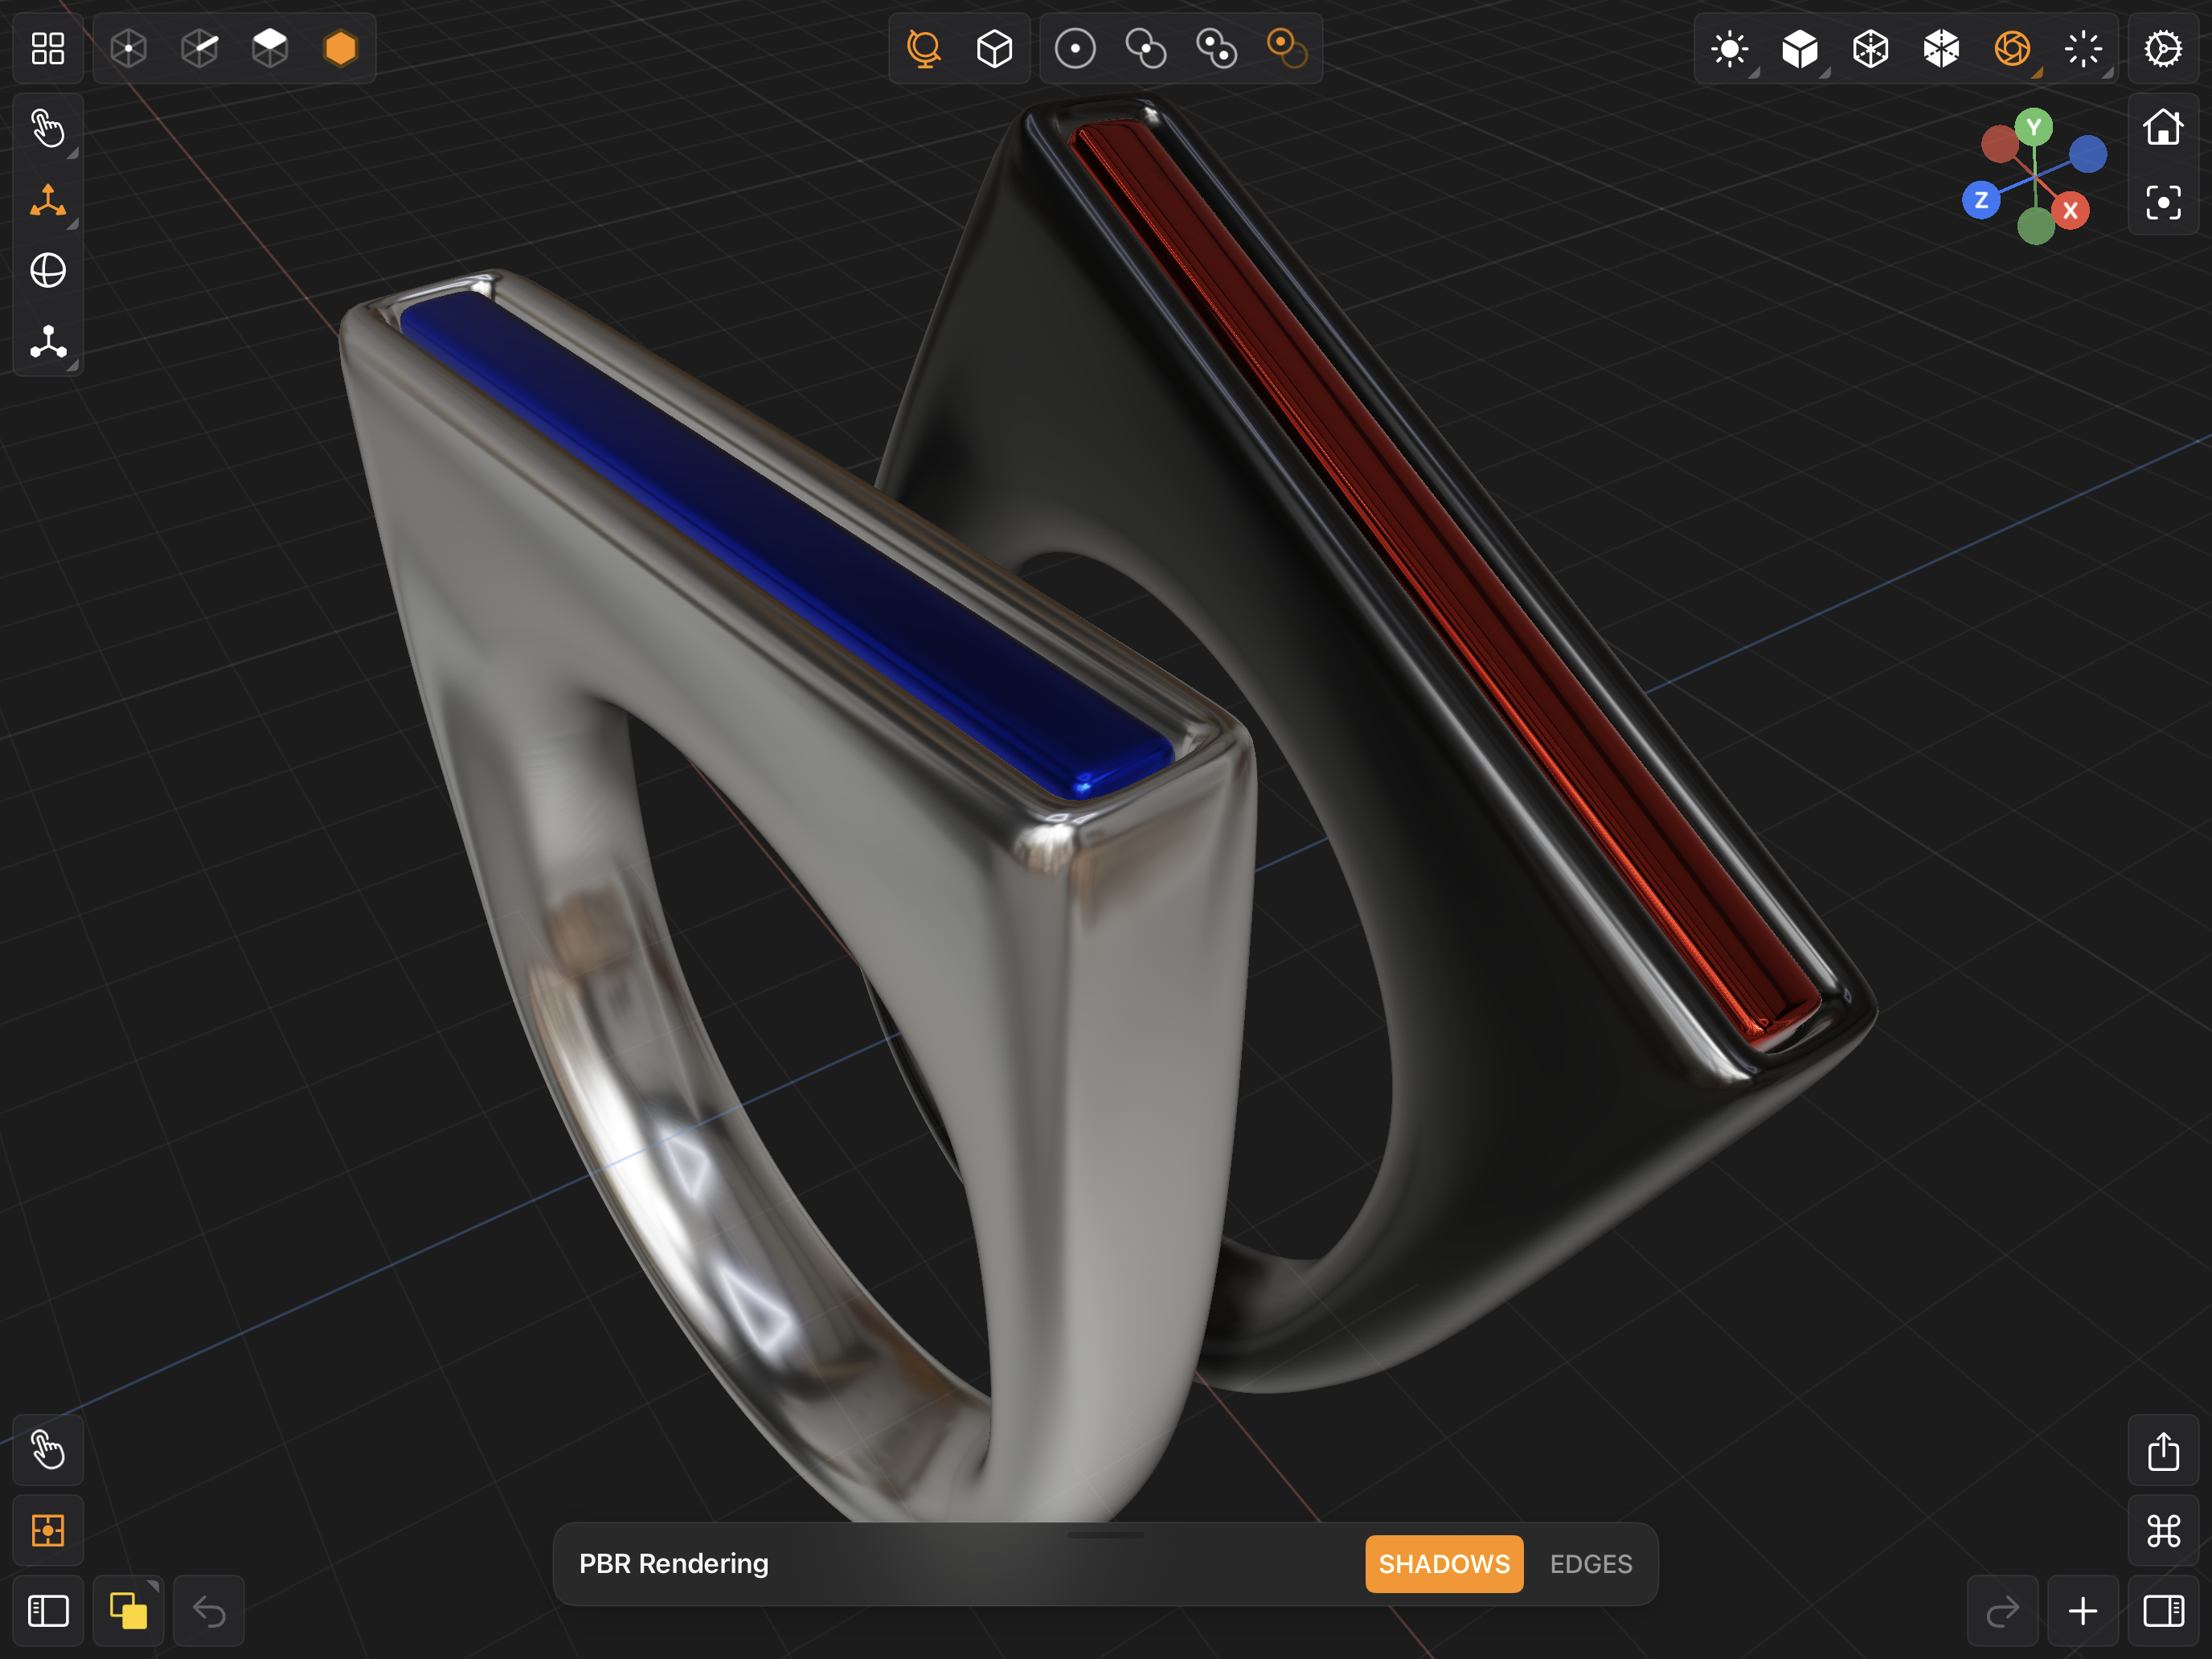
Physically Based Rendering Mode
Tap this button to enable physically based rendering.
There are two options you can set when in Physically Based Rendering Mode. You can enable shadows and enable wireframes. By default, shadows are disabled and wireframes are enabled. If you disable wireframes, then wireframes will not show when Mesh Component Selection Mode is active. However, when other component selection modes are active, wireframes are shown.
Physically Based Rendering
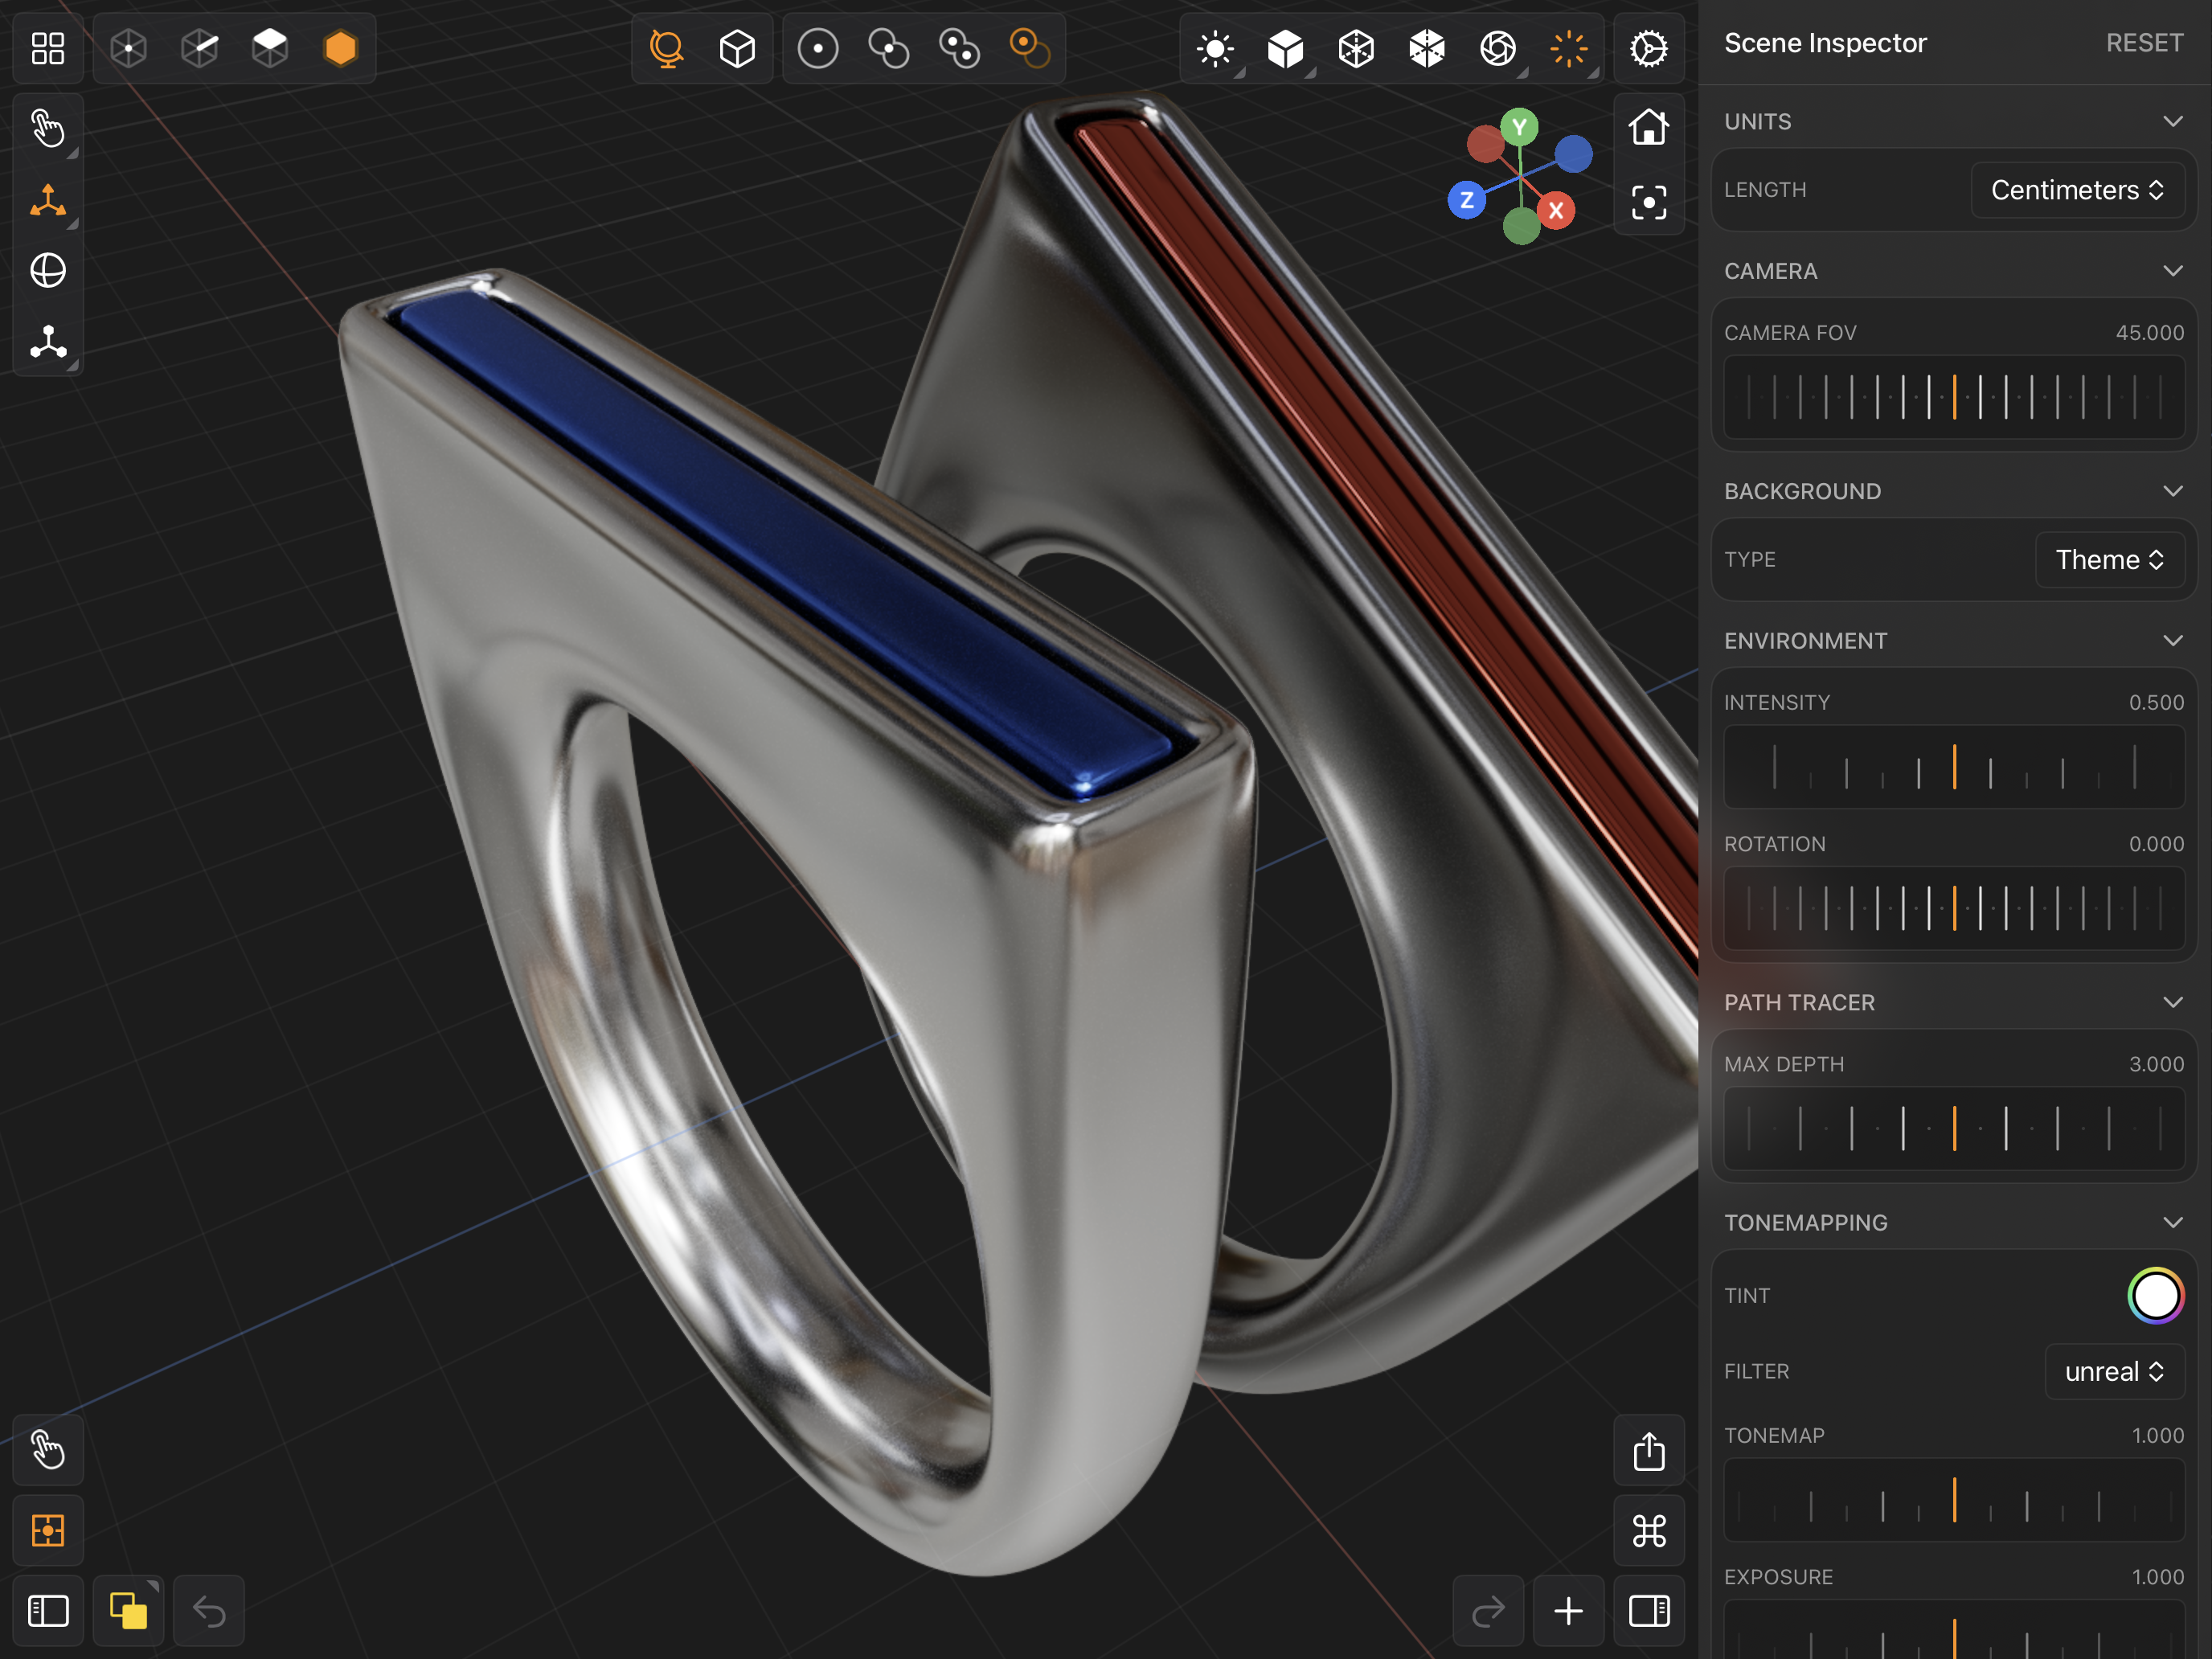
Path Traced Rendering Mode
Tap this button to enable path traced rendering.
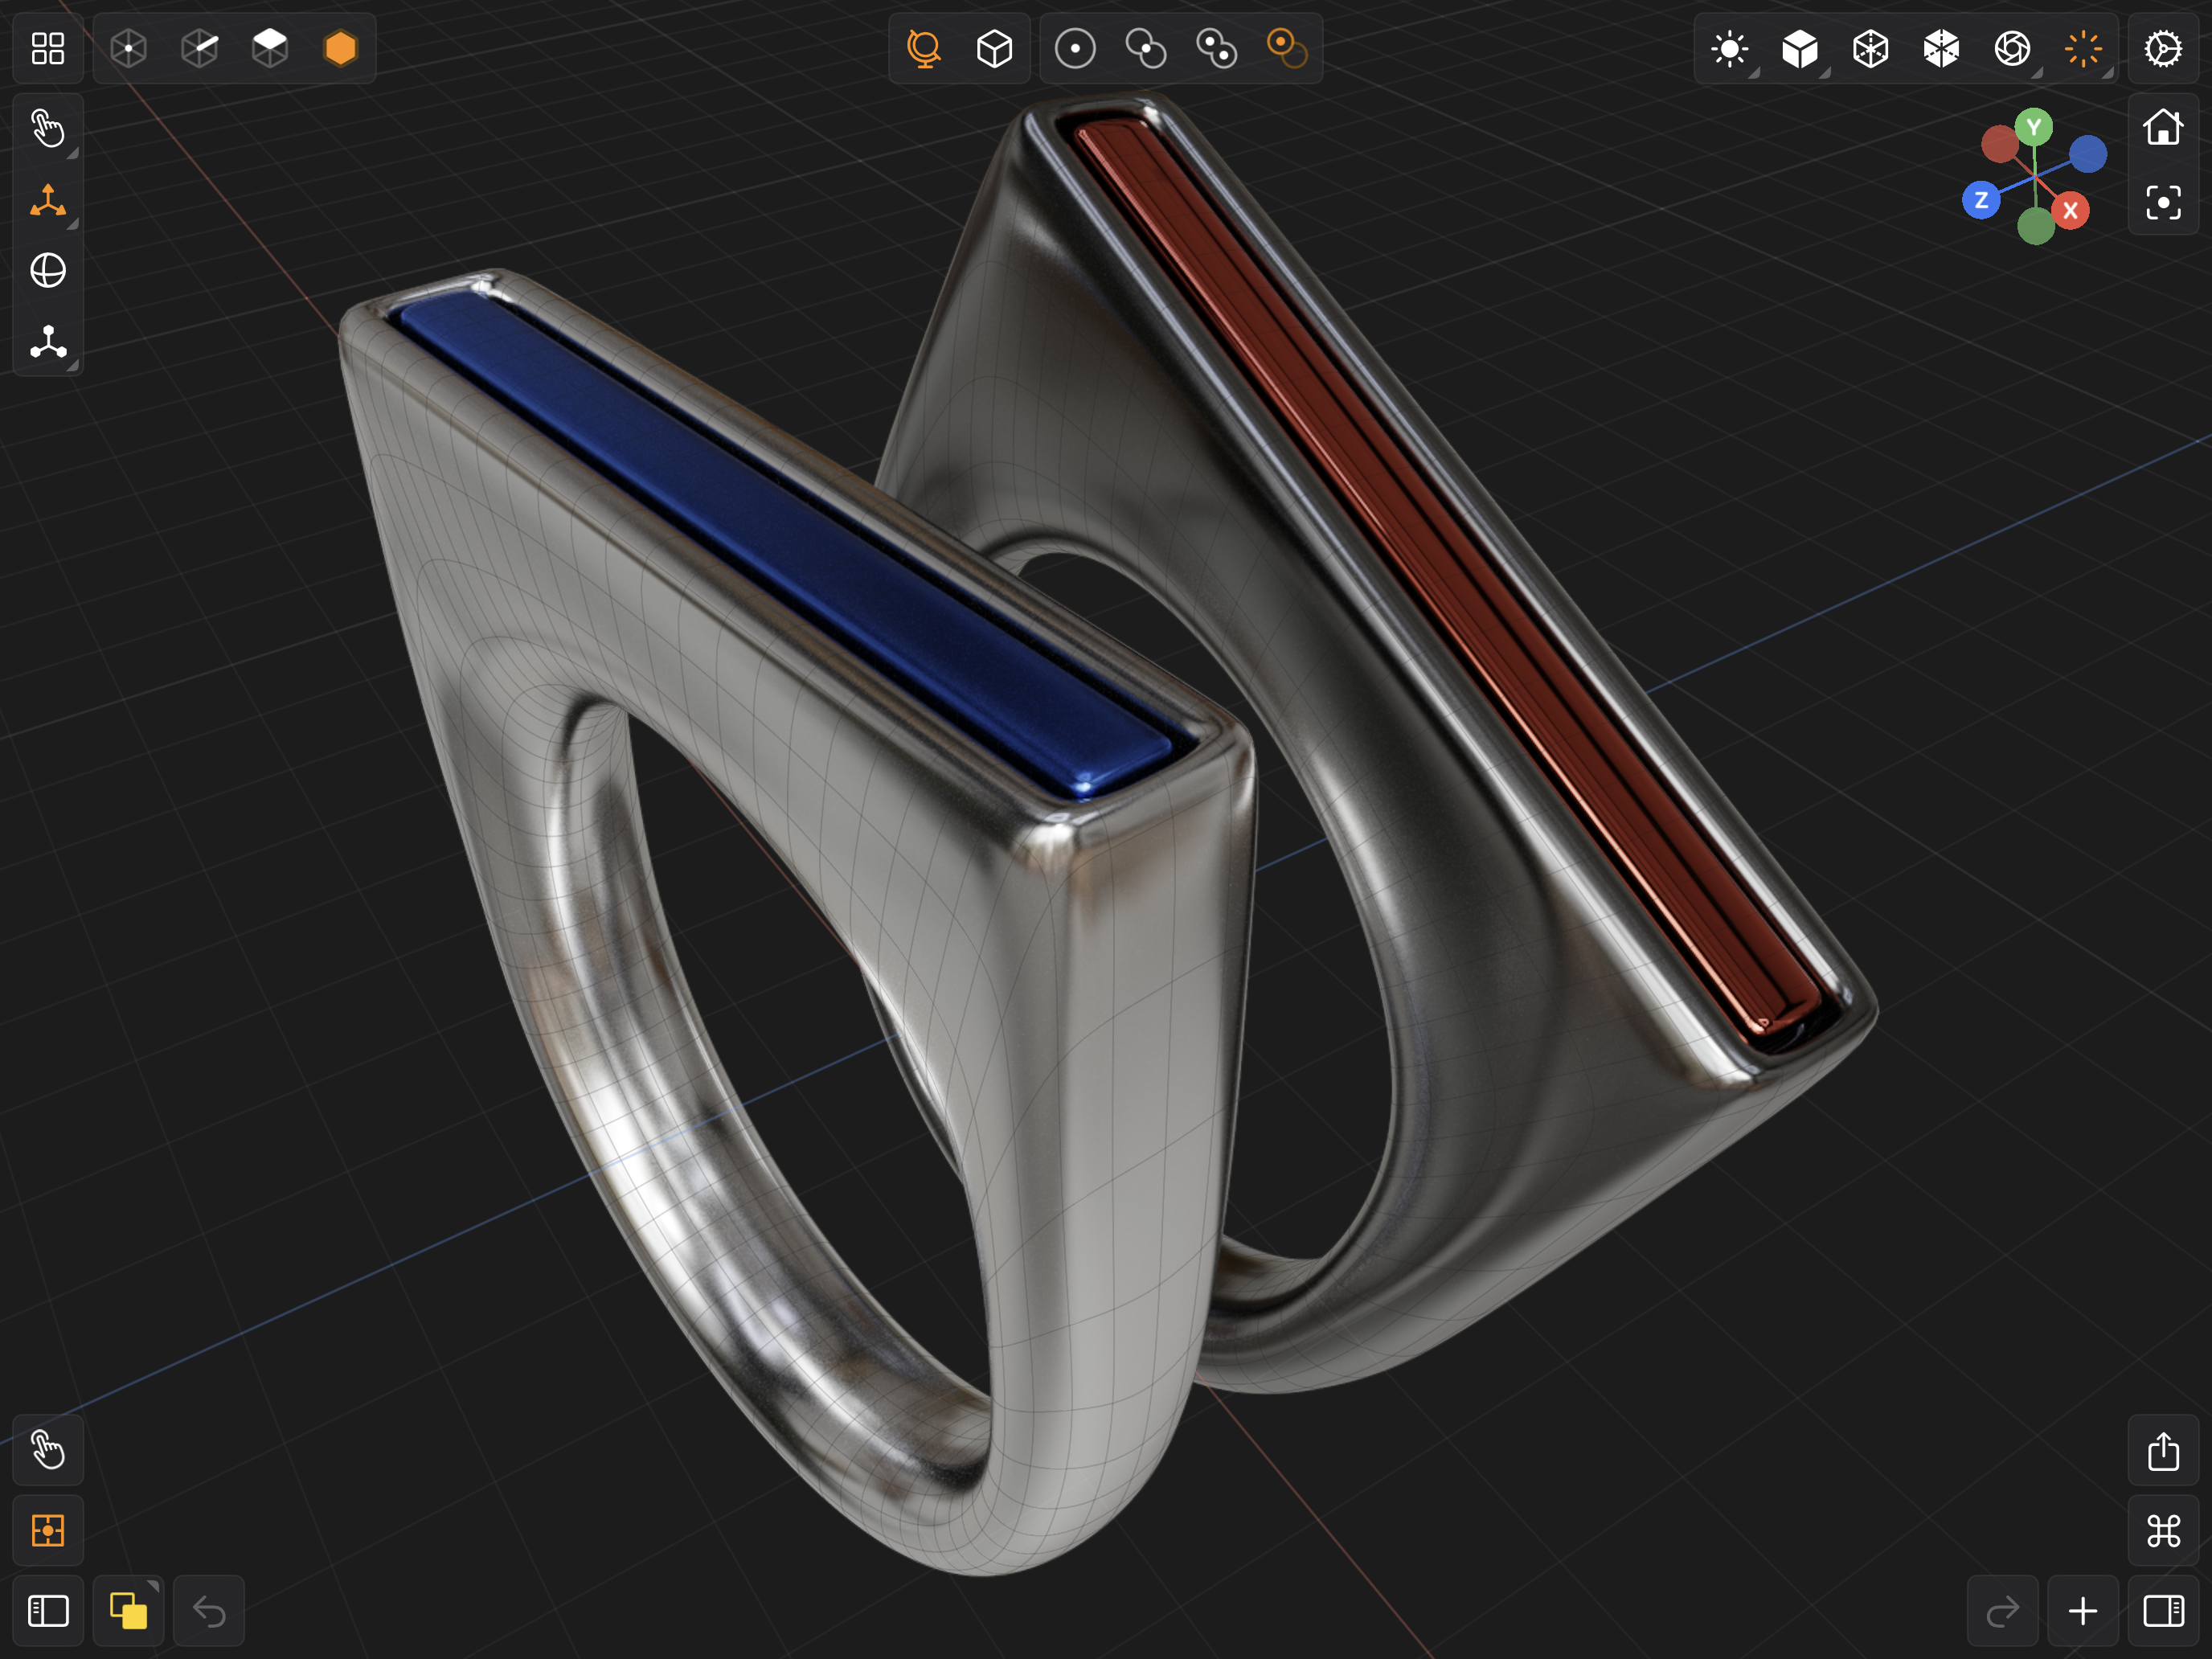
There is one option you can set when in Path Traced Rendering Mode. You can enable wireframes. By default wireframes are enabled. If you disable wireframes, then wireframes will not show when Mesh Component Selection Mode is active. However, when other component selection modes are active, wireframes are shown.