Exporting
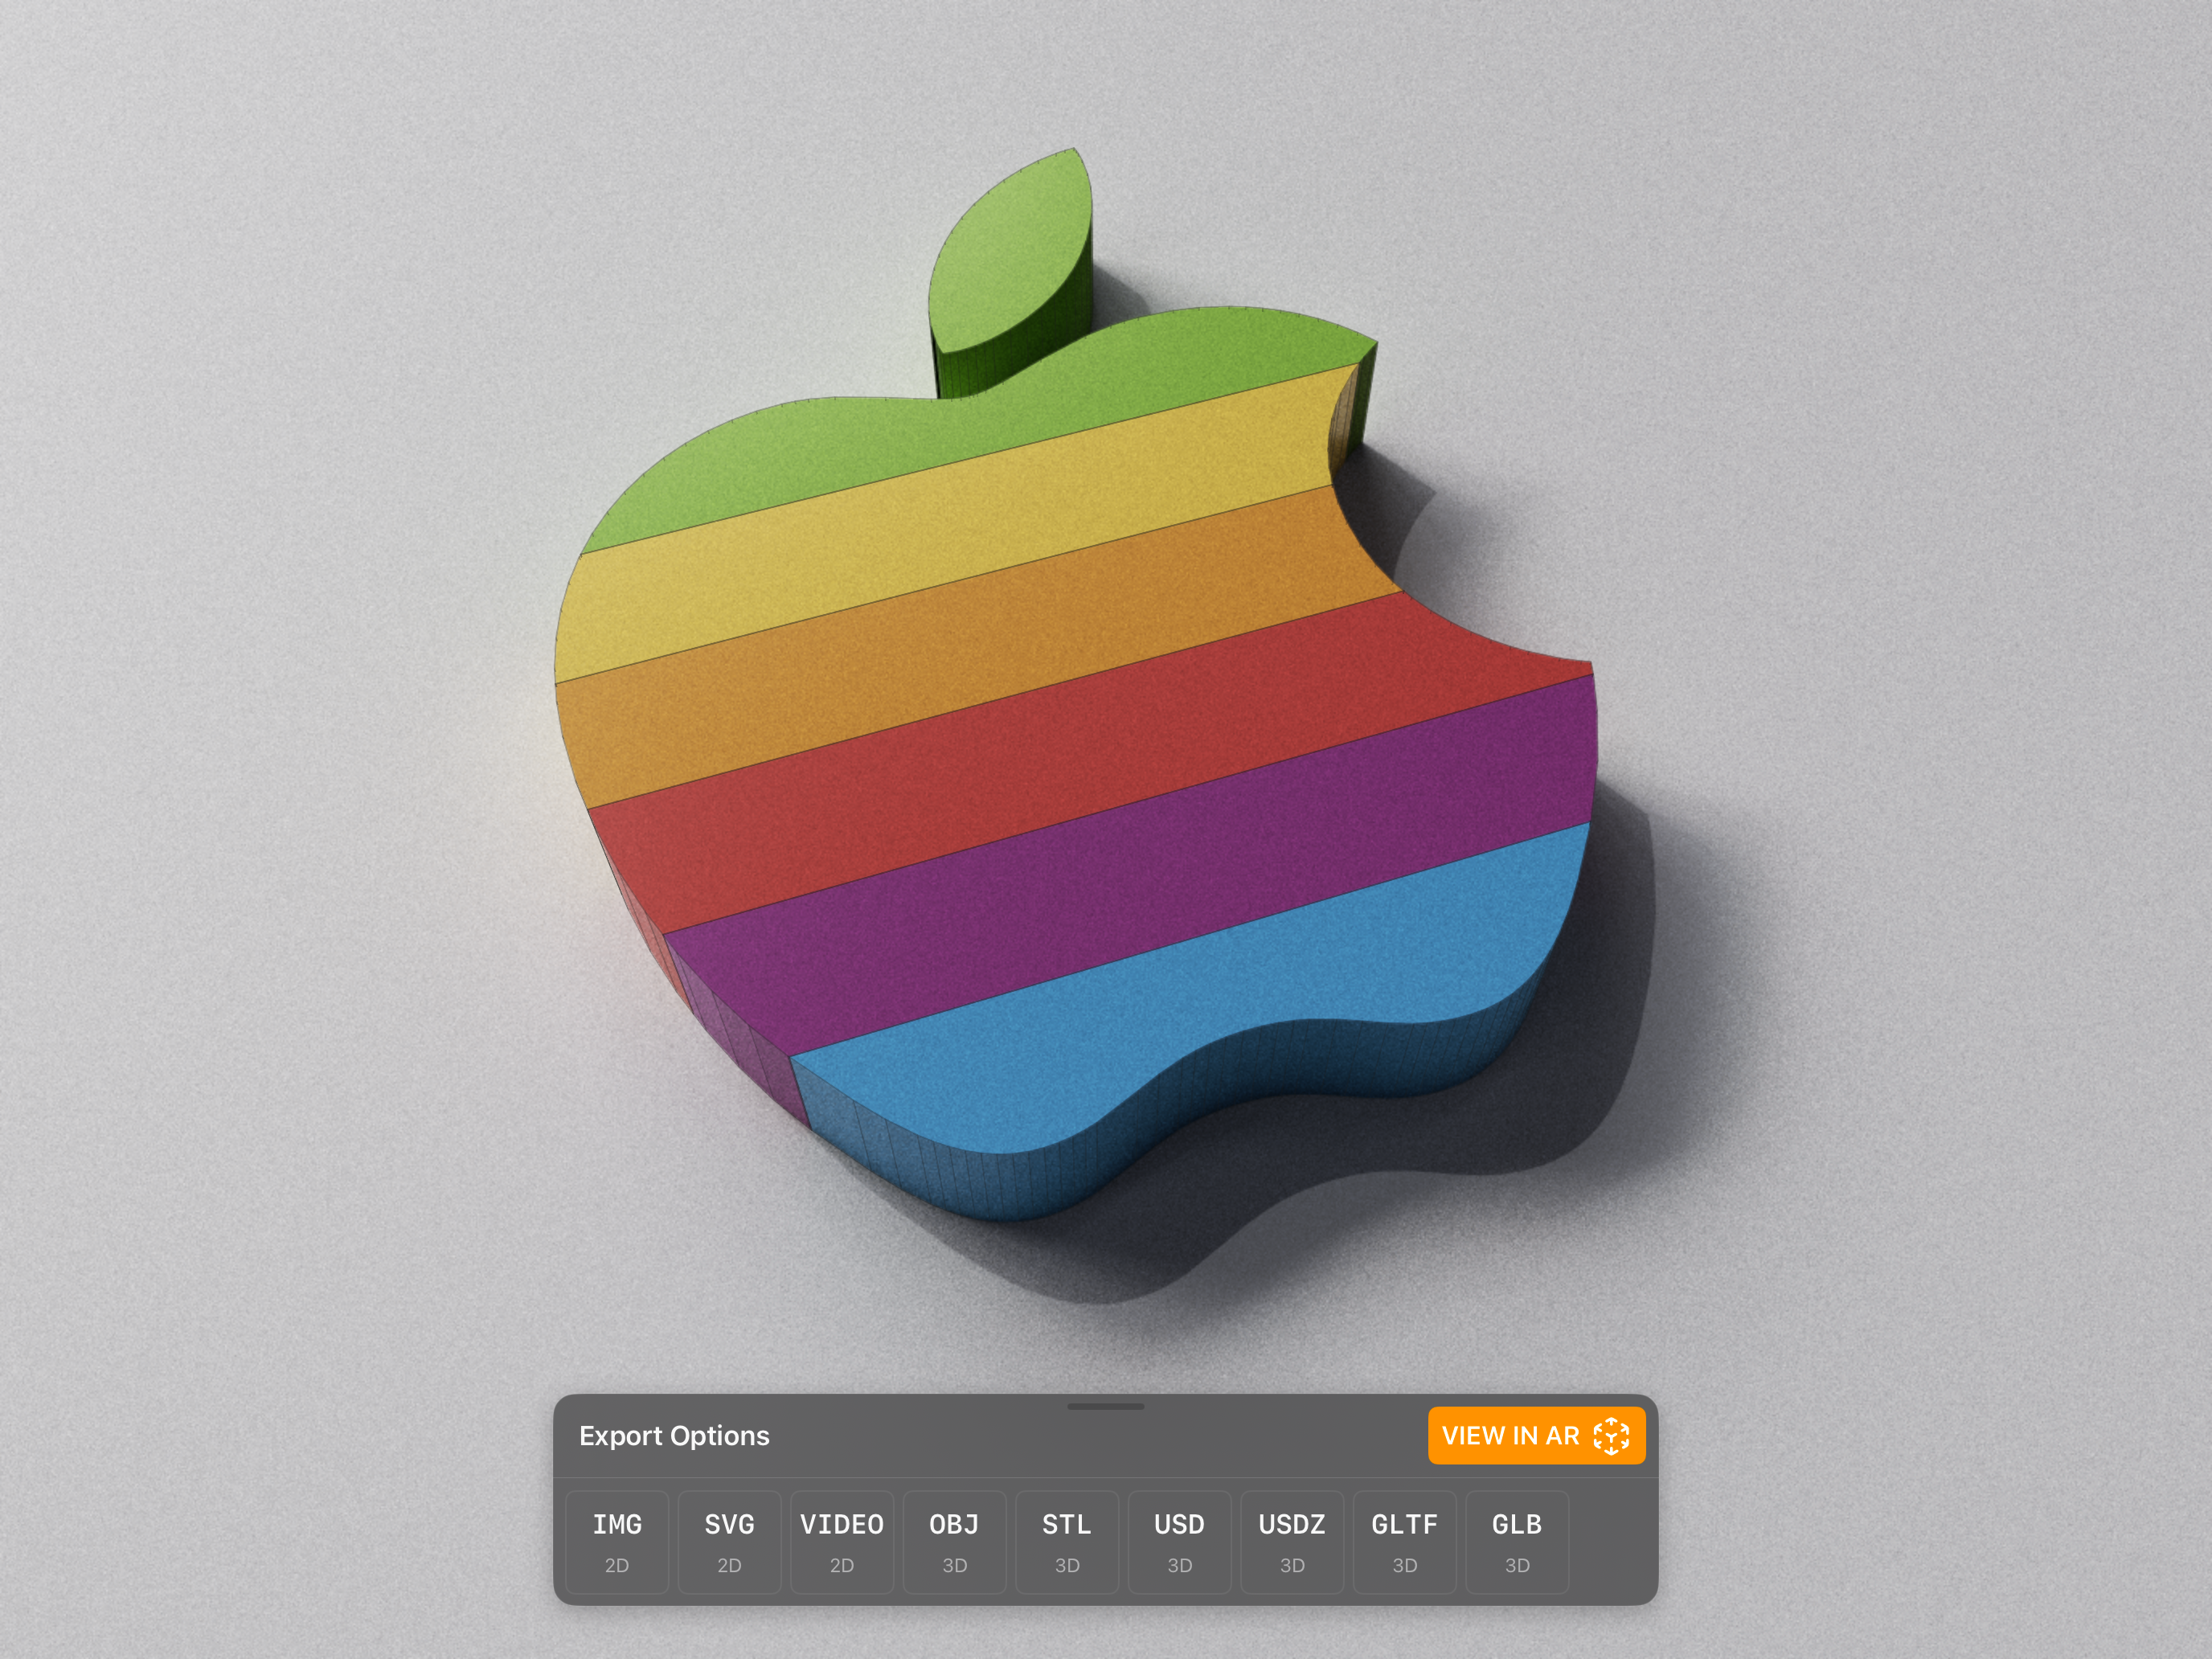
When you are ready to export an image, vector, video or 3D file out of Valence 3D, tap on the Export Options button located near the bottom right corner of the screen. After you tap the Export Options button, the Export Options modal sheet will pop up. Select an option from the sheet and you'll be presented with other specialized sheets for exporting the format you have selected.
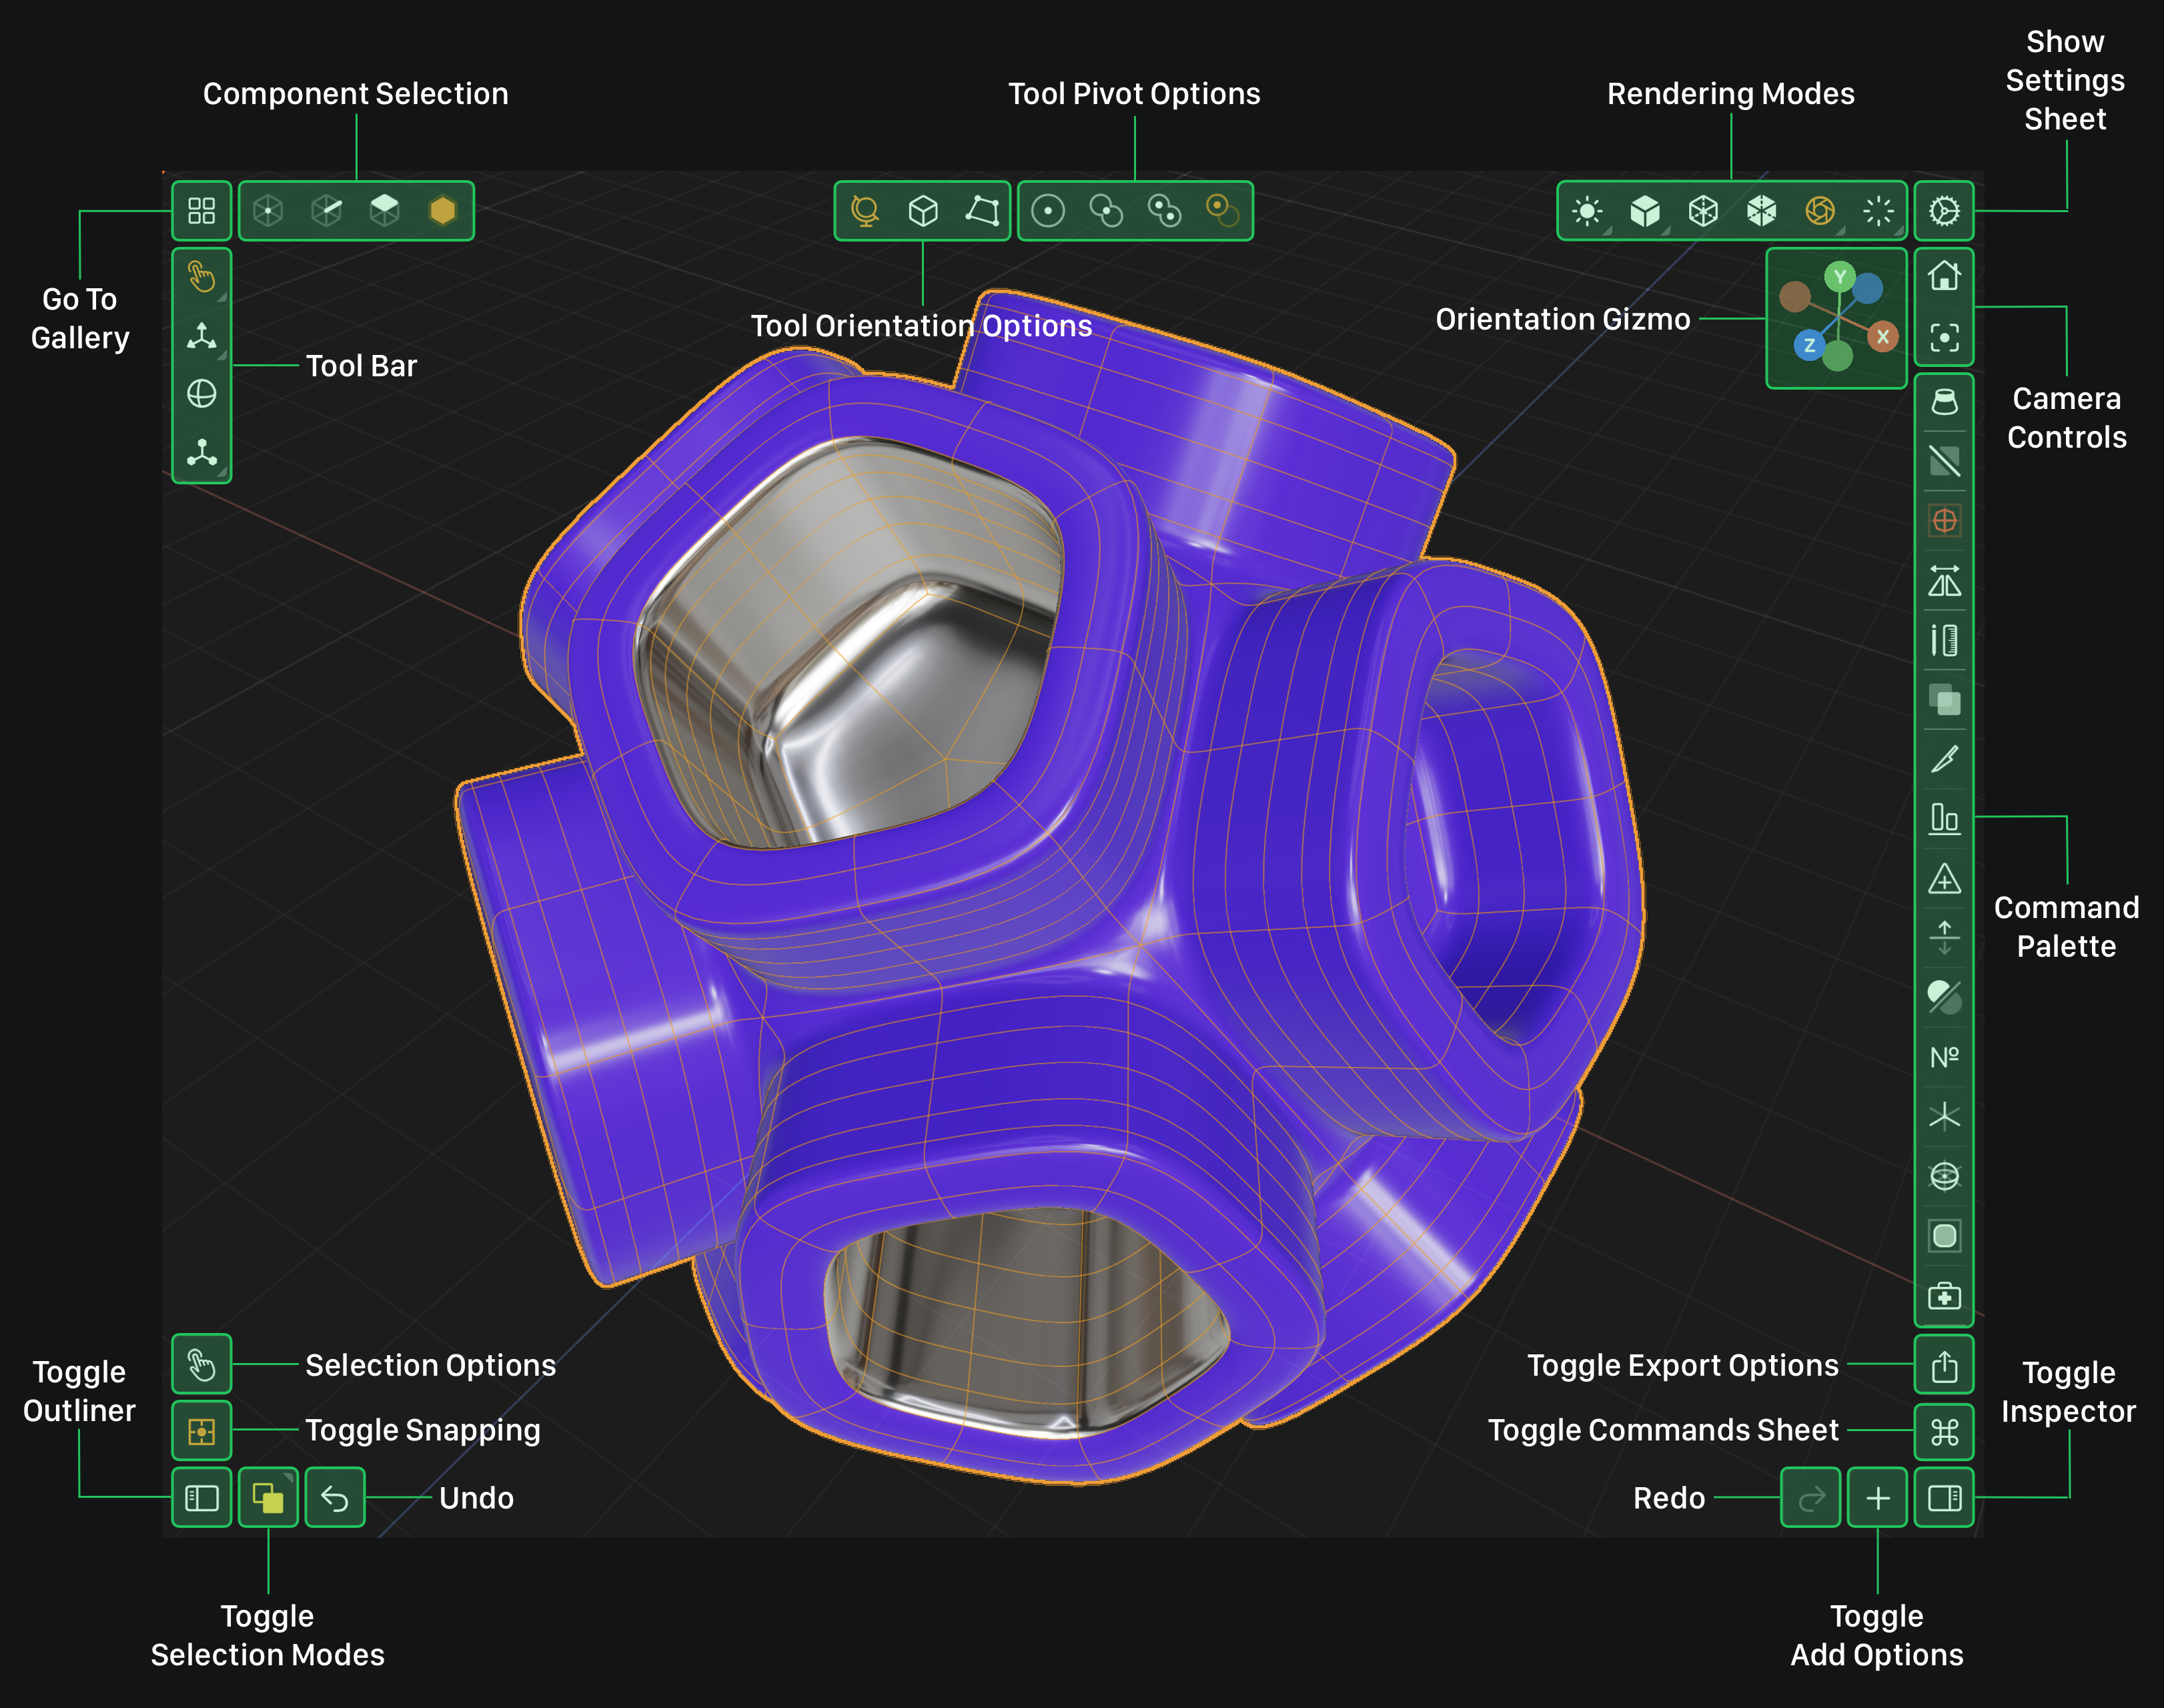
Modeler Interface
Export Options Sheet
Image
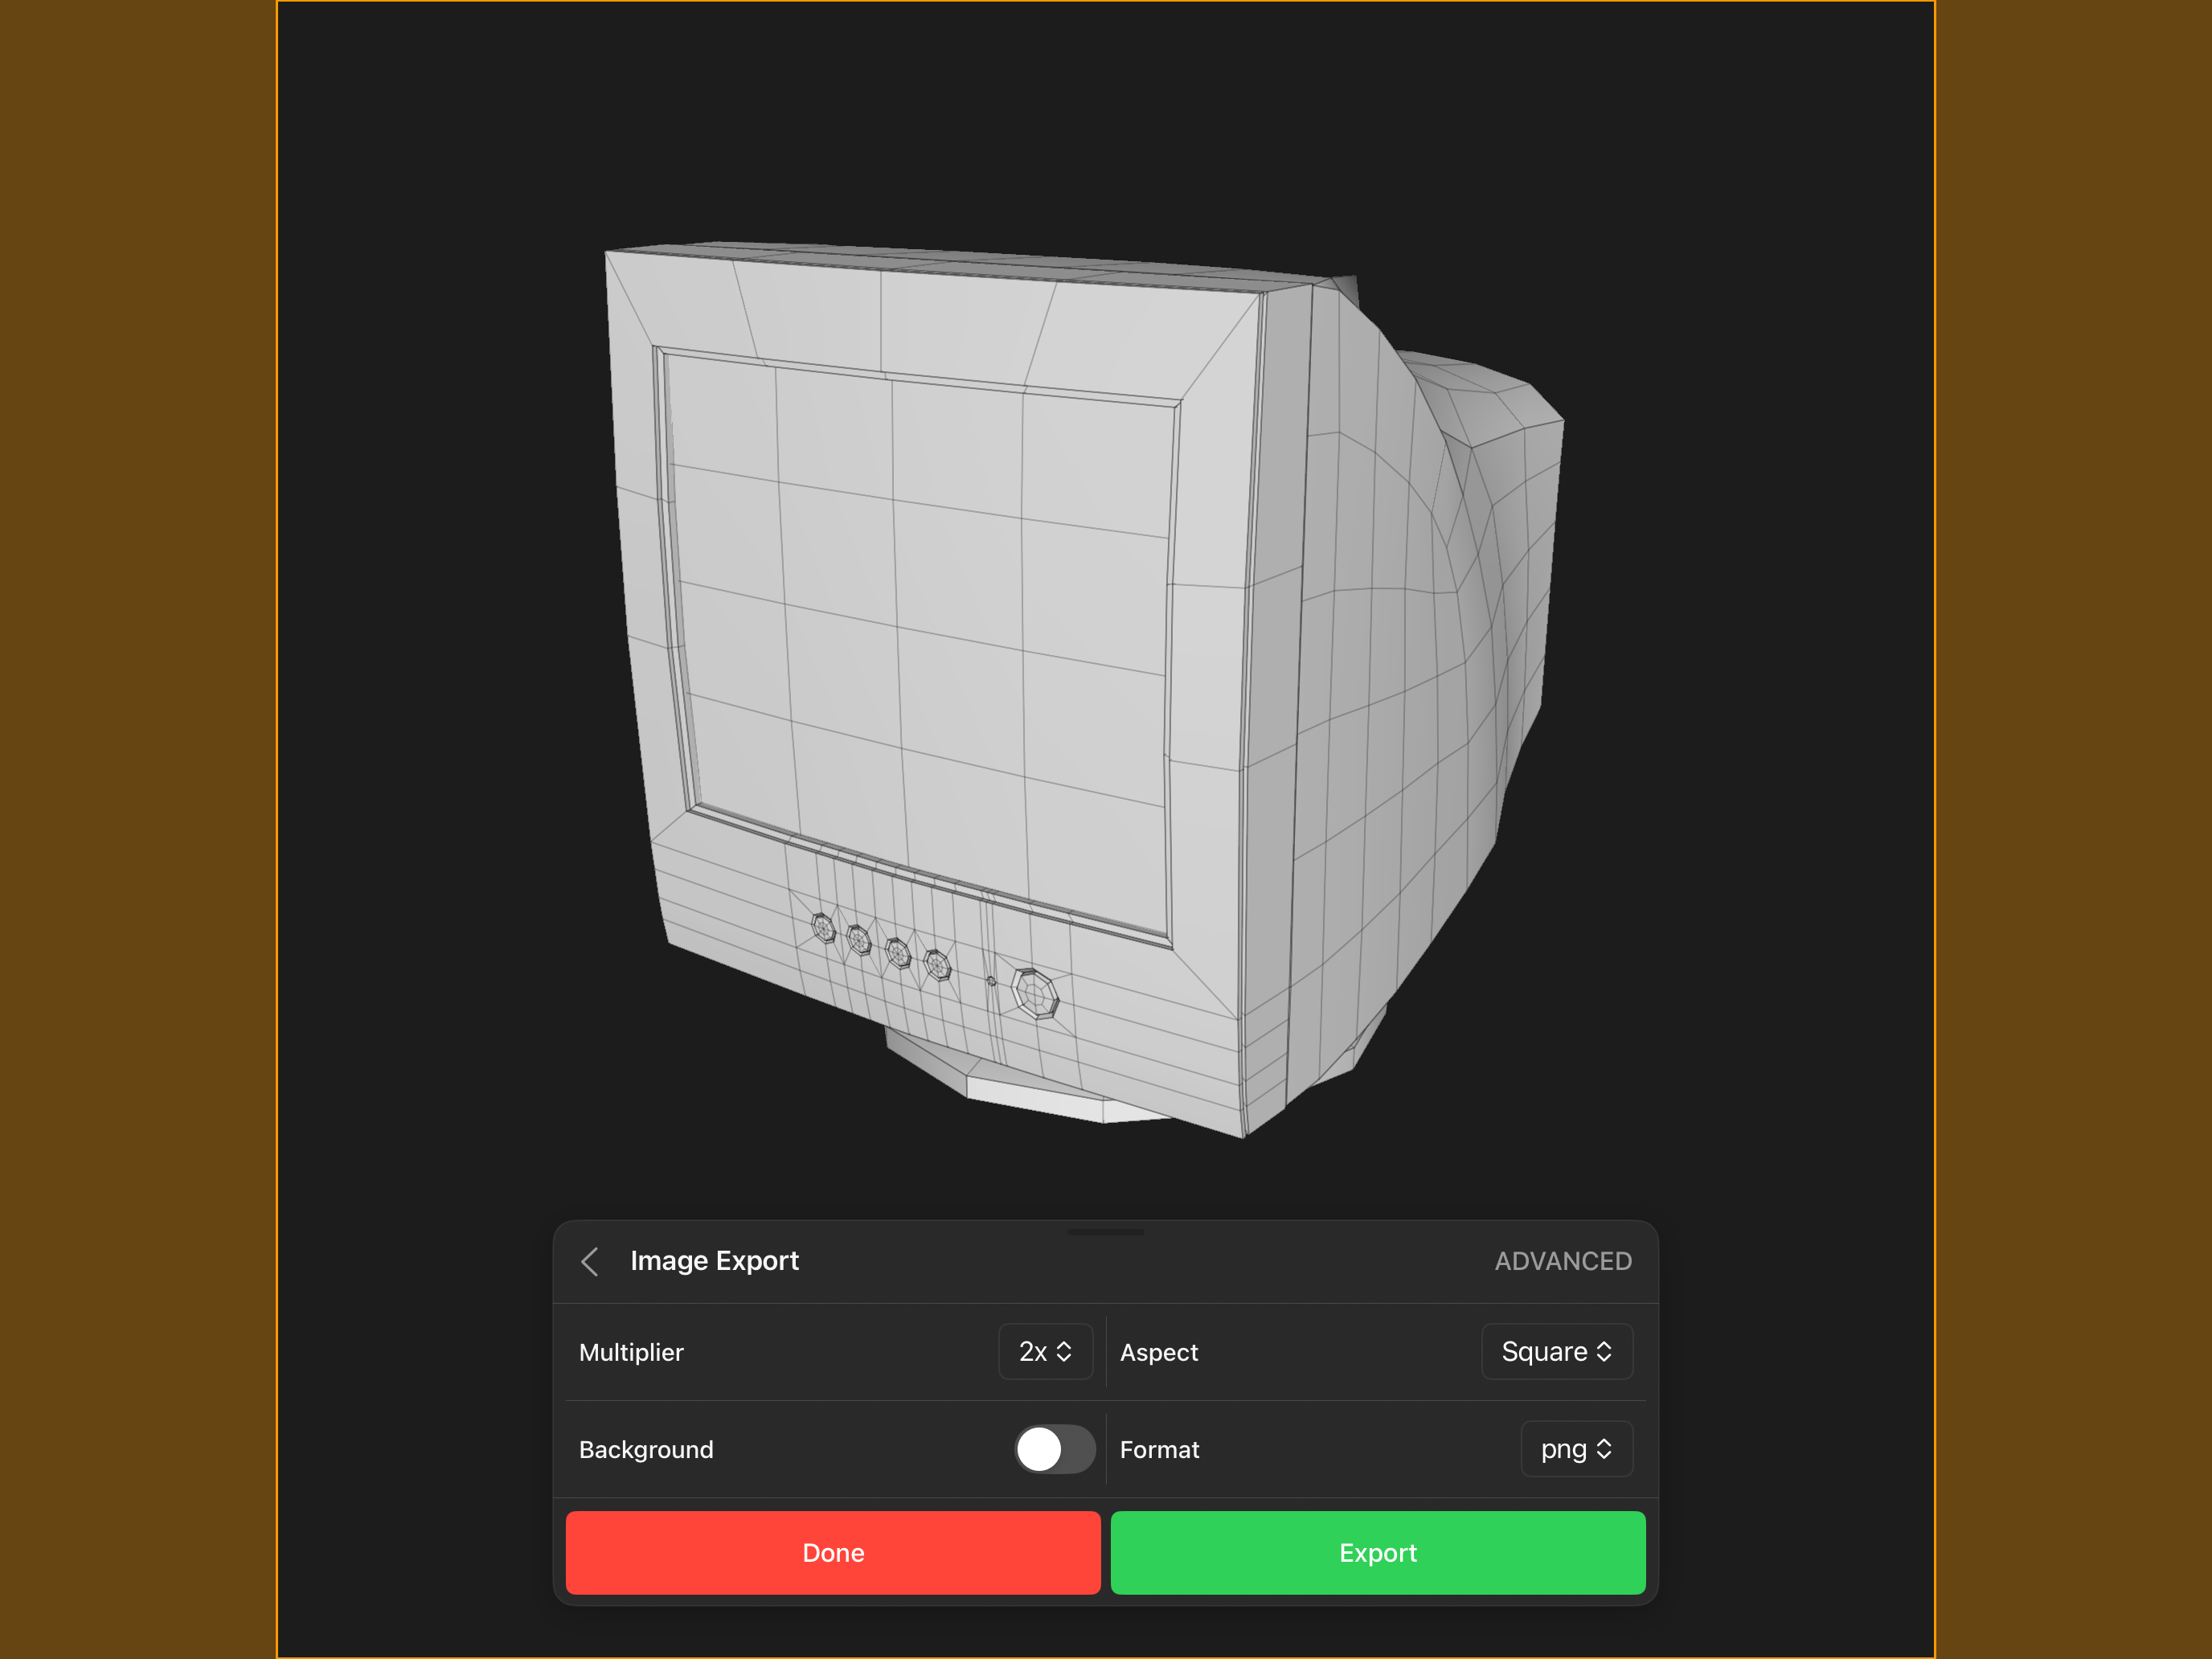
If you select the IMG option, then the Image Export sheet will appear and present various options you can use to configure the exported image. The area inside the transparent orange overlay shows what section of the viewport will be exported.
Default Options
- Multiplier - The resolution multipler of the exported image.
- Aspect - The aspect of the exported image.
- Background - Whether the background is included in the exported image.
- Format - The file format of the exported image.
Advanced Options
- Width - The width in pixels of the exported image.
- Height - The height in pixels of the exported image.
Path Traced Images
When the active rendering mode is Path Traced, picking IMG opens a Render Export sheet instead. It exports the path traced render at the size currently on screen, so it offers only Aspect, Format and the BACKGROUND toggle — there is no multiplier, width or height.
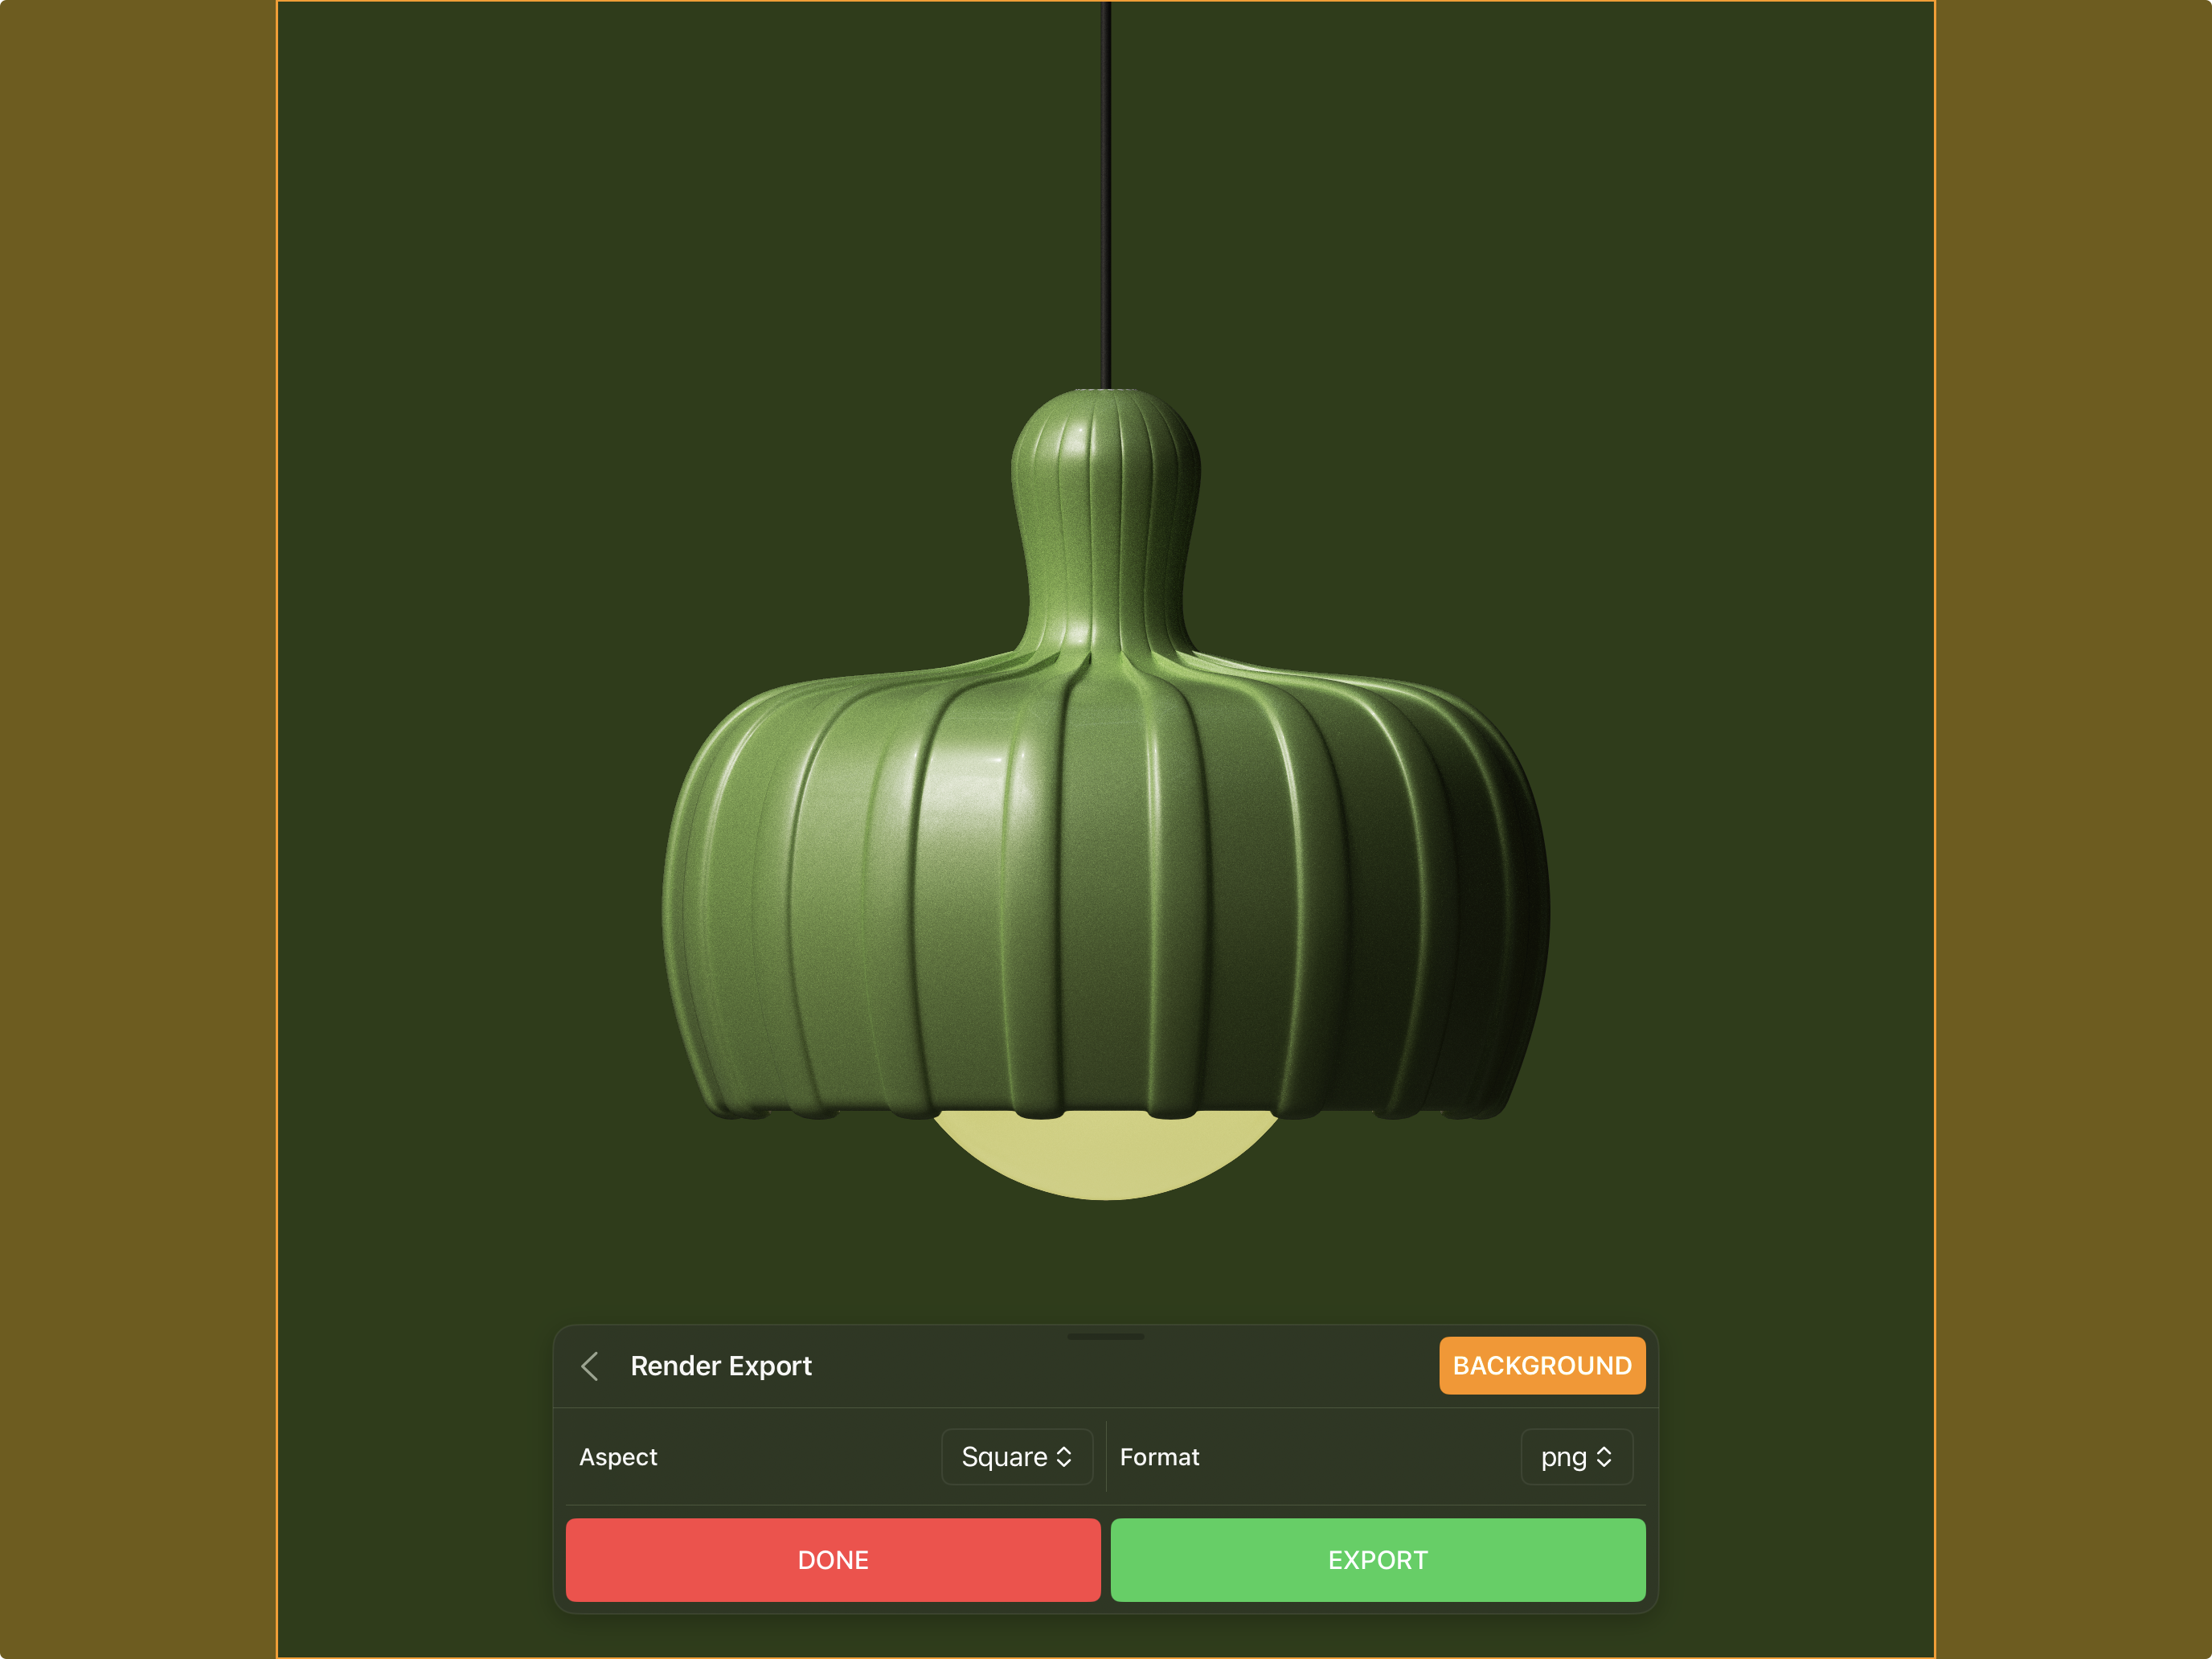
Let the render converge before exporting. The look of the result is governed by the Path Tracer and Tonemapping settings in the Scene Inspector.
Vector
If you select the SVG (vector) option, then the SVG Export sheet will appear and present various options you can use to configure the exported vector file. The area inside the transparent orange overlay shows what section of the viewport will be exported.
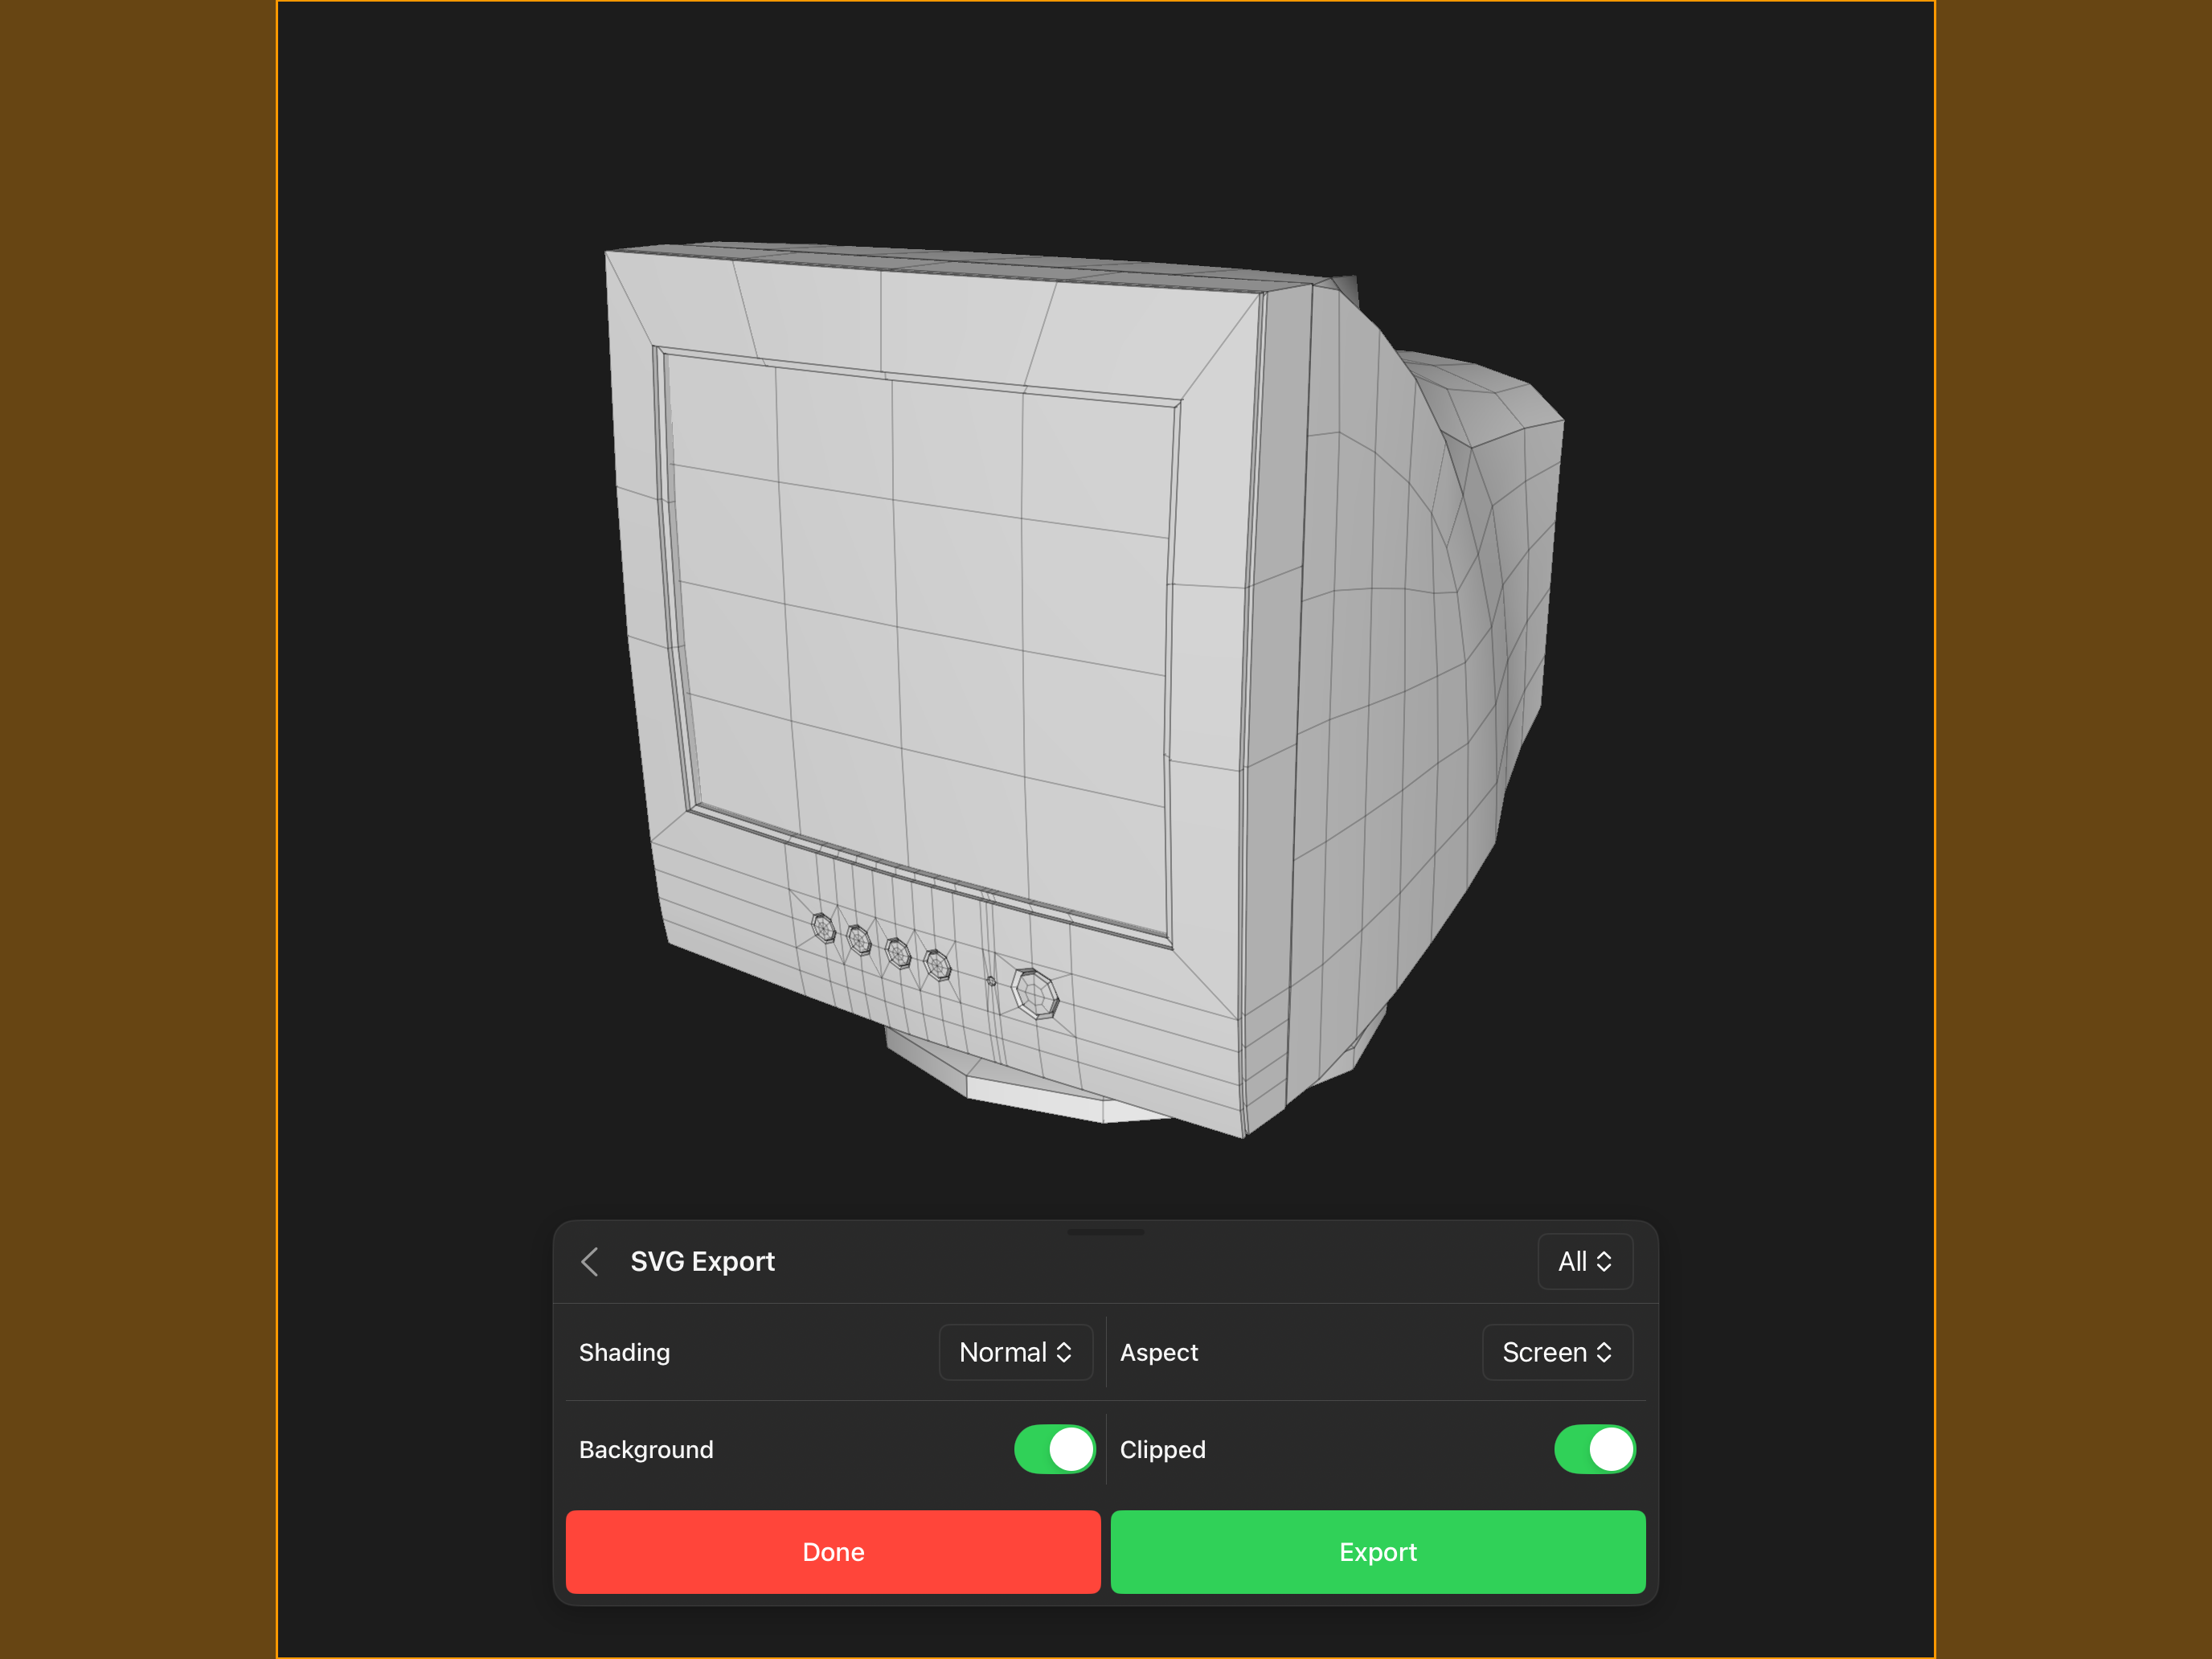
Options
- Filter - Located on the top right corner of the sheet, this option determines which objects are included in the export. Options include All, Selection, and Visible.
- Shading - the type of shading that will be used for the polygon fill color
- Aspect - the aspect of the exported svg canvas
- Background - whether the background is included in the exported image
- Clipped - this determines if the output shapes are clipped to the canvas or allows to overflow the bounds of the canvas.
Video
If you select the VIDEO (turntable) option, then the Video Export sheet will appear and present various options you can use to configure the exported turntable video. The area inside the transparent orange overlay shows what section of the viewport will be exported.
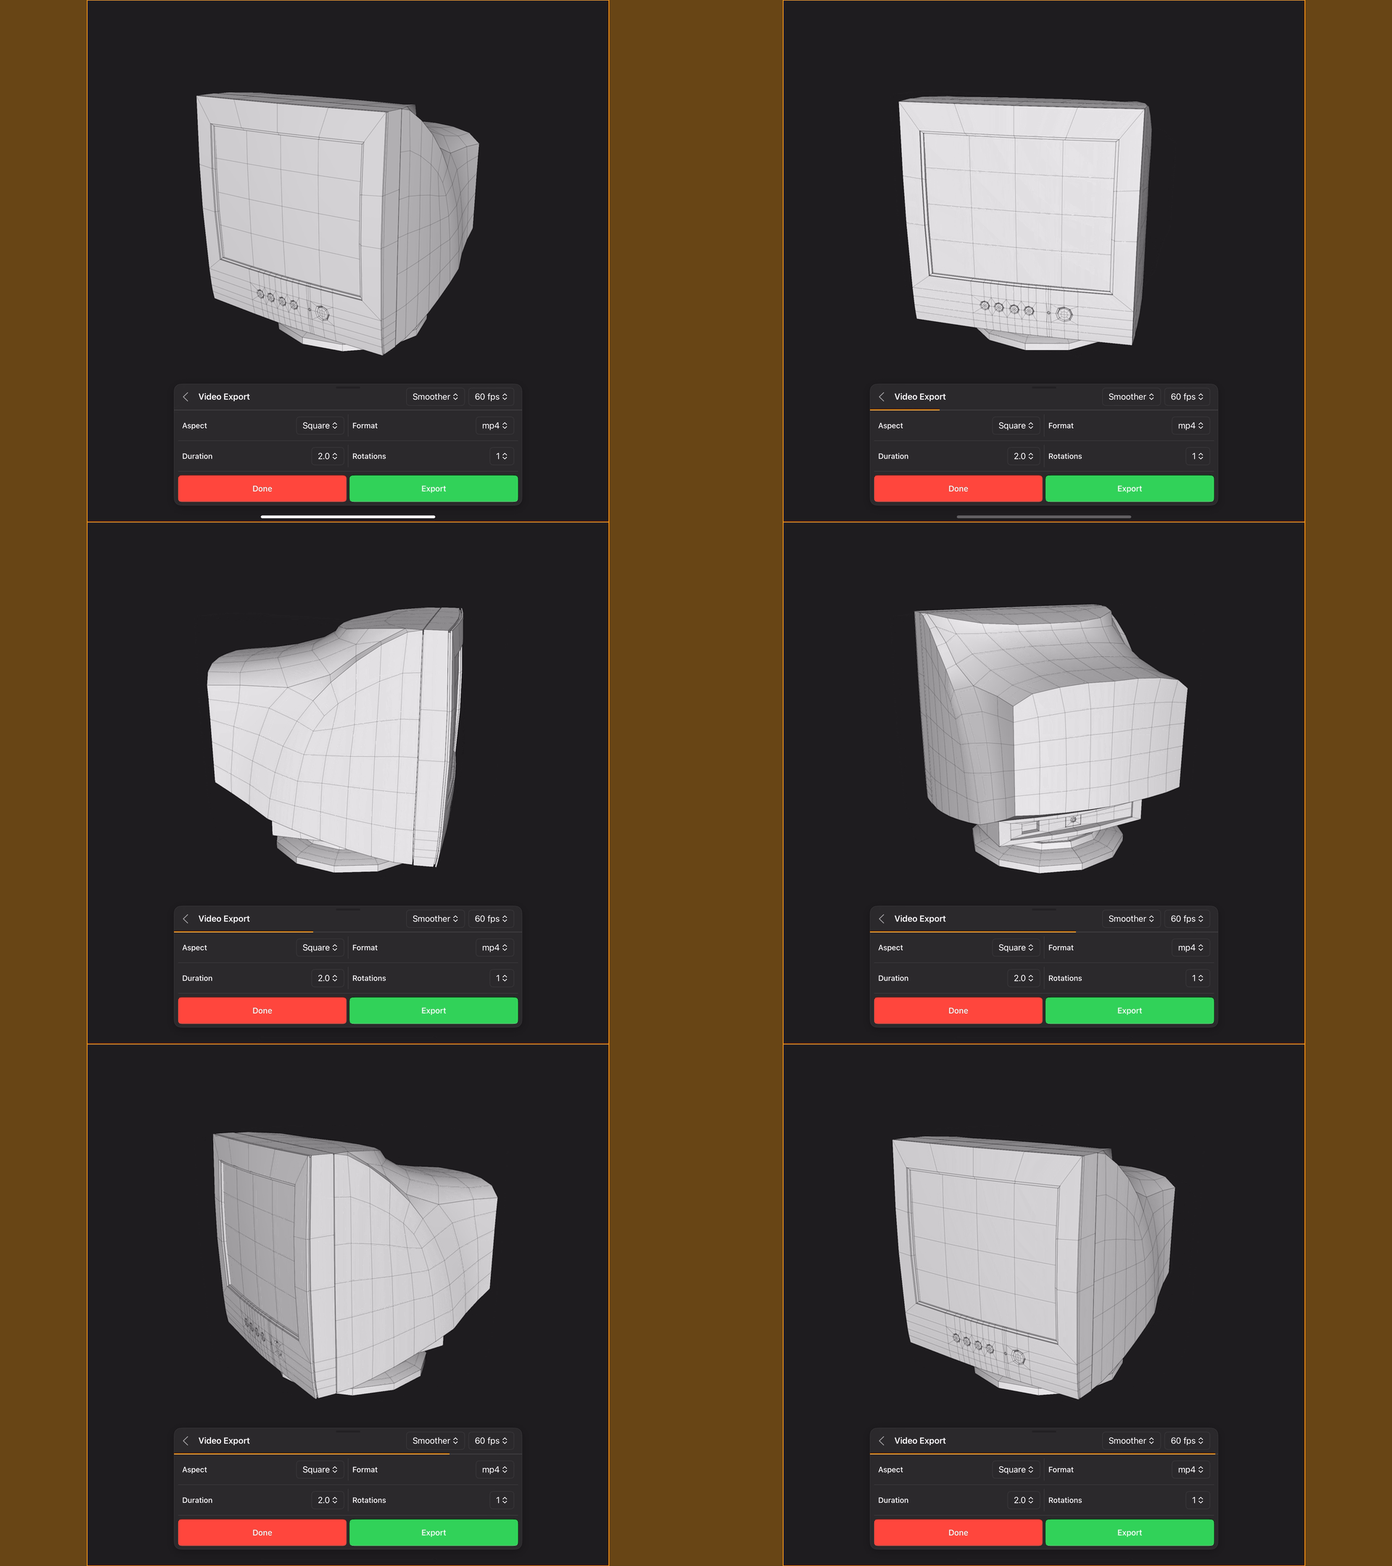
Options
- Easing - Located on the top right corner of the sheet, this option determines the type of easing used when rotating around the scene.
- Framerate - Located to the right of the easing option, this option determines the frame rate used for the video. Options are 24, 30, 60 and 120 fps.
- Aspect - The aspect of the video.
- Format - The file format of the video, either mp4 or mov.
- Duration - The duration of the video, from 1 to 30 seconds.
- Rotations - The number of rotations around the scene, from -4 to 4. A negative value rotates the other way.
- Samples - Replaces Aspect when the active rendering mode is Path Traced. It sets how many samples each frame is given before it is written out. Higher values mean a cleaner, less noisy video and a much longer export.
A path traced video has to converge every frame, so expect it to take considerably longer than a rasterized one. Start with a low sample count and a short duration to check the motion before committing to a final render.
OBJ
If you select the OBJ (wavefront) option, then the OBJ Export sheet will appear and present various options you can use to configure the exported file.
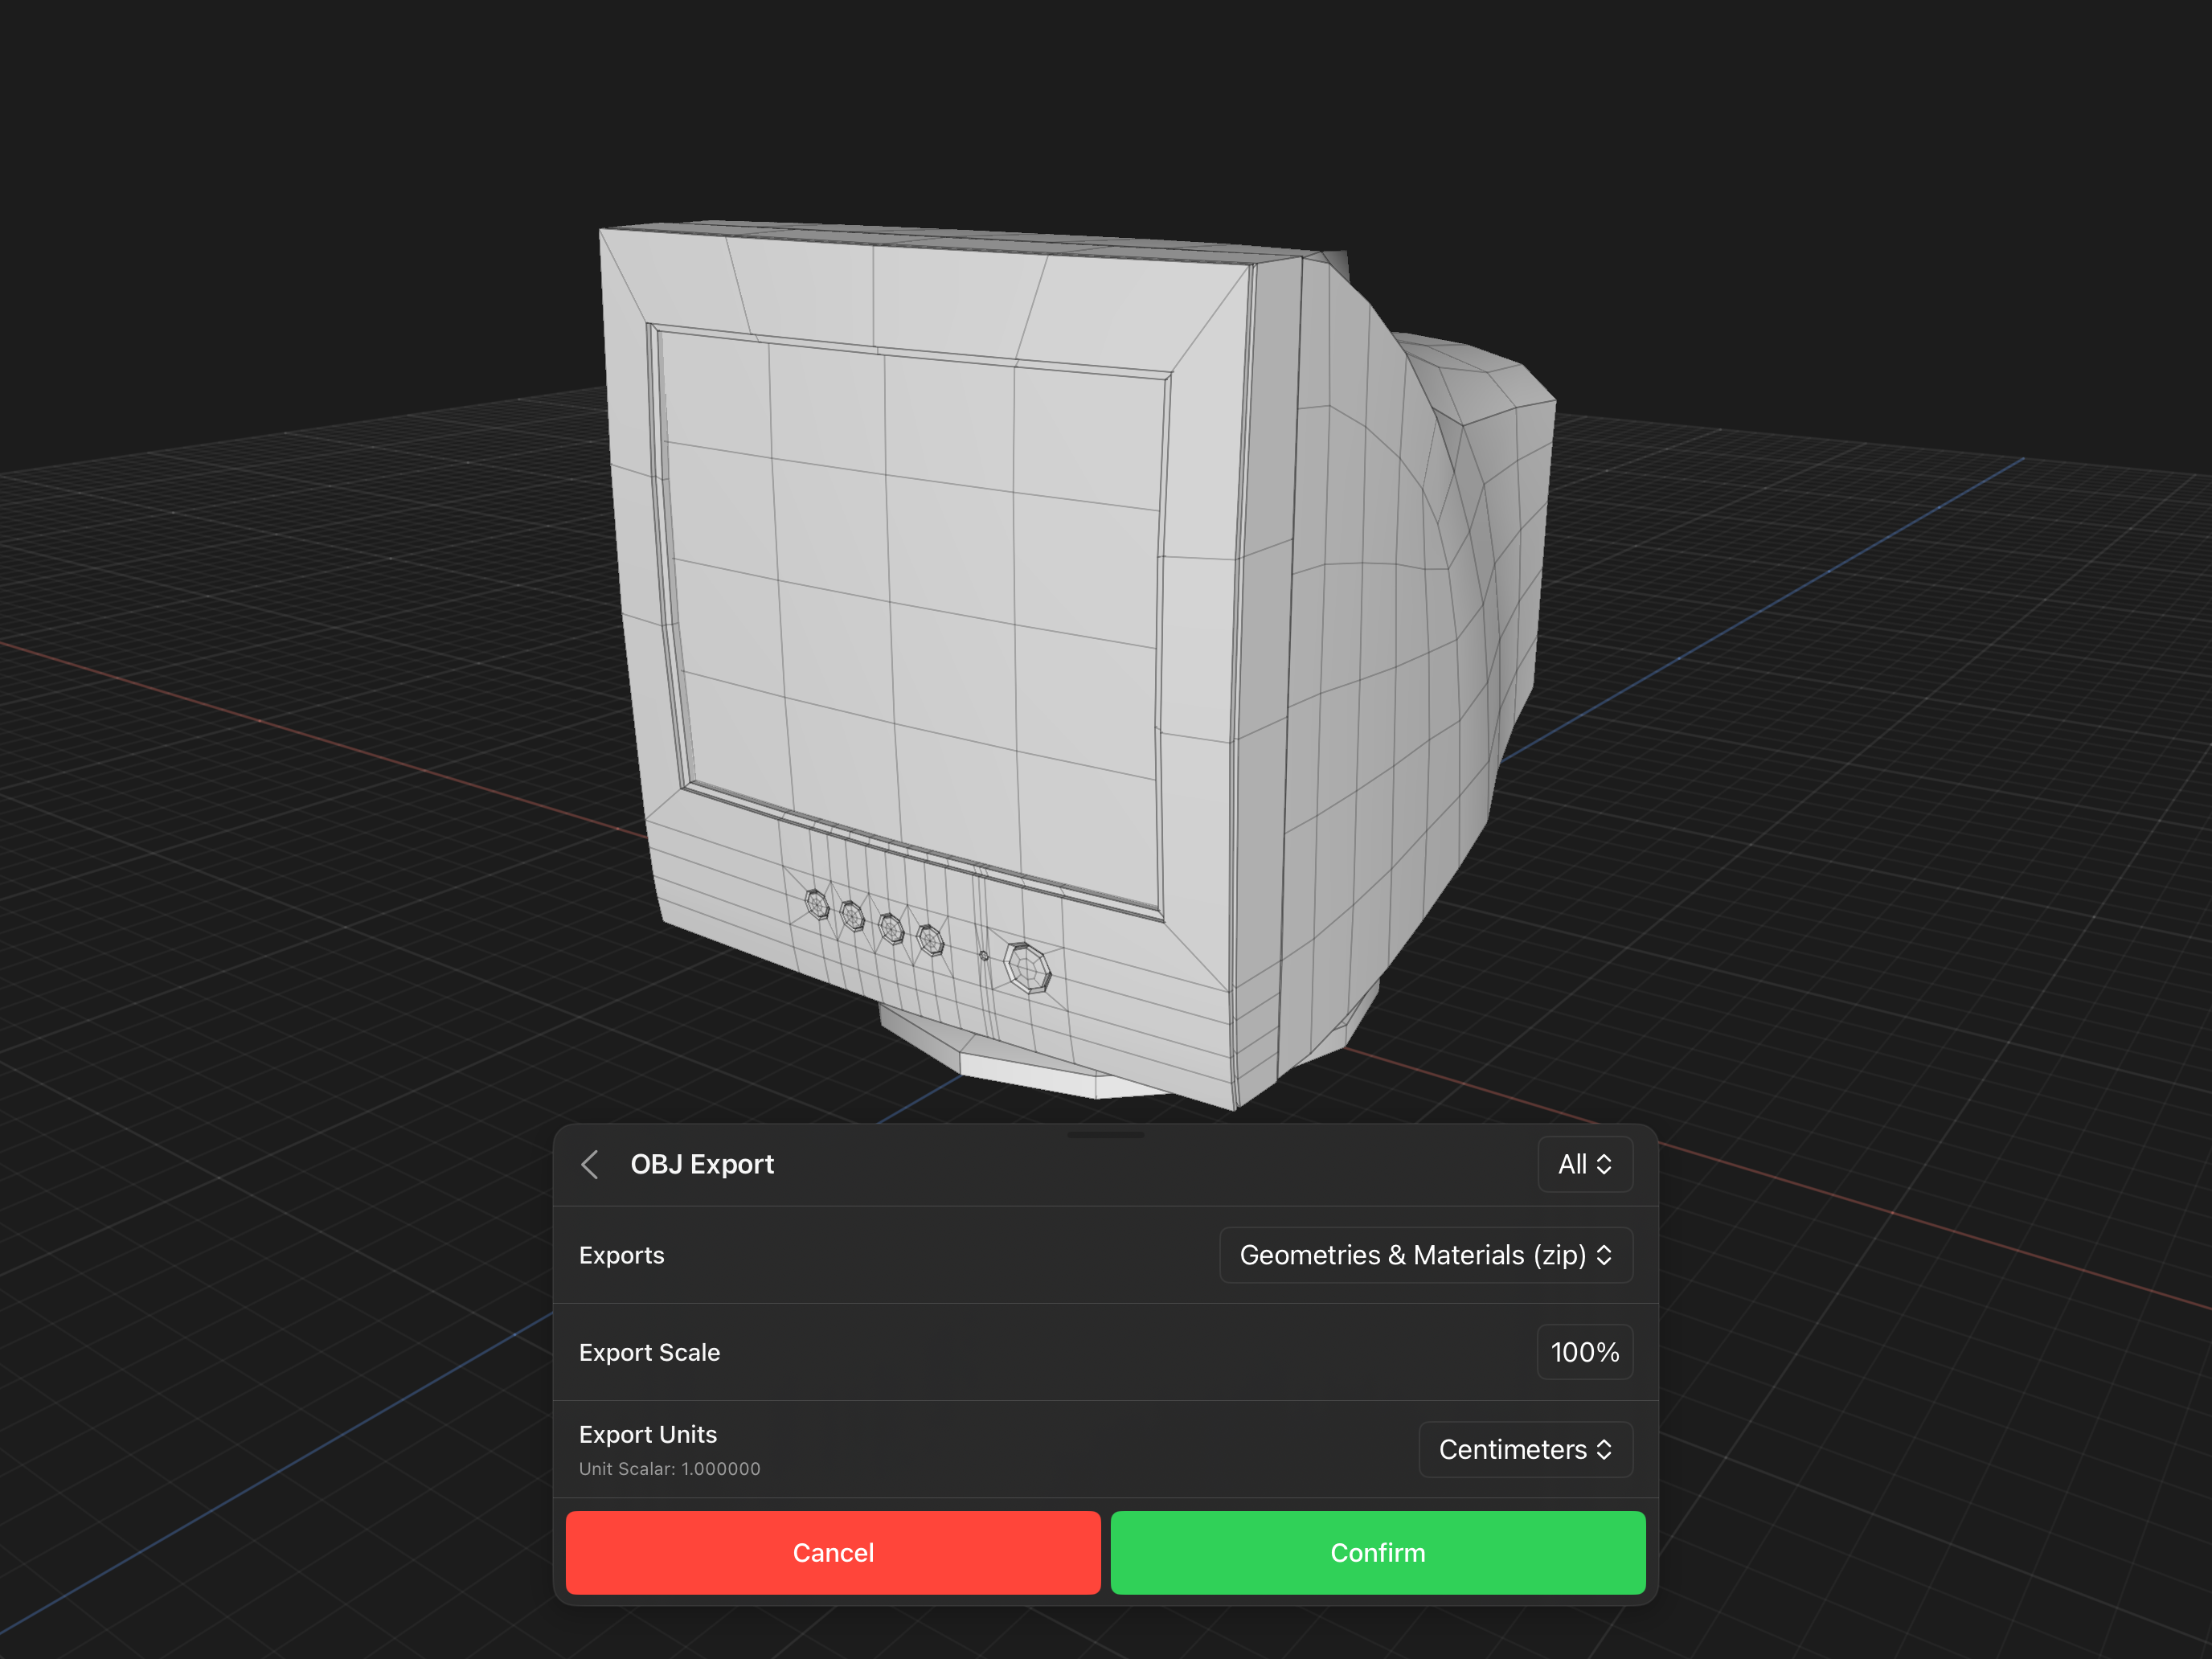
Options
- Filter - Located on the top right corner of the sheet, this option determines which objects are included in the export. Options include All, Selection, and Visible.
- Exports - Determines whether if the file export includes material information or just the geometry file.
- Export Scale - If you need to scale your model by a percentage, this option can be used to scale your model up or down.
- Export Units - If you want to export a file with units that are not the valence file's units (i.e. if you are 3D printing, you'll typically need millimeters or inches) you can set the export units. Read more about export units here.
STL
If you select the STL (stereolithography) option, then the Export STL Options sheet will appear and present various options you can use to configure the exported file.
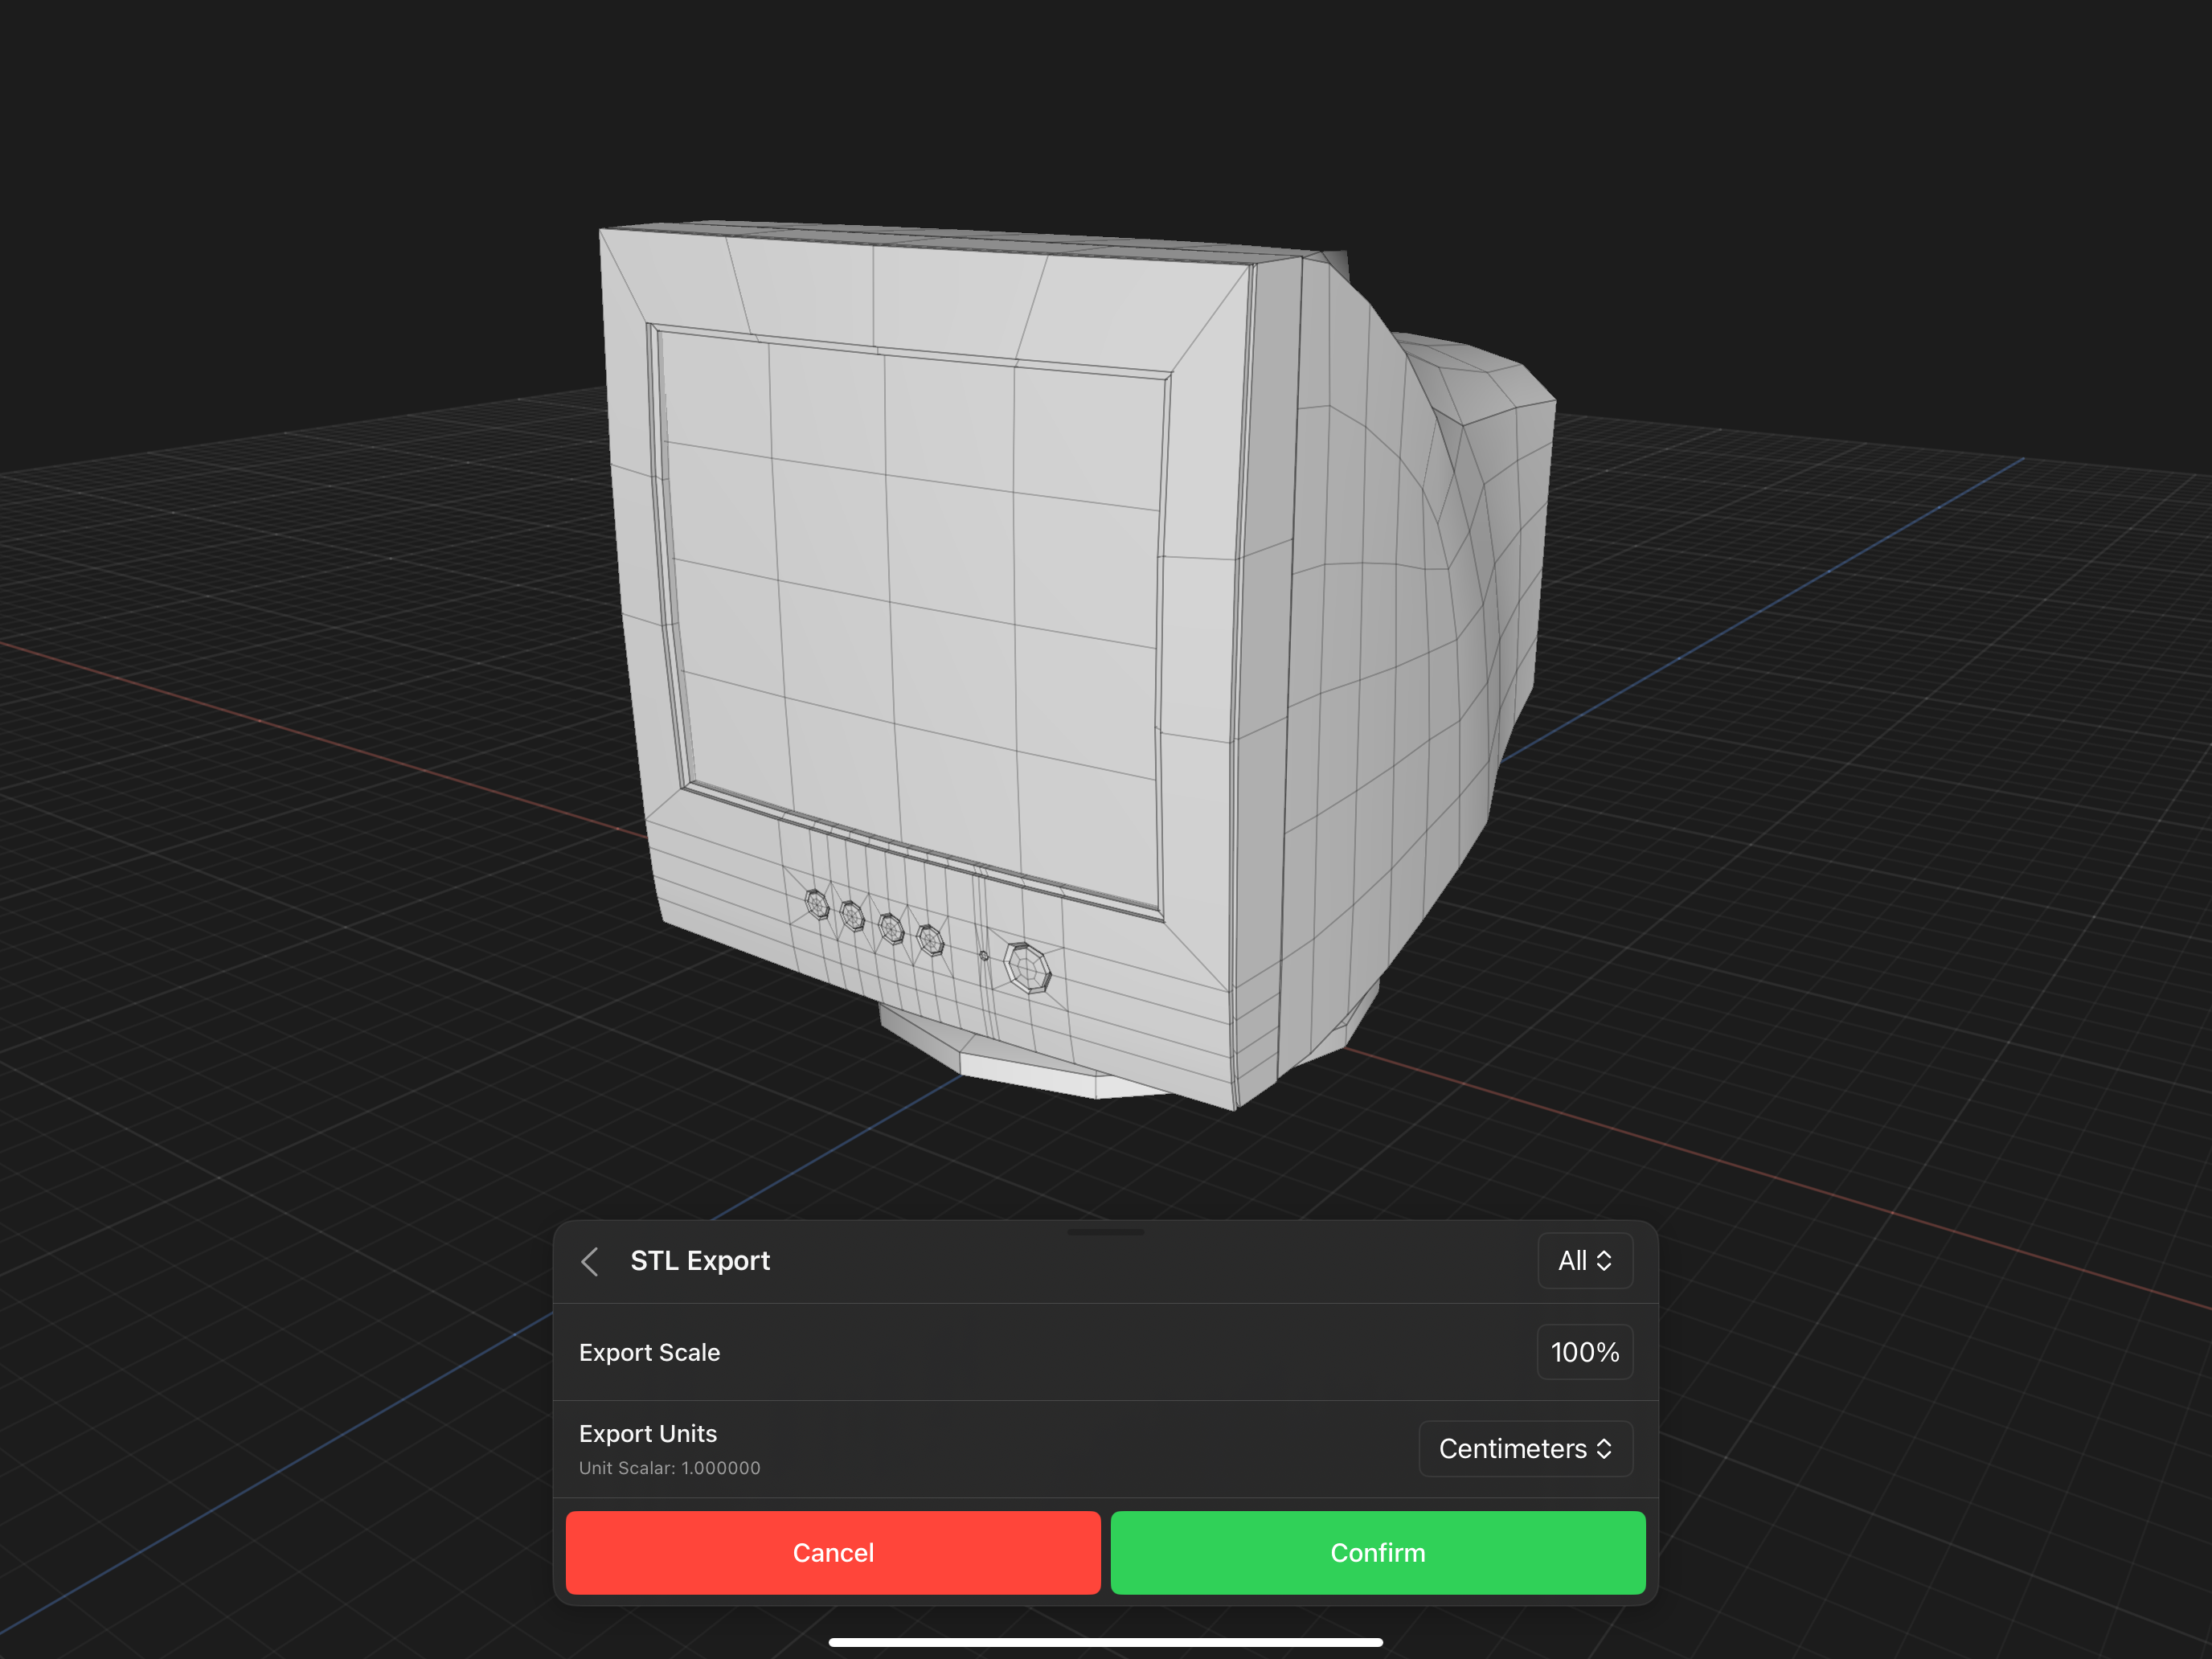
Options
- Filter - Located on the top right corner of the sheet, this option determines which objects are included in the export. Options include All, Selection, and Visible.
- Export Scale - If you need to scale your model by a percentage, this option can be used to scale your model up or down.
- Export Units - If you want to export a file with units that are not the valence file's units (i.e. if you are 3D printing, you'll typically need millimeters or inches) you can set the export units. Read more about export units here.
USD
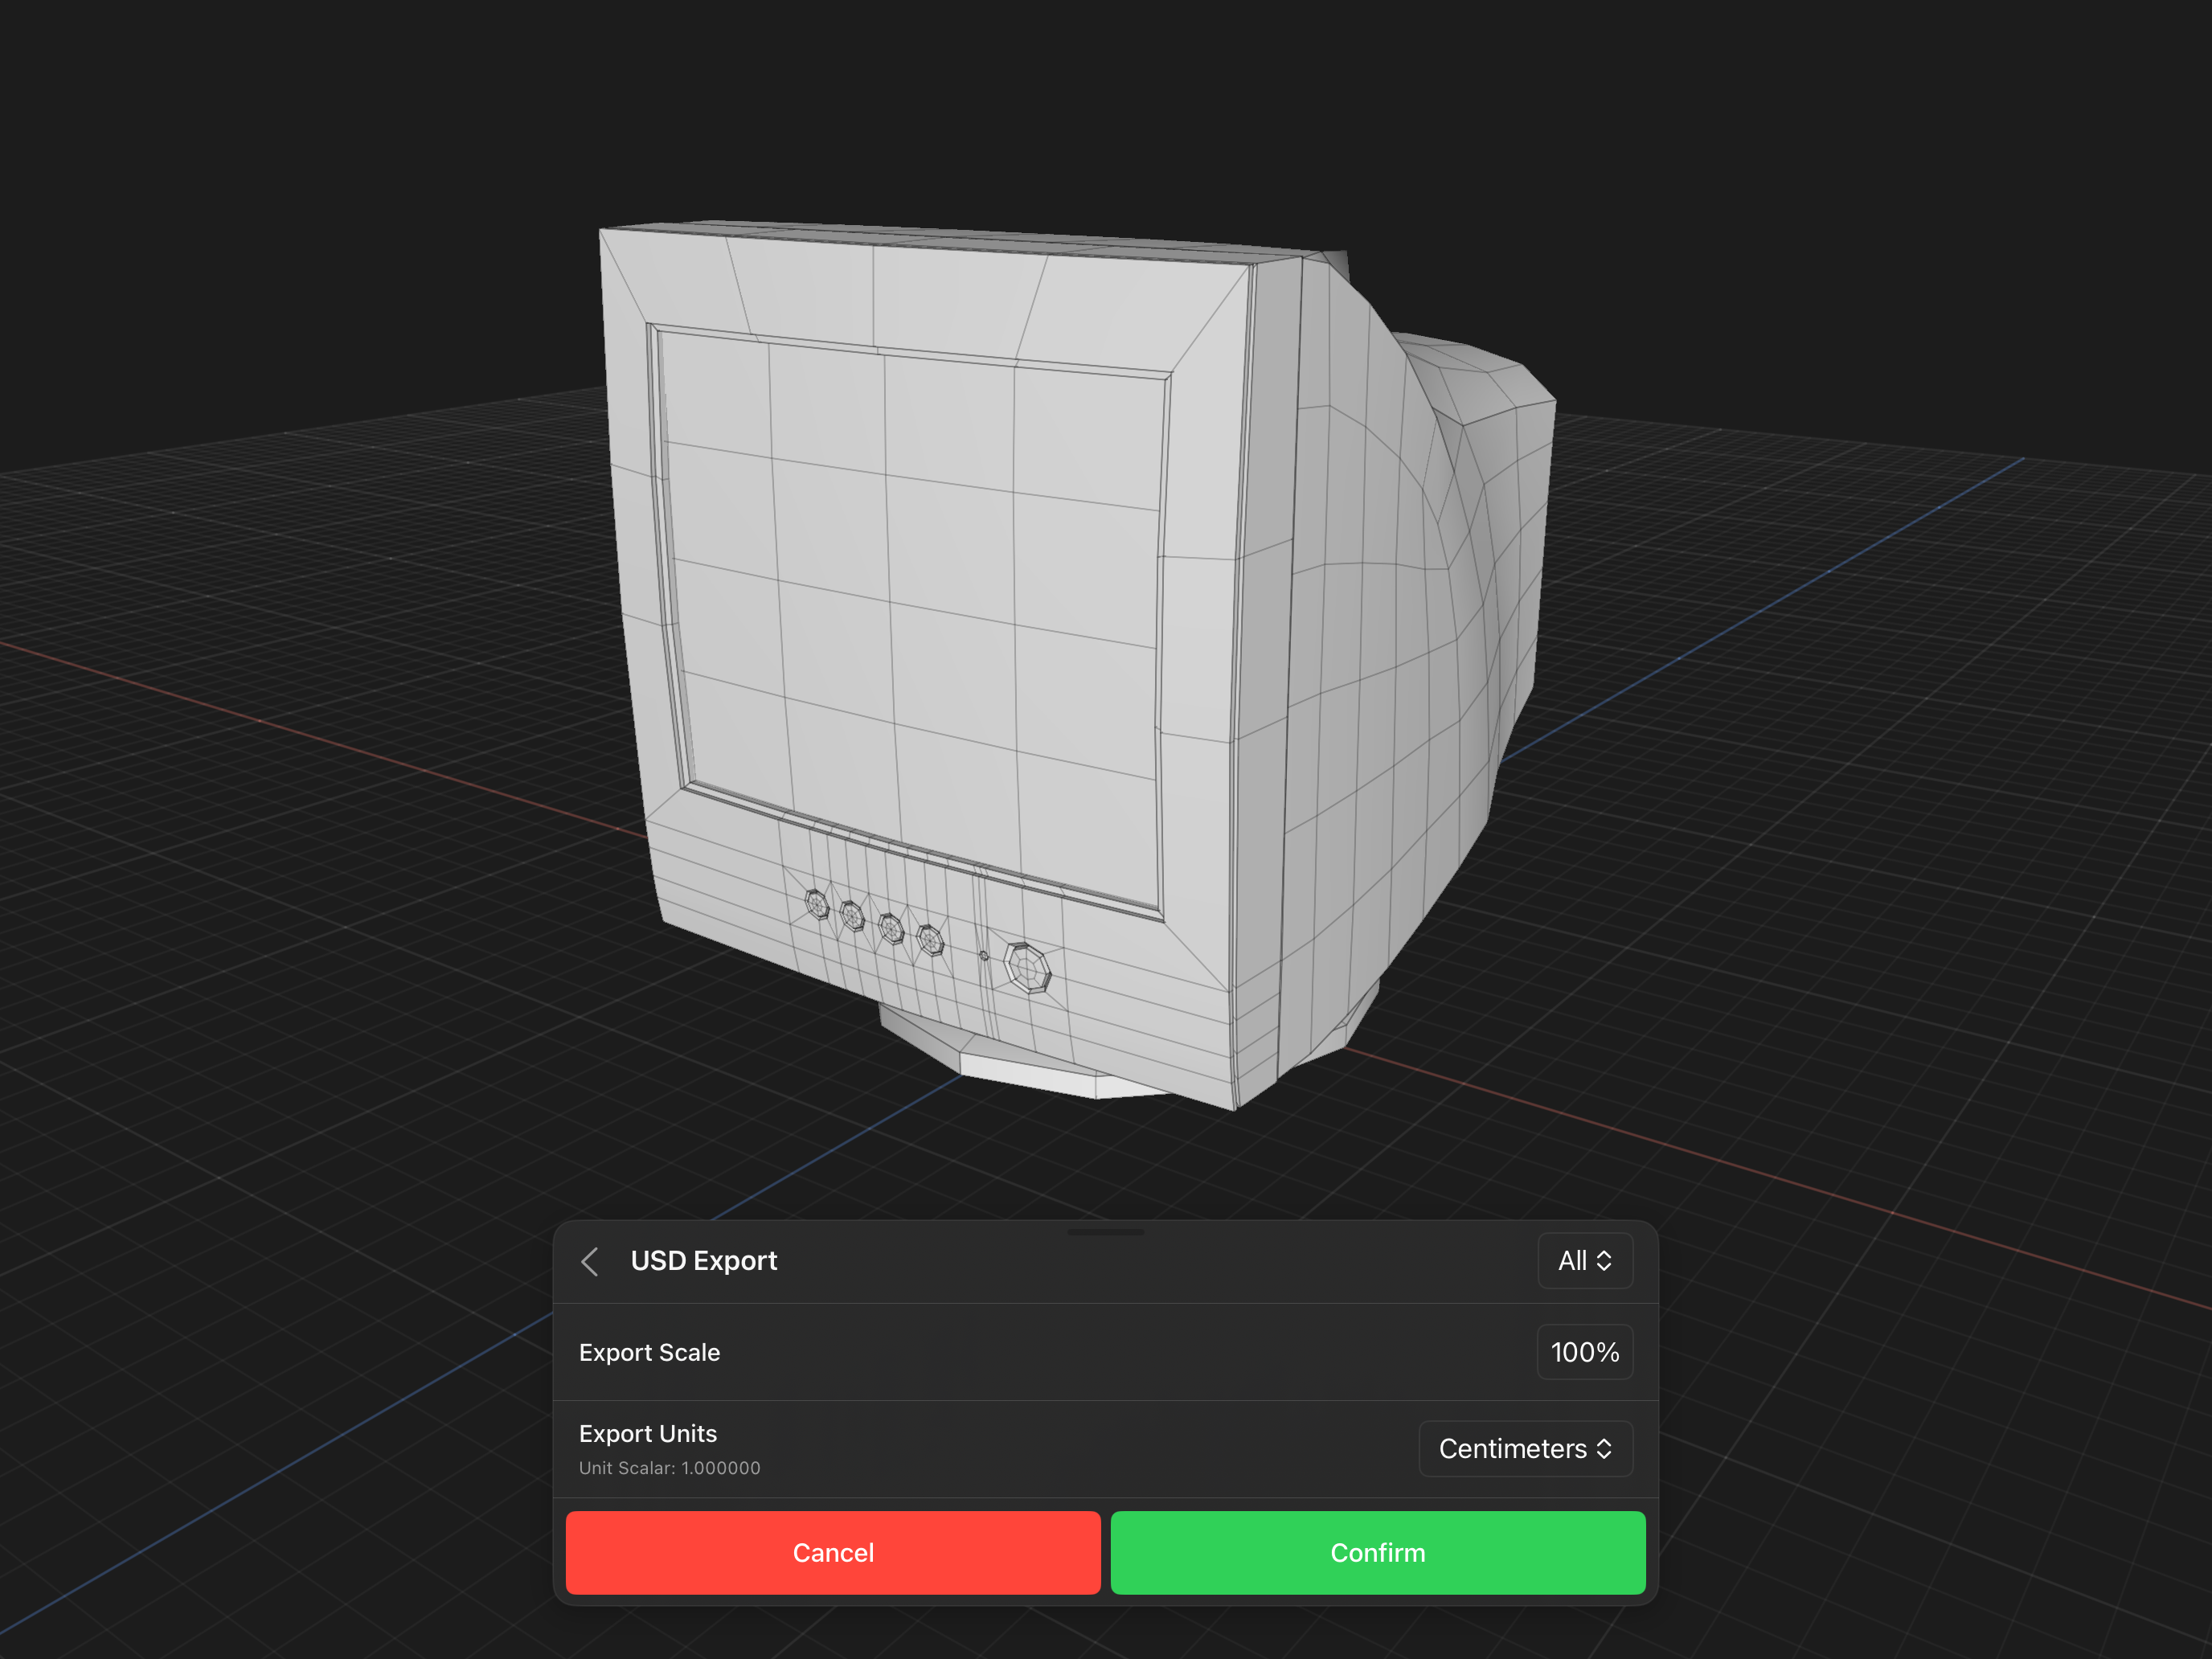
If you select the USD (Universal Scene Description) option, then the Export USD Options sheet will appear and present various options you can use to configure the exported file.
Options
- Filter - Located on the top right corner of the sheet, this option determines which objects are included in the export. Options include All, Selection, and Visible.
- Export Scale - If you need to scale your model by a percentage, this option can be used to scale your model up or down.
- Export Units - If you want to export a file with units that are not the valence file's units (i.e. if you are 3D printing, you'll typically need millimeters or inches) you can set the export units. Read more about export units here.
USDZ
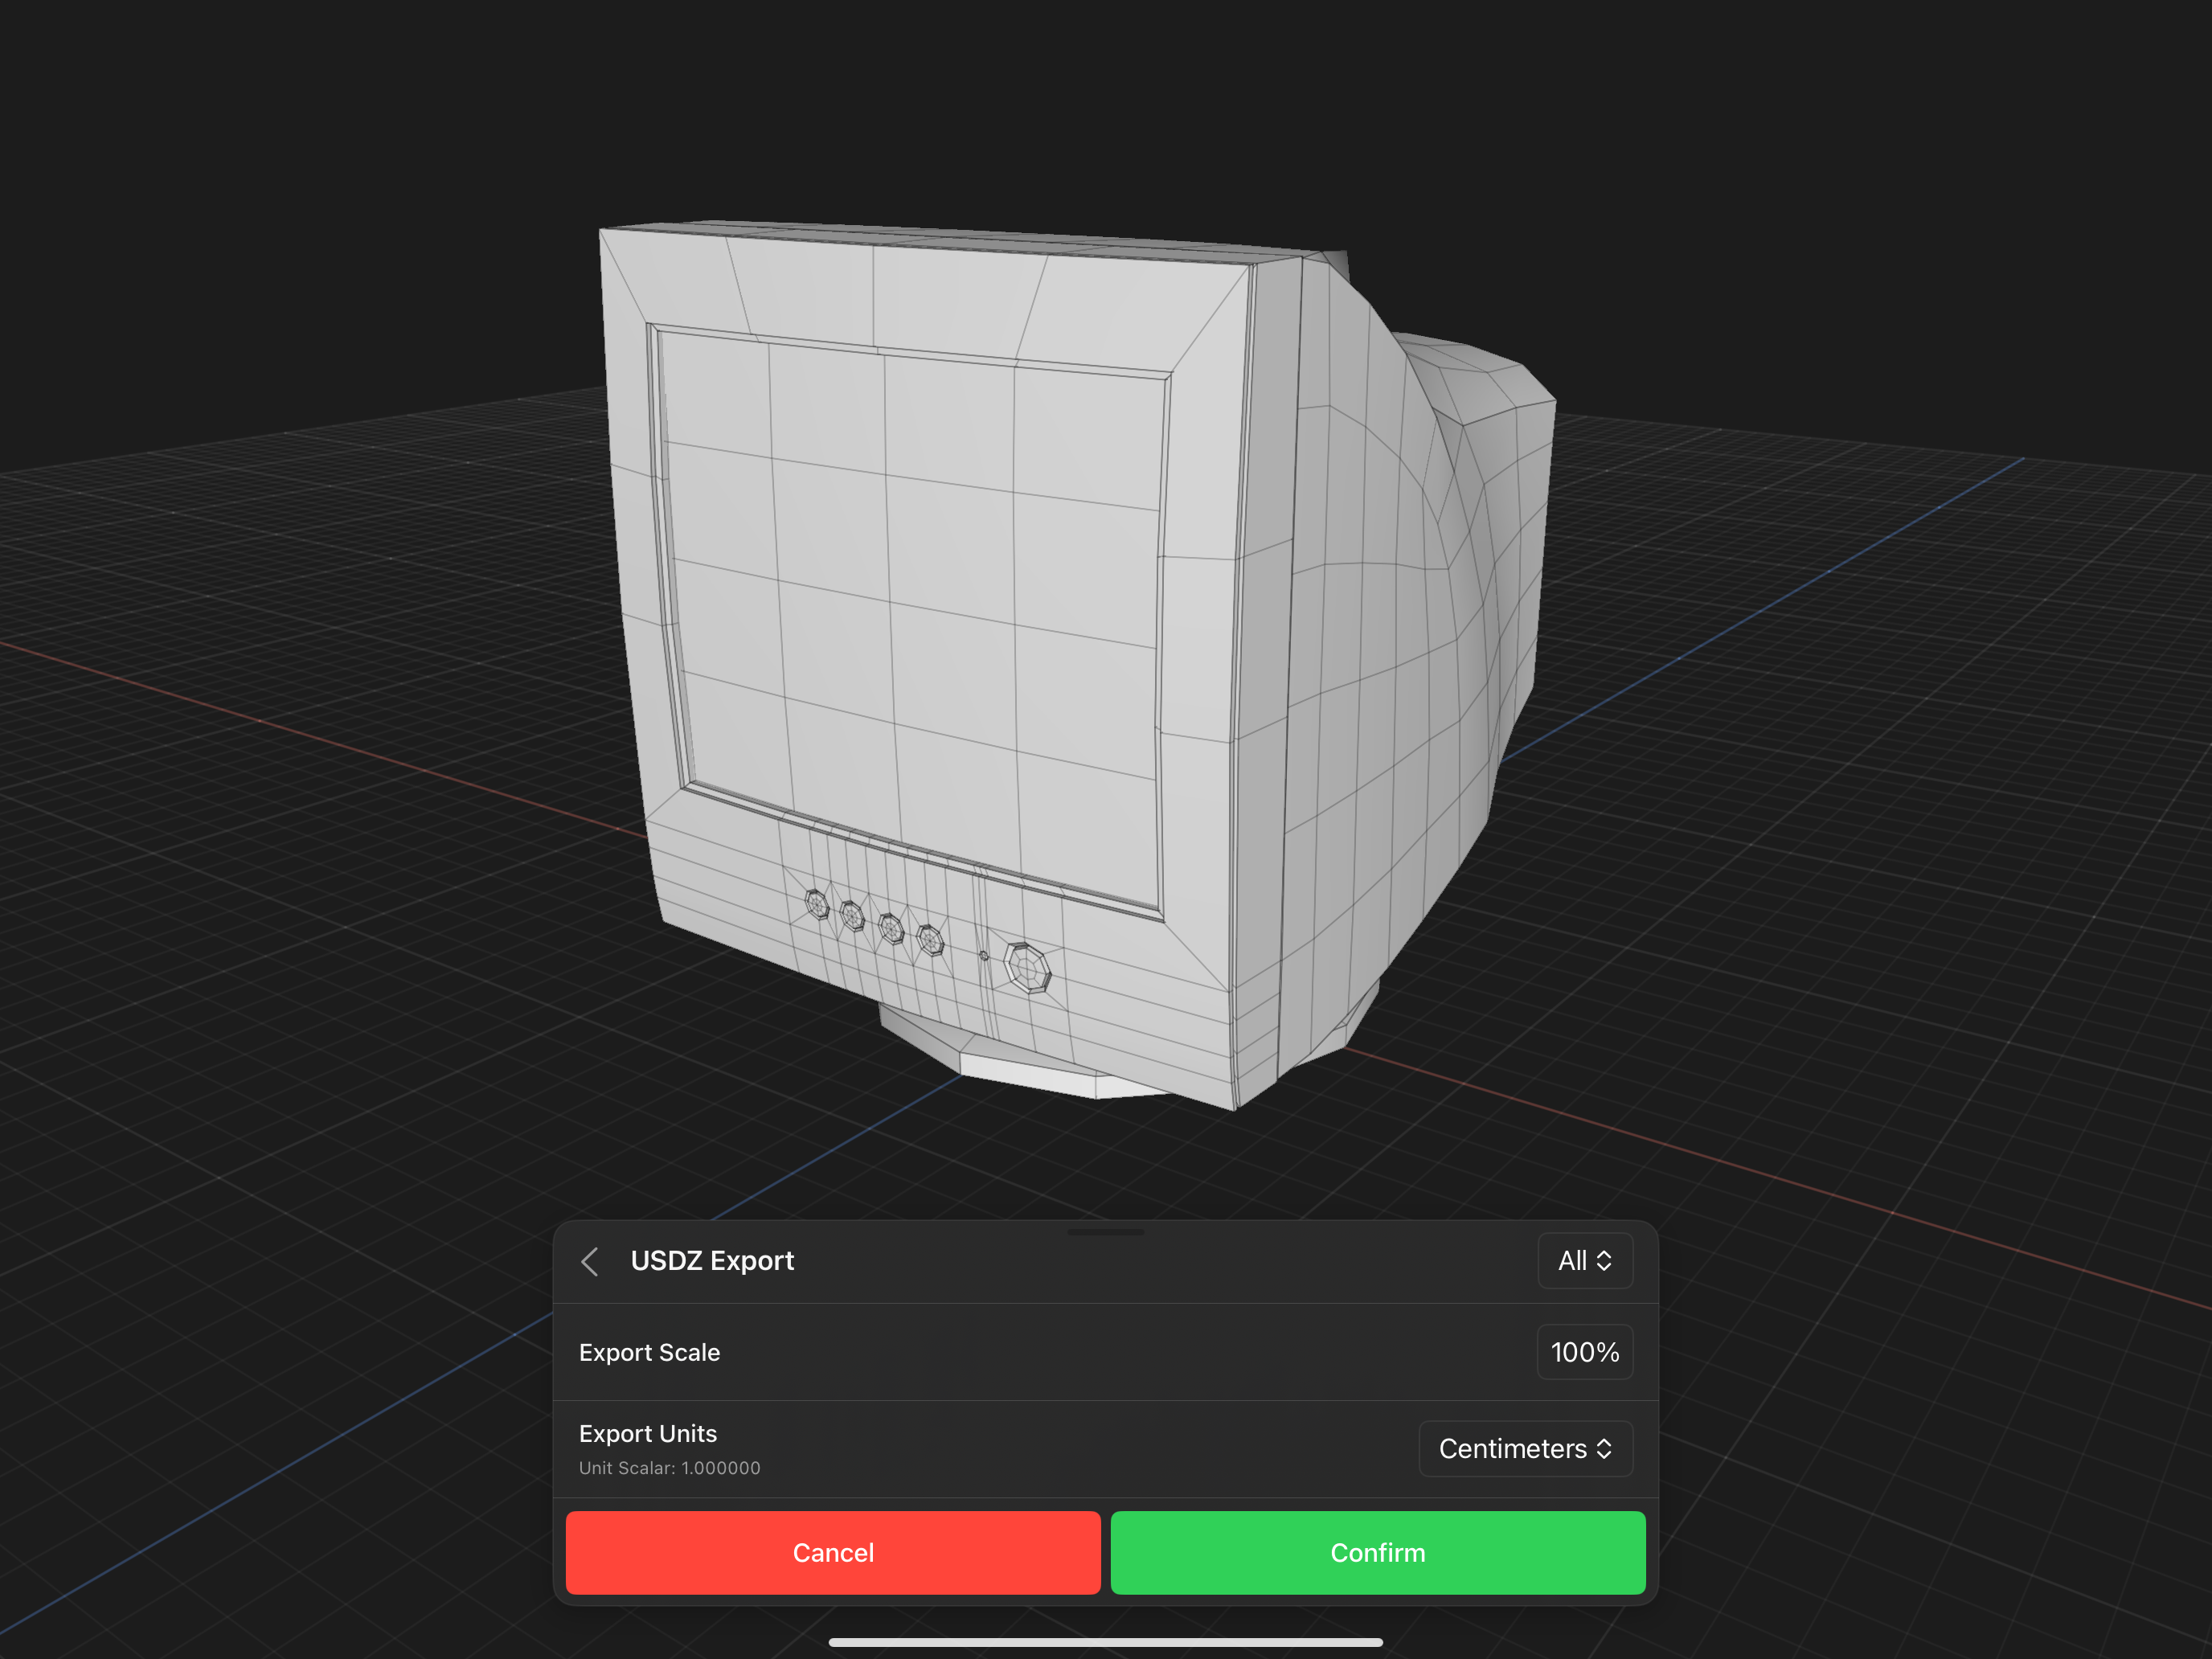
If you select the USDZ (Universal Scene Description Zipped)option, then the USDZ Export sheet will appear and present various options you can use to configure the exported file.
Options
- Filter - Located on the top right corner of the sheet, this option determines which objects are included in the export. Options include All, Selection, and Visible.
- Export Scale - If you need to scale your model by a percentage, this option can be used to scale your model up or down.
- Export Units - If you want to export a file with units that are not the valence file's units (i.e. if you are 3D printing, you'll typically need millimeters or inches) you can set the export units. Read more about export units here.
GLTF
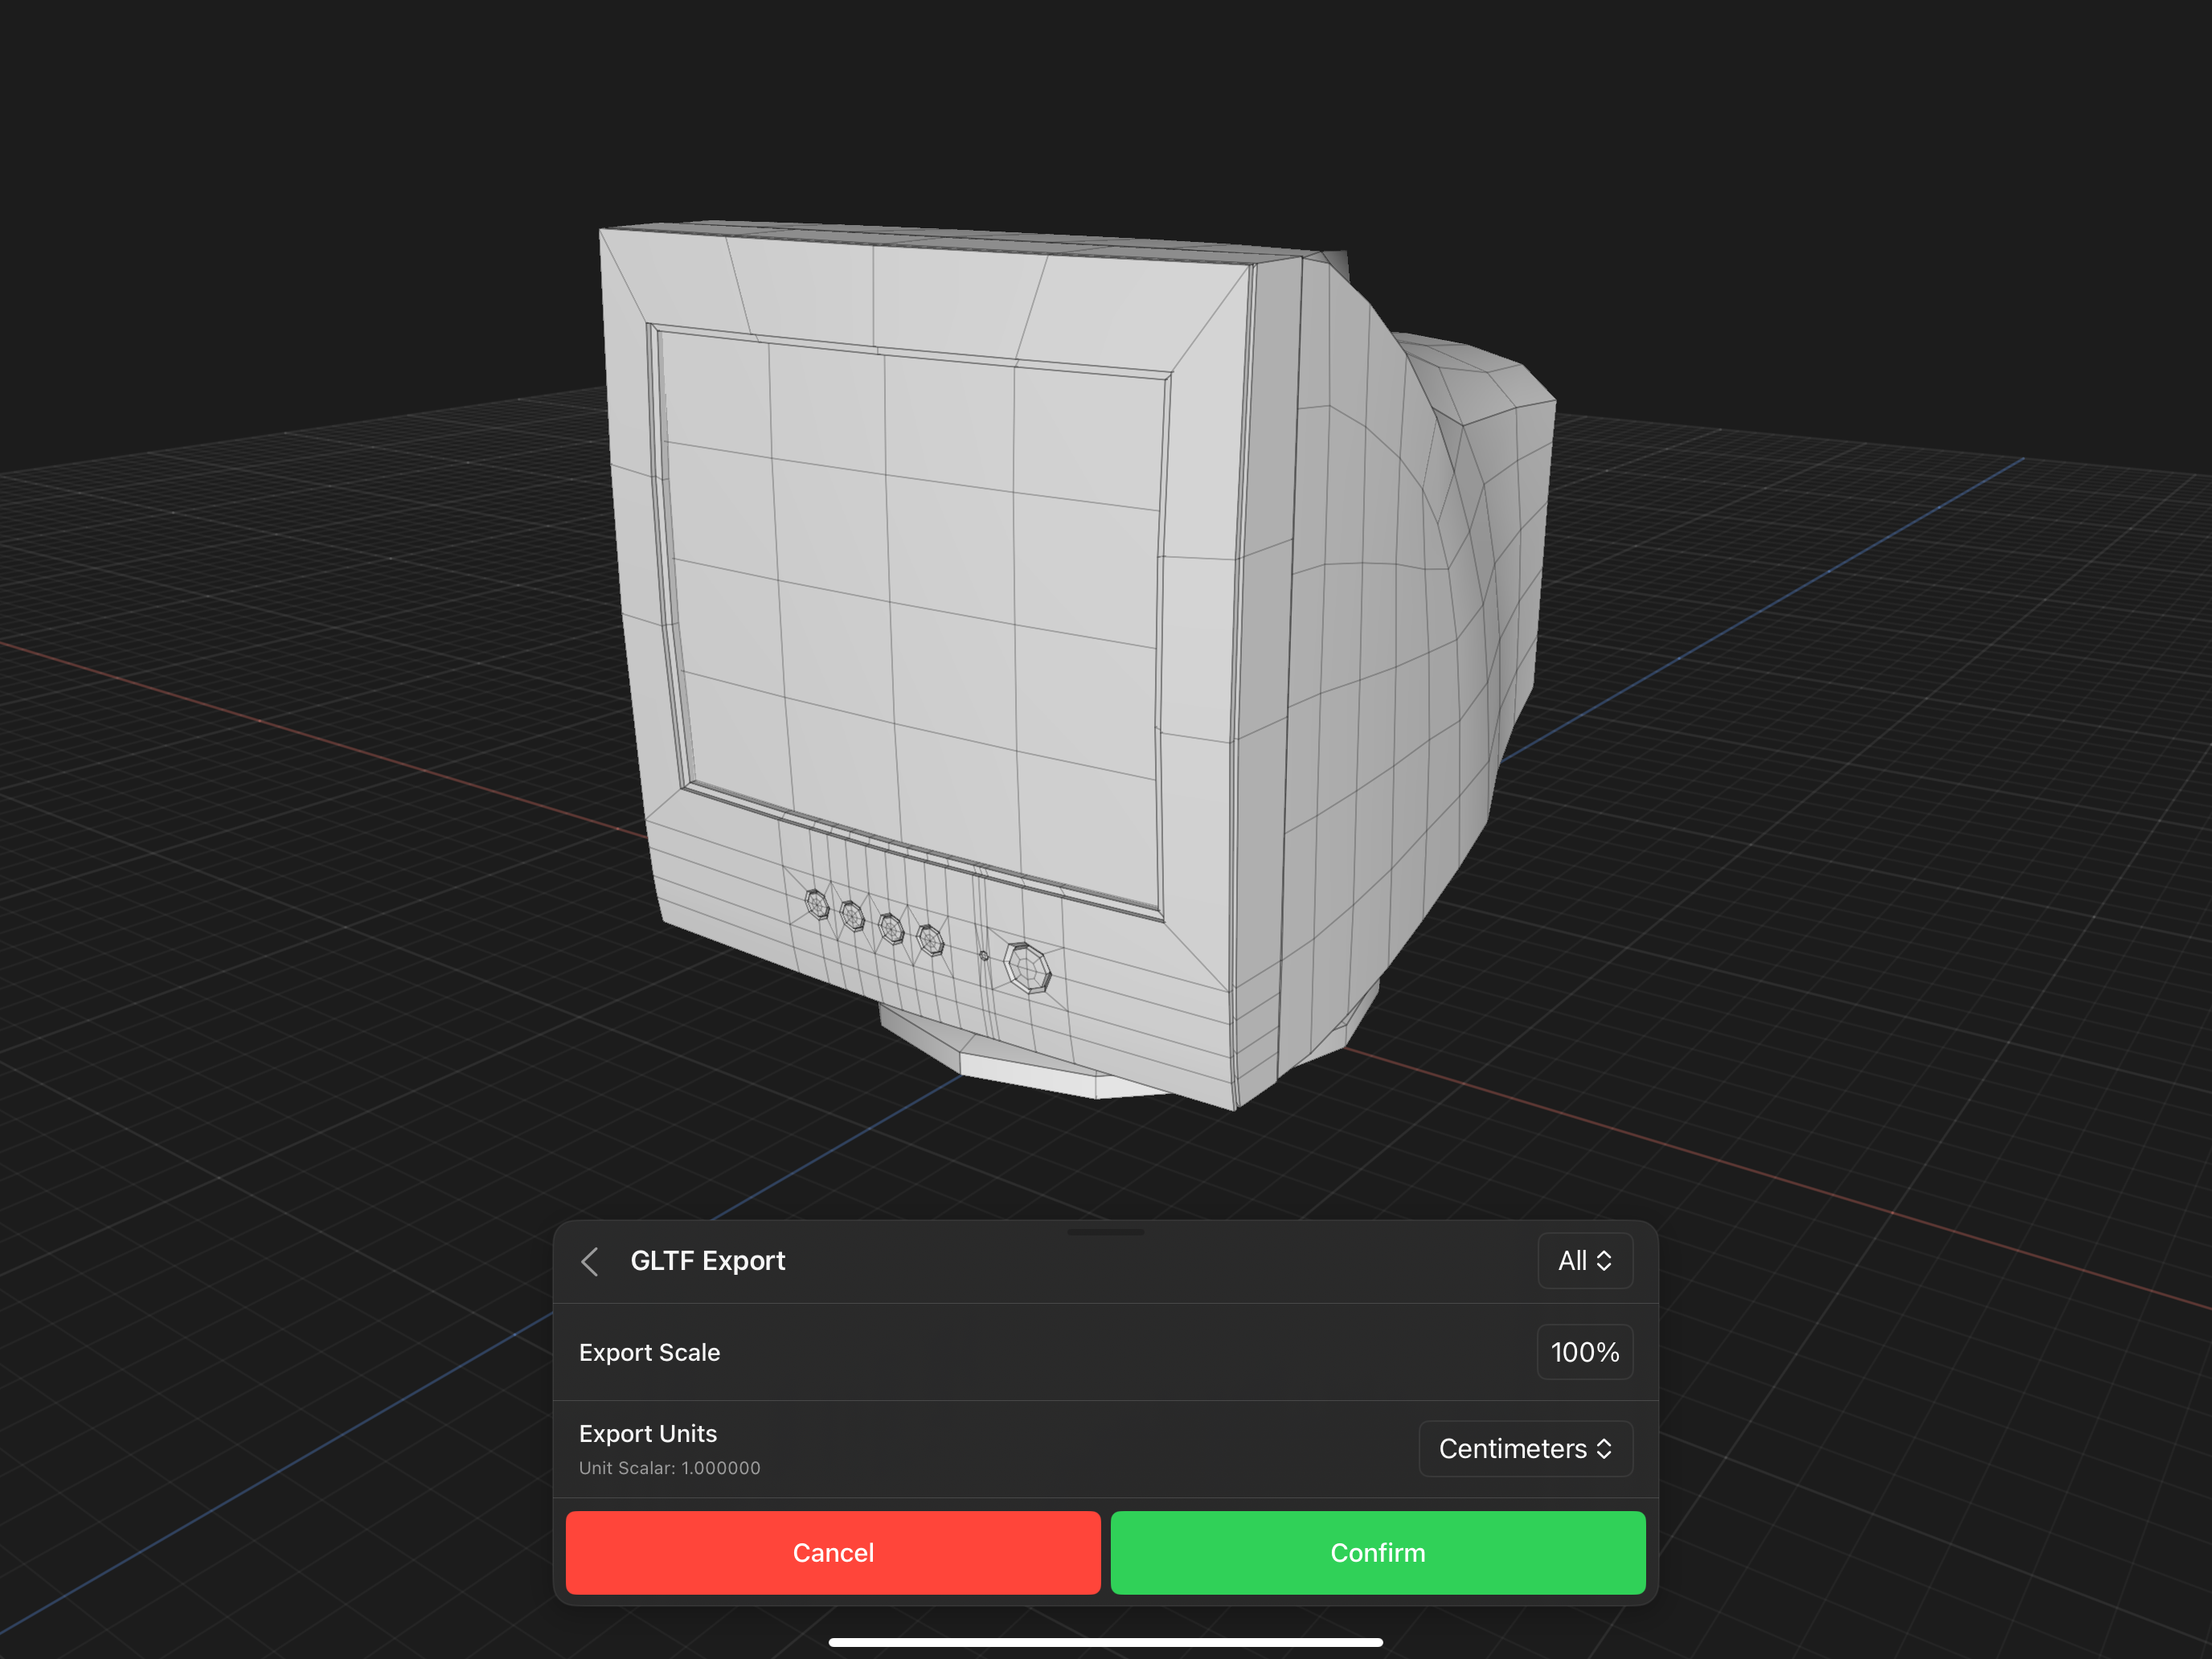
If you select the GLTF (Graphics Library Transmission Format) option, then the GLTF Export sheet will appear and present various options you can use to configure the exported file.
Options
- Filter - Located on the top right corner of the sheet, this option determines which objects are included in the export. Options include All, Selection, and Visible.
- Export Scale - If you need to scale your model by a percentage, this option can be used to scale your model up or down.
- Export Units - If you want to export a file with units that are not the valence file's units (i.e. if you are 3D printing, you'll typically need millimeters or inches) you can set the export units. Read more about export units here.
GLB
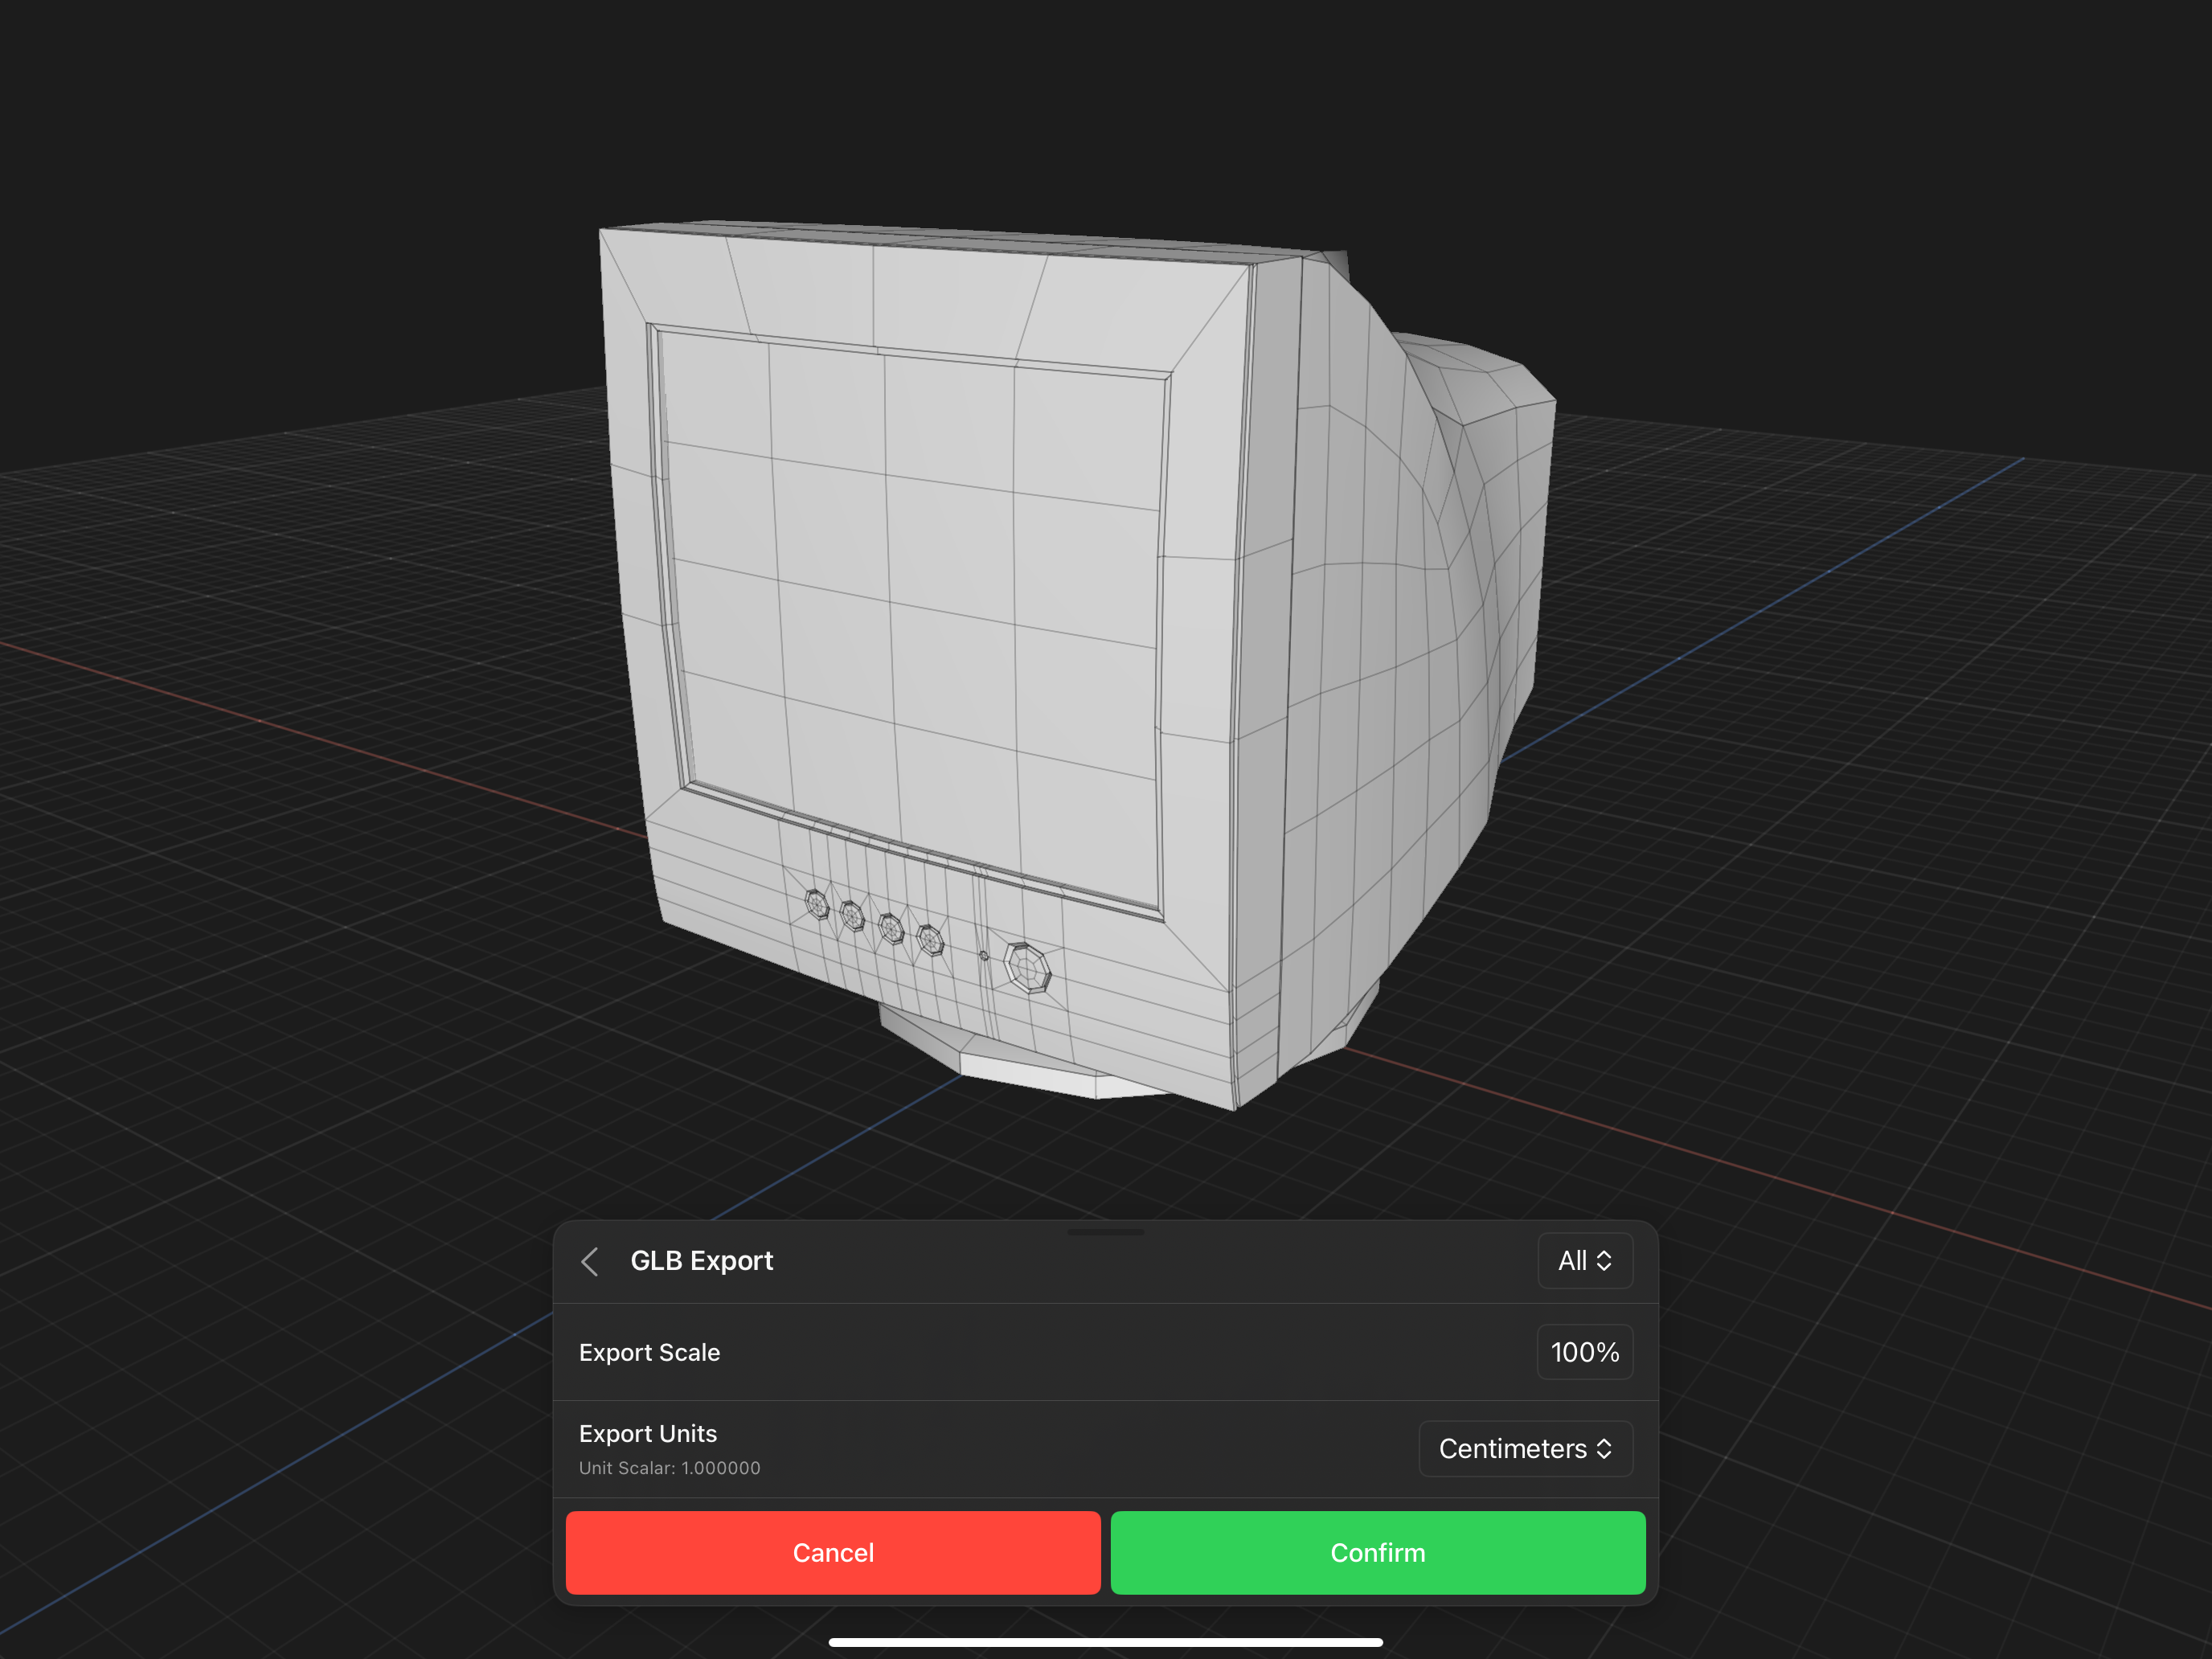
If you select the GLB (Graphics Library Transmission Format Binary) option, then the GLB Export sheet will appear and present various options you can use to configure the exported file.
Options
- Filter - Located on the top right corner of the sheet, this option determines which objects are included in the export. Options include All, Selection, and Visible.
- Export Scale - If you need to scale your model by a percentage, this option can be used to scale your model up or down.
- Export Units - If you want to export a file with units that are not the valence file's units (i.e. if you are 3D printing, you'll typically need millimeters or inches) you can set the export units. Read more about export units here.