Vertex Tools
3D models are composed of faces. Those faces are composed of edges. And those edges are composed of vertices. When you move, rotate, or scale vertices, you are actually moving their positions. Manipulating and creating vertices is essential when building complex 3D models.
The standard move, rotate and scale tools in the Tool Bar allow you to modify vertex positions. While specialized Vertex Tools allow you to change a mesh's topology and geometry simultaneously. Simply put, changing a mesh's topology is a fancy way of saying adding, removing or changing connections in a mesh. The Vertex Tools below allow you to create new faces and/or modify their geometry.
Vertex Tools are contextual aware. So they will appear when the the active Component Selection is Vertex. Vertex Tools are located in the Tool Bar under the standard select, move, rotate and scale tools.
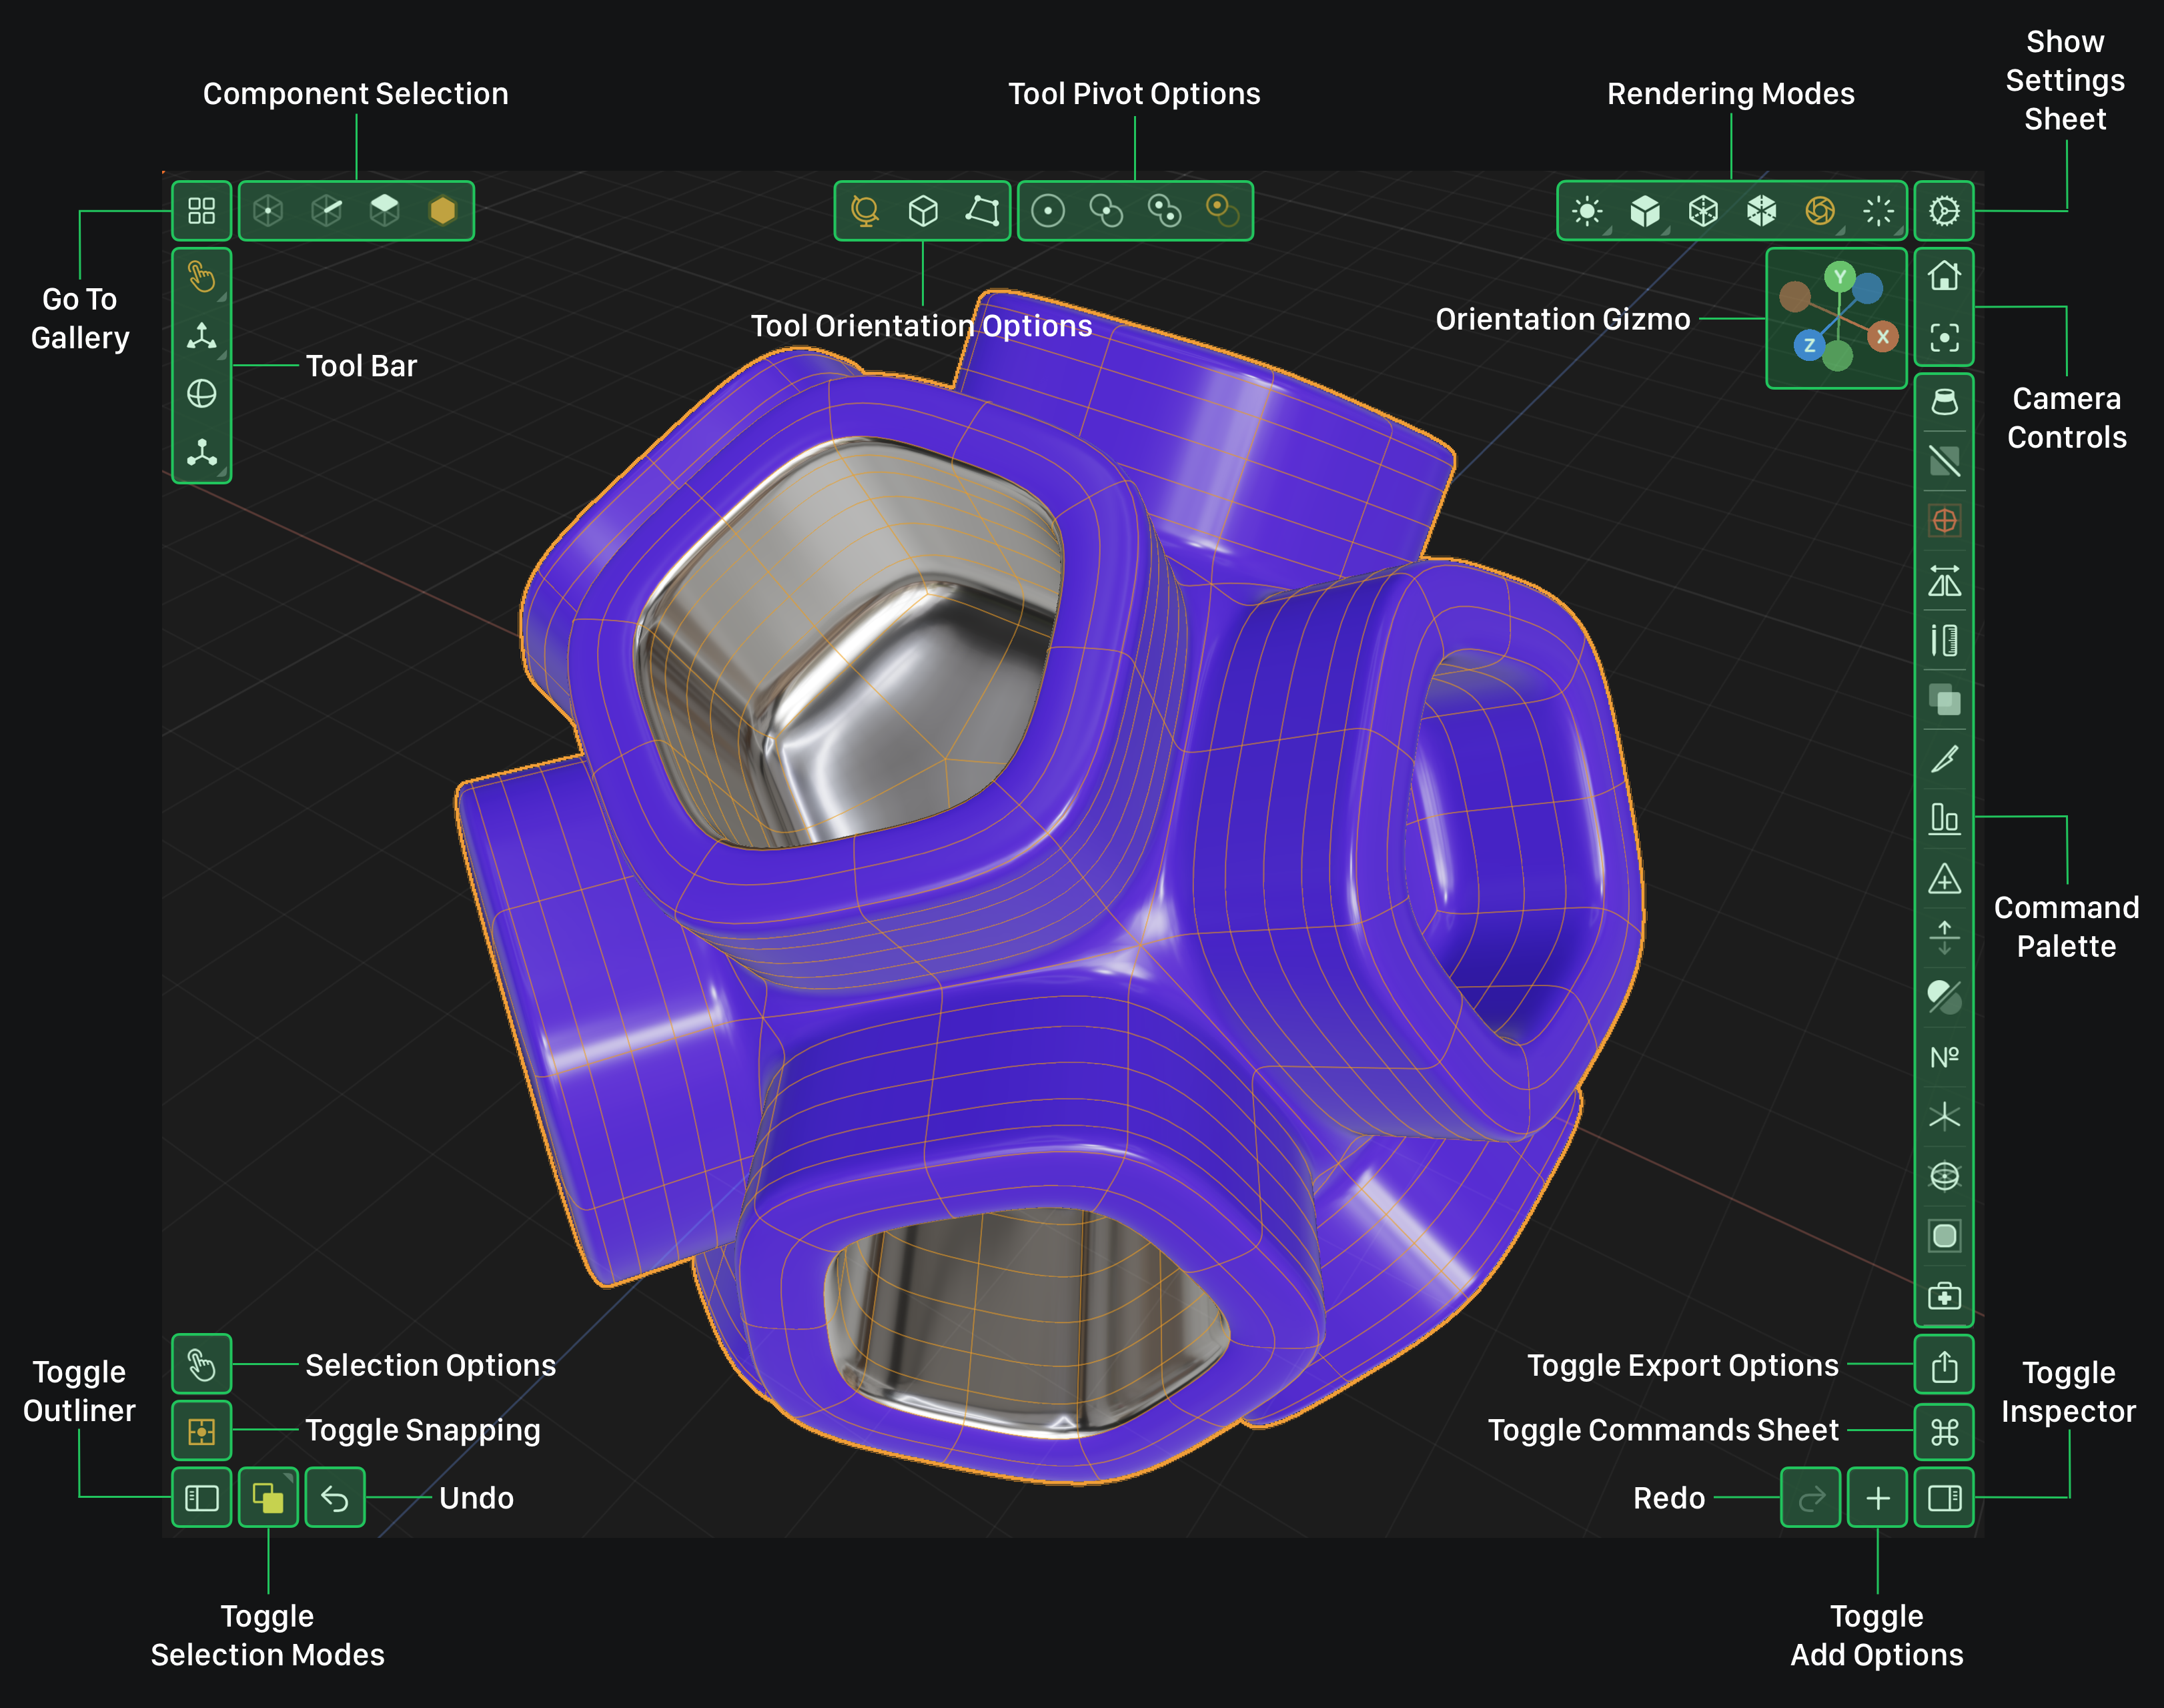
Modeler Interface
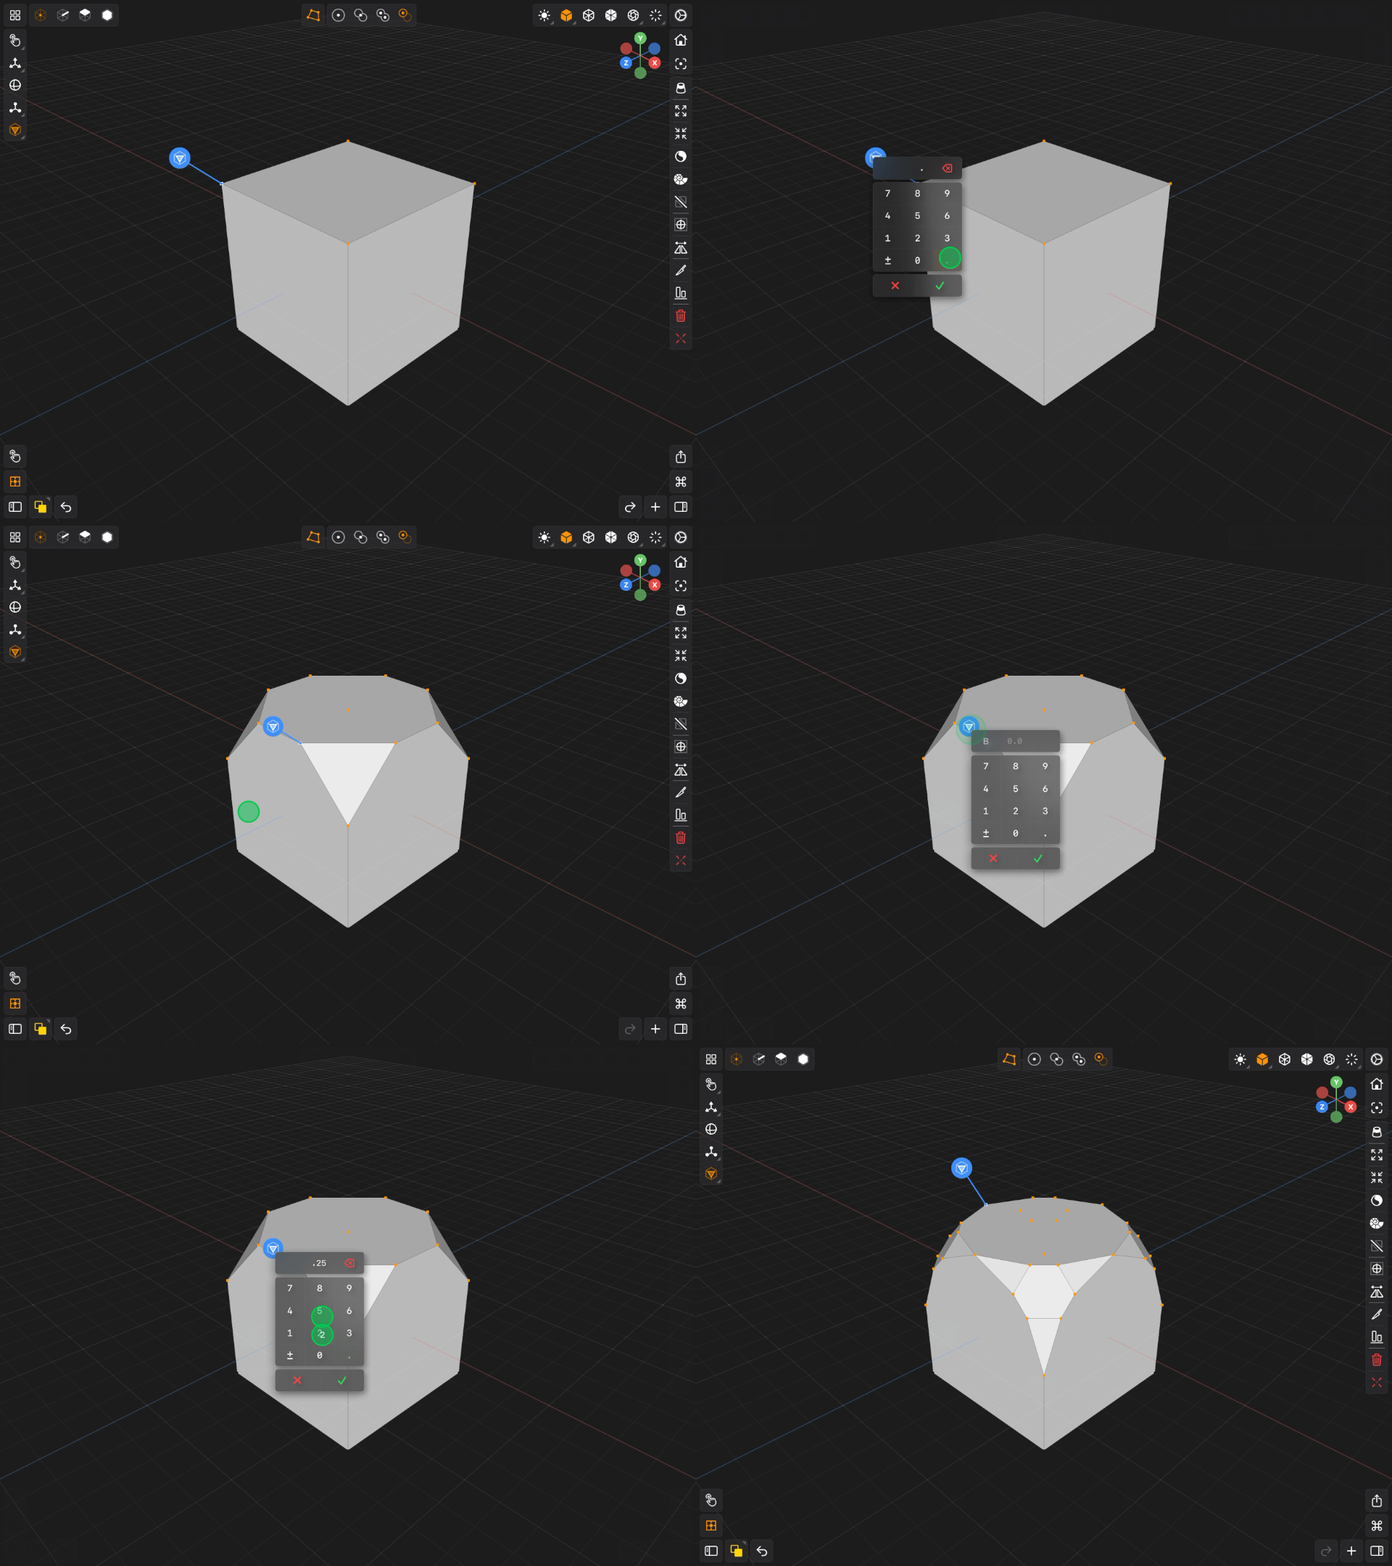
Bevel Tool
Beveling a vertex converts it into a face. This tool allows your to bevel multiple vertices at once. To bevel a vertex touch down and drag the circular handle of the tool's gizmo.
Tap this button to activate the bevel vertex tool.
Bevel Tool Options
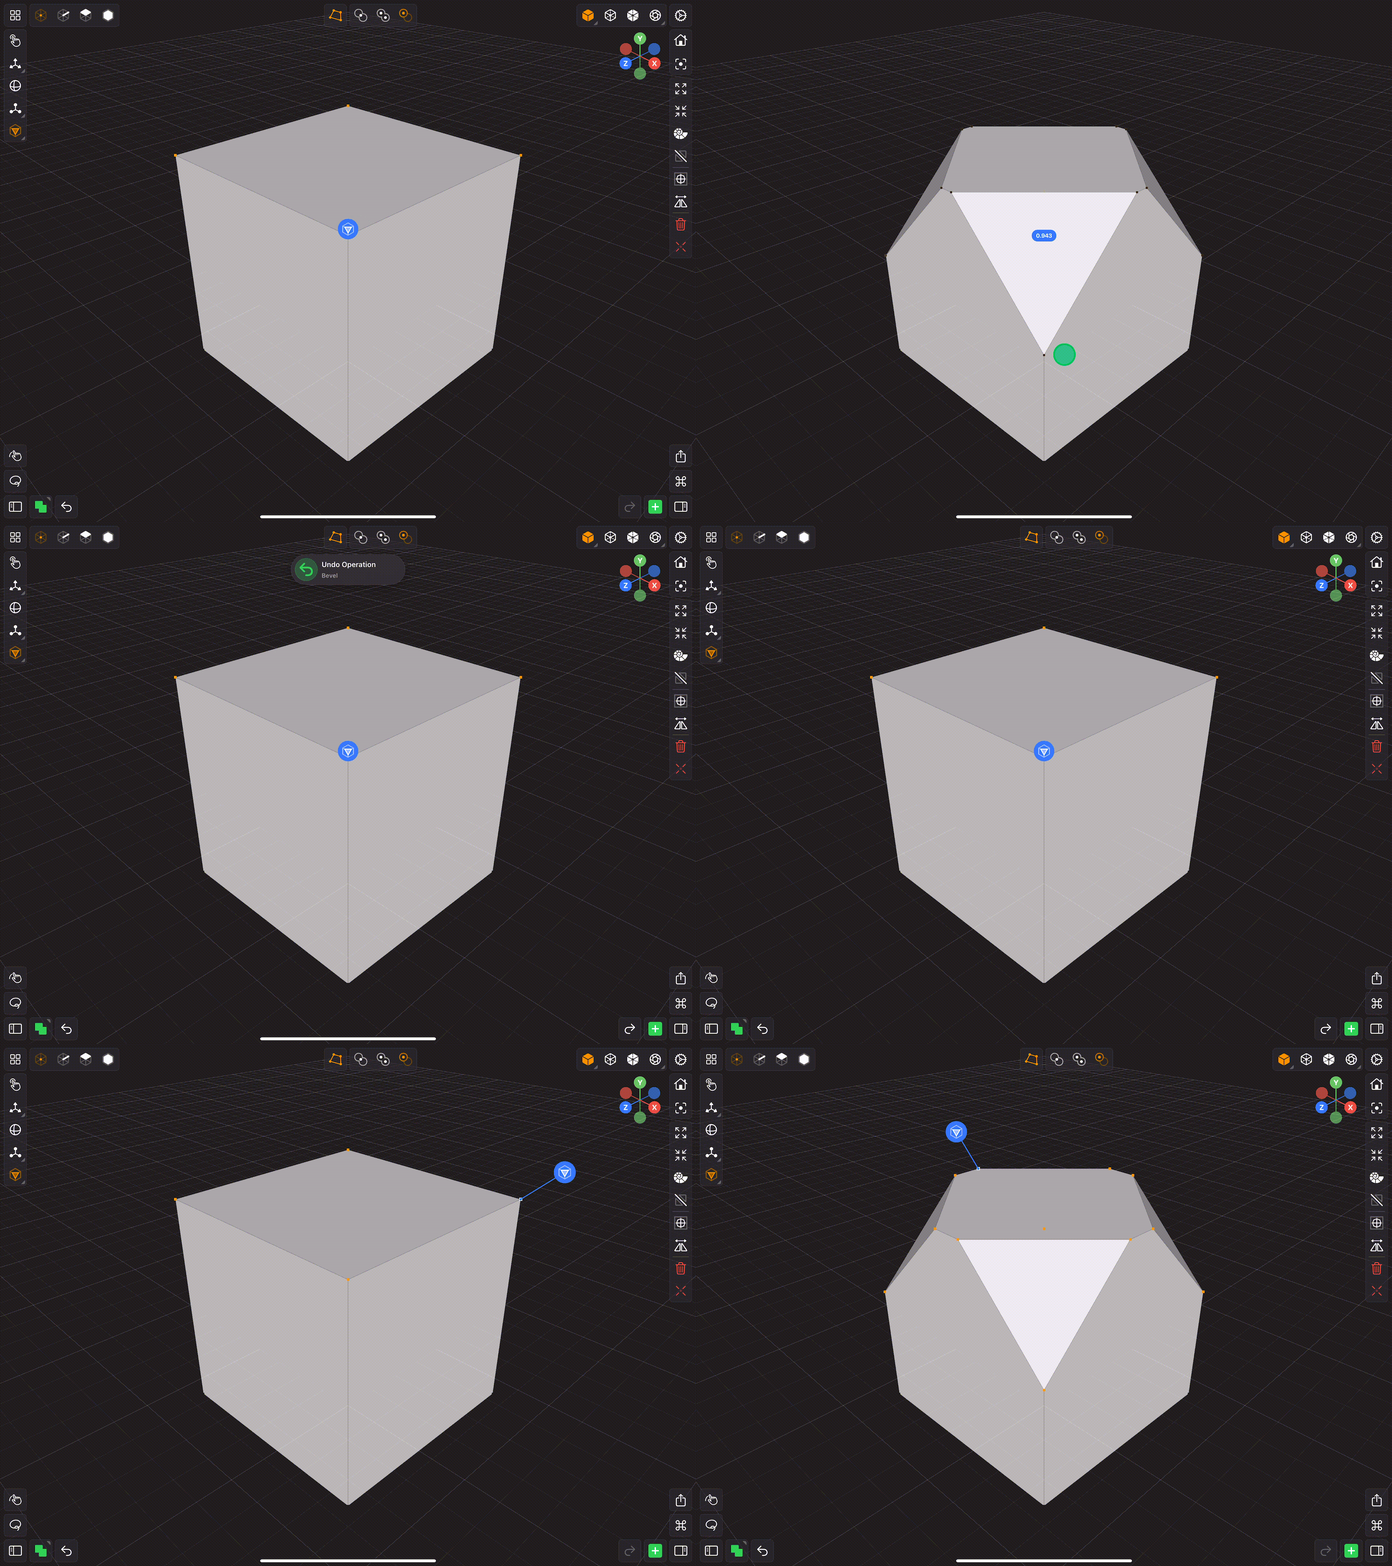
Tap the Bevel Vertex Tool's button again while it is active to open its options sheet. See Tool Options.
- Offset by Distance — on by default. The bevel is measured as an absolute distance, so every selected vertex is cut back by the same amount regardless of how long its surrounding edges are. Turn it off to offset proportionally instead, which scales the bevel to each vertex's own edge lengths.
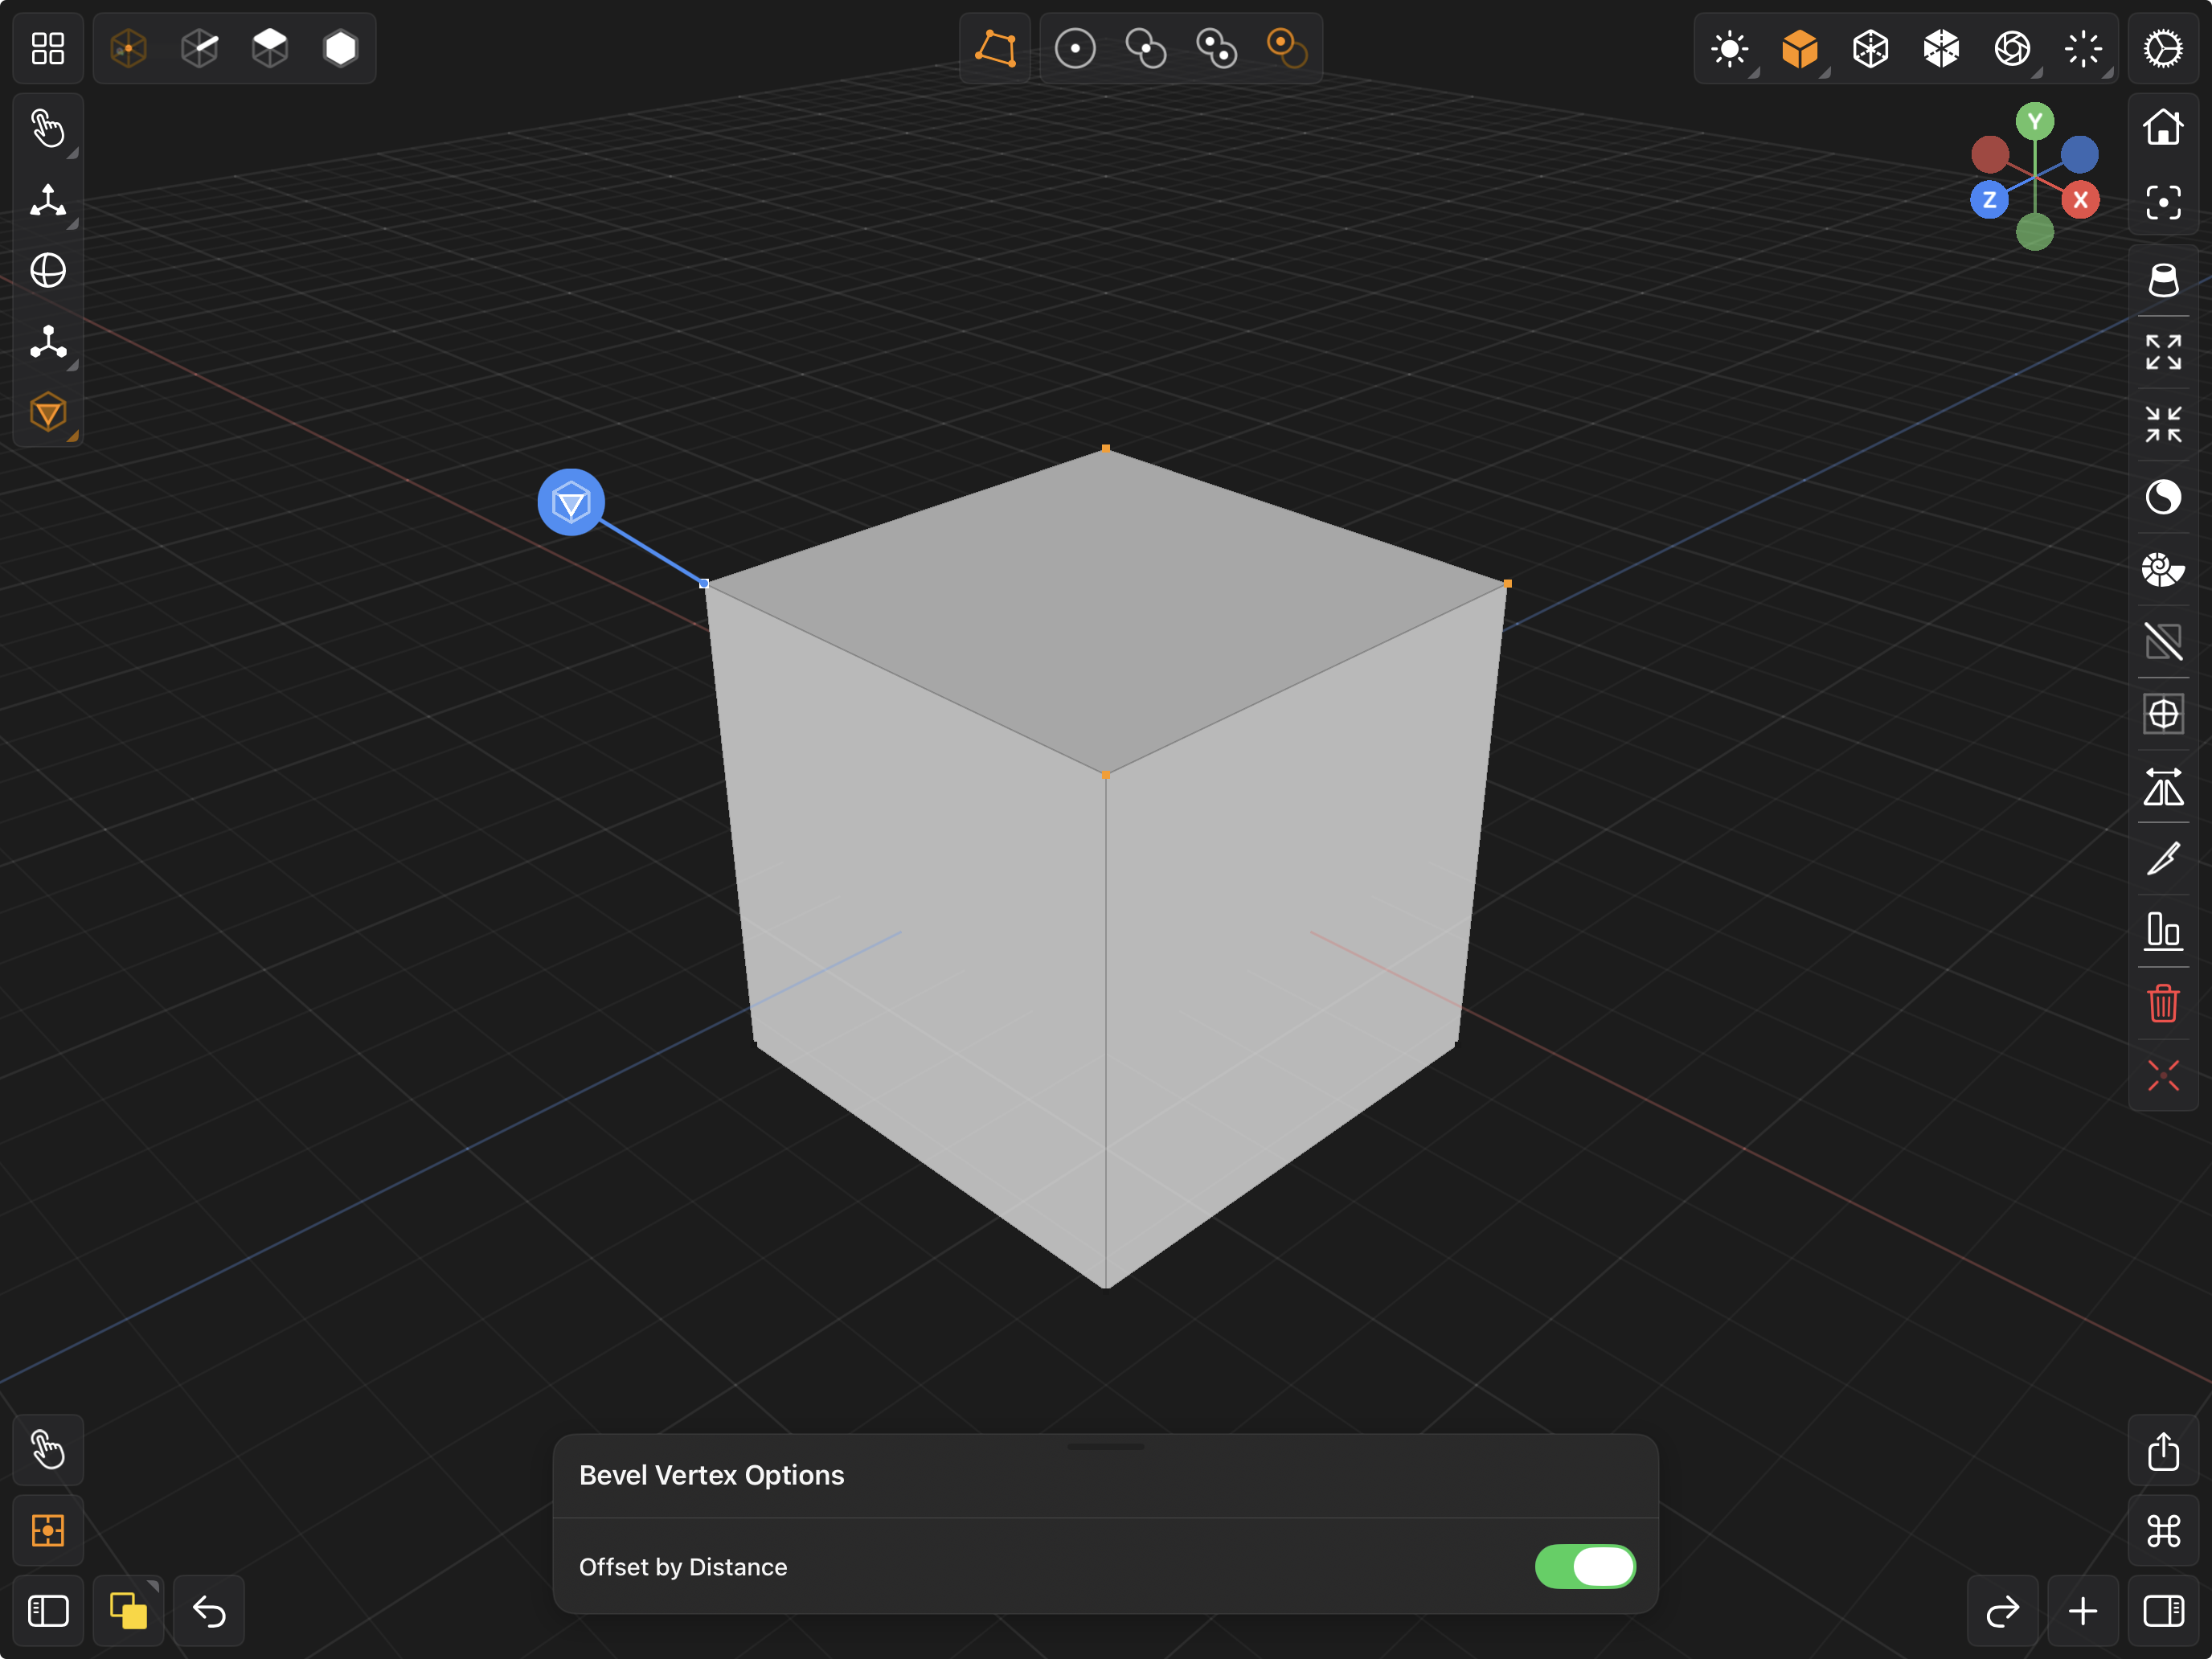
Precise Values
Instead of dragging, you can tap the gizmo's handle to bring up an input field and type an exact bevel amount. This works for the Crease, Inset, Extrude, Poke and Bevel tools, the same way it does for the Move, Rotate and Scale tools.